That gets the brain working!! First stop – Onslow Historic Lumber, of course! I had messaged Rose telling her that I was looking for barn board and told her the rough size the sign was going to be. When I popped into the shop, there was this perfectly weathered barn door leaning outside the store. It rattled around in my head while we chatted and then I went out to look again. I sent this picture along to get approval.
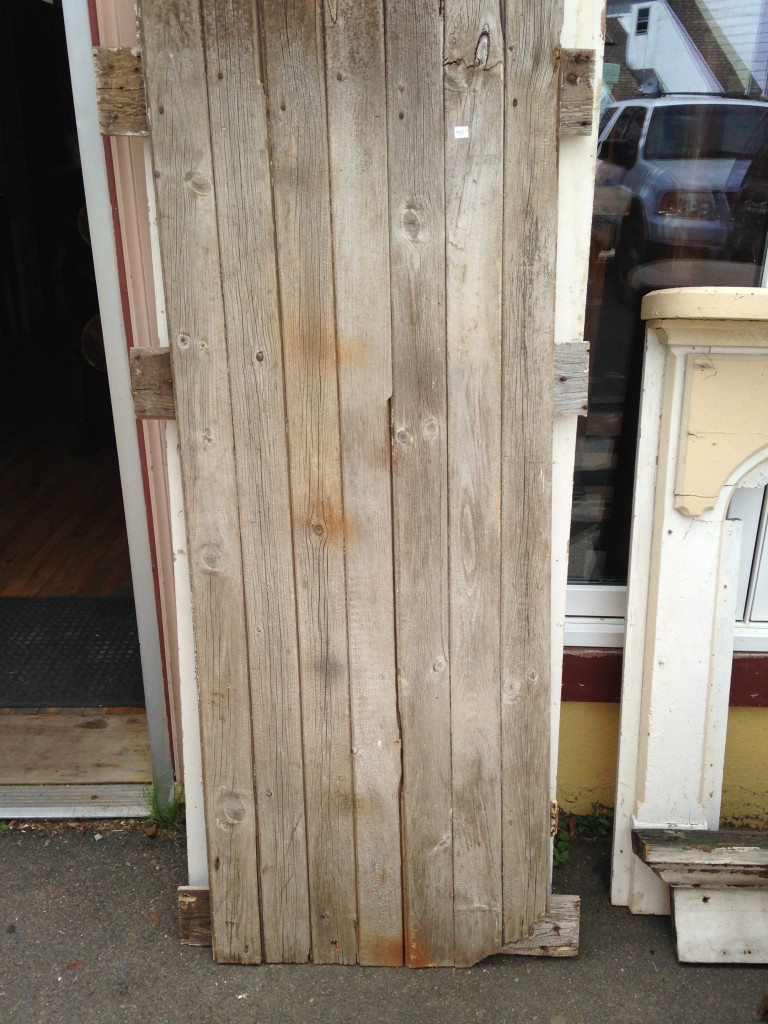
The response was an immediate YES!!! Sold…..and put in my car and taken home. I thought I would just do one cut across and then paint it up. But….. { there always is one, right? } it had slightly skewed over time, hanging on its hinges. So it was no longer square. And that just wouldn’t do. So, I knocked it apart and figured out where to make my cuts.
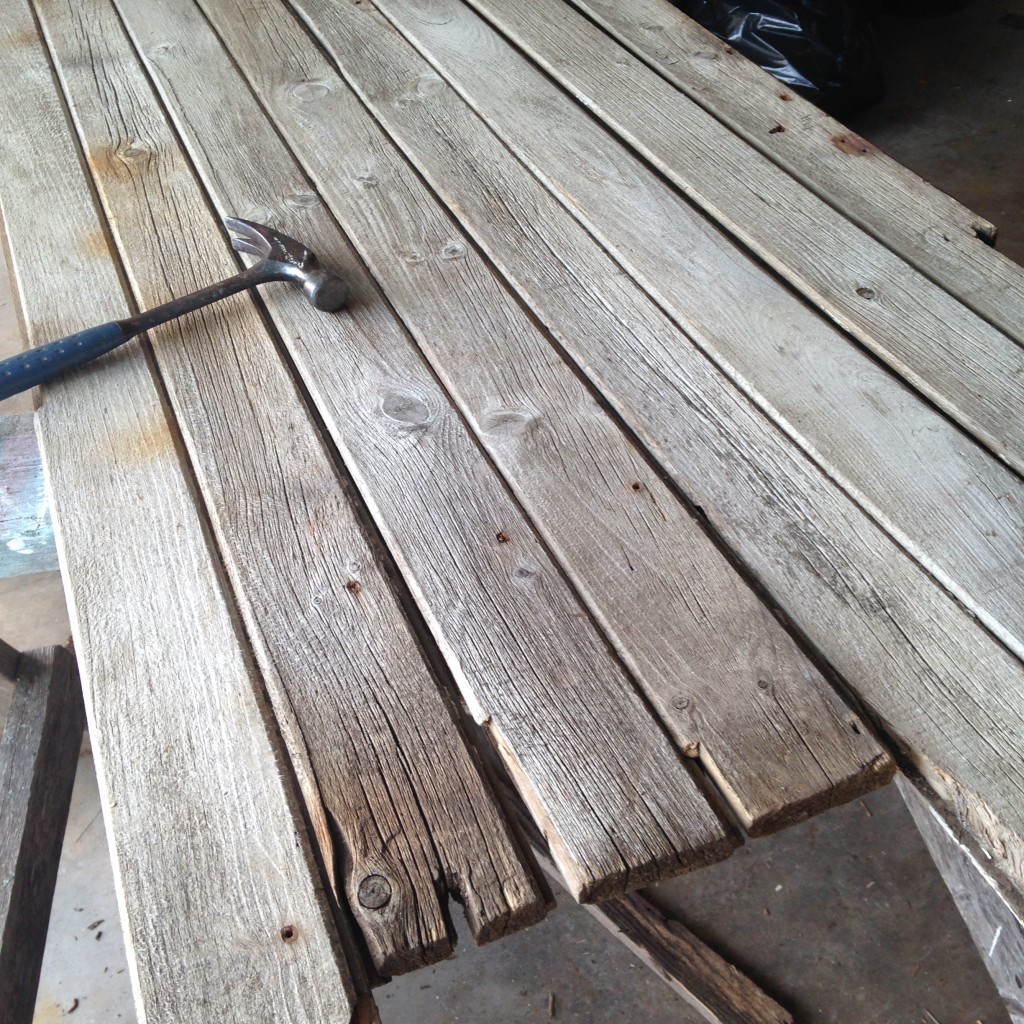
Now, you have to understand something. I’m the youngest in my family and I have an older brother, thus I didn’t have to do things like use power tools. I married a fella with carpentry skills. My father-in-law is pretty handy, too. So, I always just called on them. But, I am also very independent and it drives me crazy to have to call someone to help me out. I also would like my fingers to stay attached to my hands, right where they belong….. The inner battle – to call for help or to try it myself. I put on my ‘big-girl-panties’ and did it myself! { I did double check with Lena that she’d call 911 and then my parents if anything happened, she told me to put the circular saw down!! }
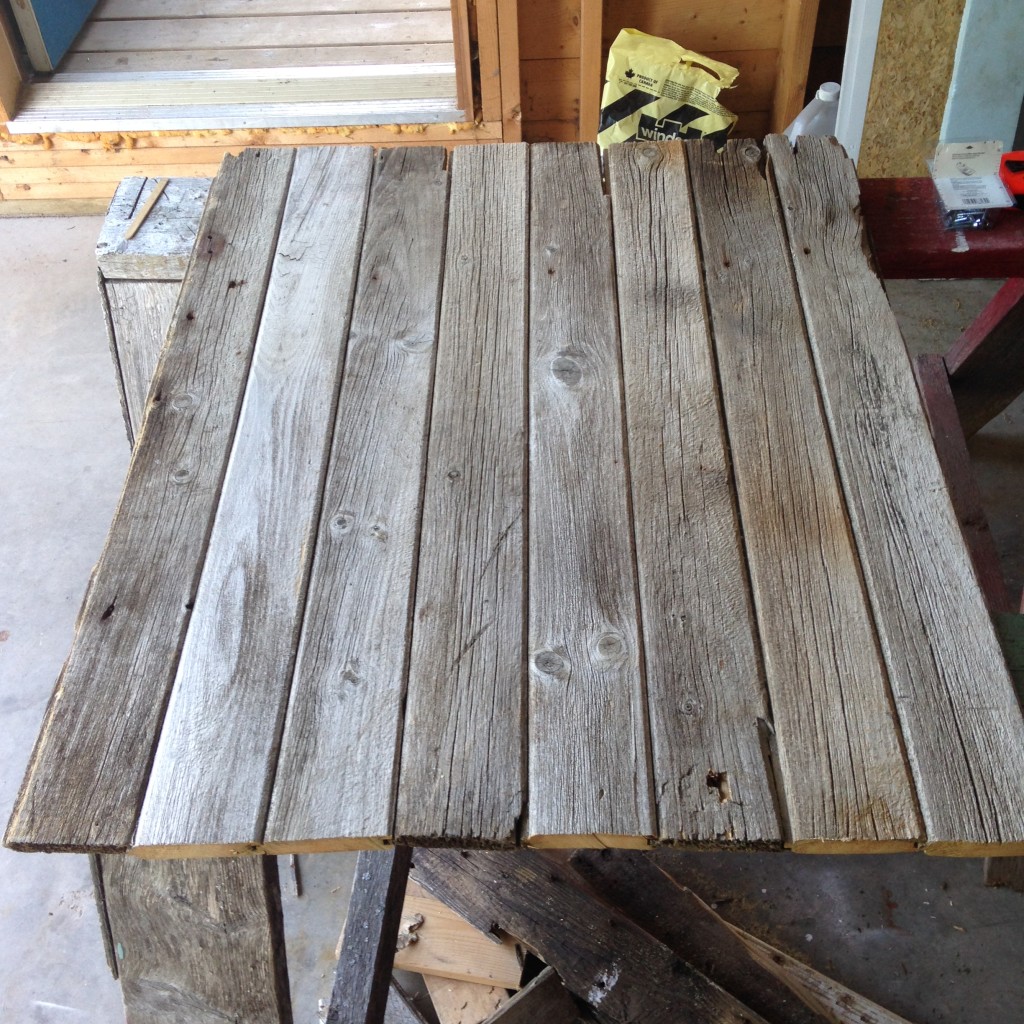
I pieced it back together, added boards across the back and screwed it together. I have to say I was pretty proud of myself. Not only did I still have all my digits, I had an awesome base for the sign, too!
Then came time to paint. I talked with Angela at Staples to figure out the best way to get a big ‘C’ printed. I’m not very techie and maybe I could’ve figured it out in Word, but I left that to the professionals. 8 sheets of paper we had one giant ‘C’ ready to transfer onto the door.
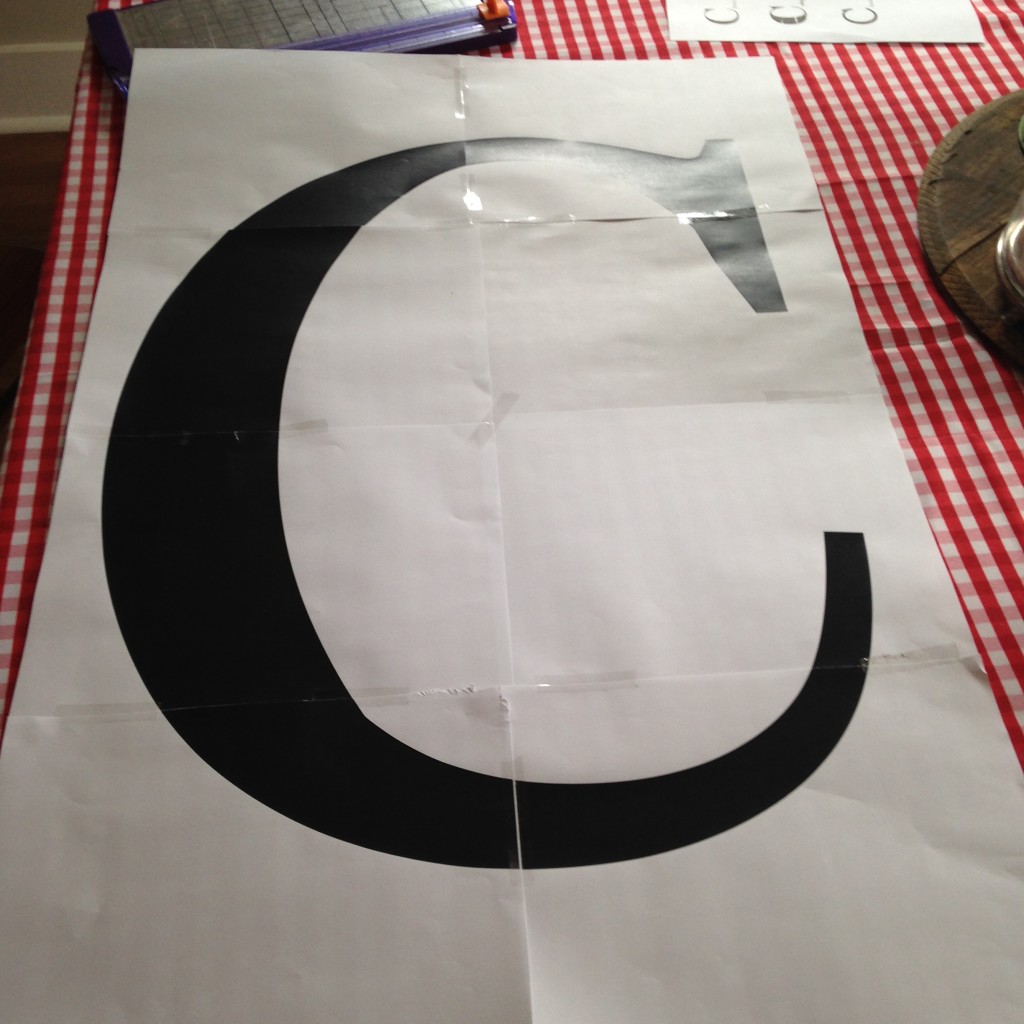
My transfer method is pretty low tech. Colour on the back with chalk, flip it over and tape it to the door. Then go around the outside with a pen or pencil. You’ll get faint chalk marks and small grooves to follow when you fill it in with paint. Once it’s painted, these marks aren’t even noticeable anymore.
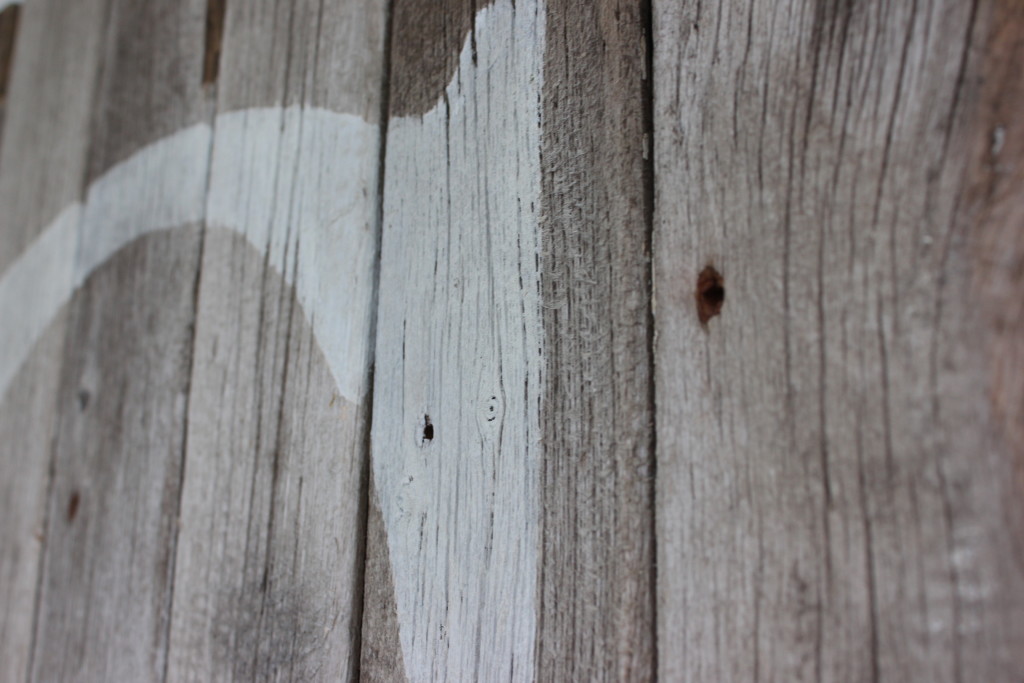
See? You can’t even see the orange chalk marks!
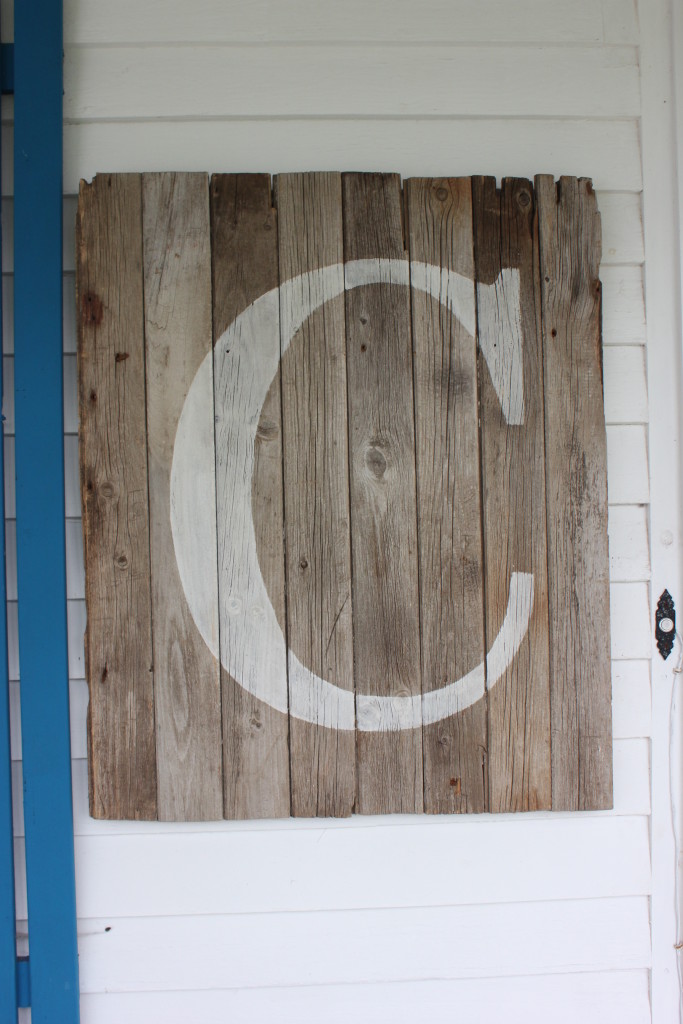
But you can see the awesome finished product!!! I just hung it by my door to take the picture, but I can’t wait to see it hung on the bedroom wall that it was custom made for!
I delivered this piece today and am proud of what I made!! And proud to show off all my fingers, too! 😉
To be continued,
Lori
PS – If you are interested in a sign like this, please let me know – I’d love an excuse to make another!! This one was 28″ by 34″ and sells for $100. I’ll even let you pick the initial!


Rose
September 11, 2015 at 9:16 pmNice work!!
Wendy
September 11, 2015 at 11:33 pmAwesome sign!! Looks so fab. Just a secret lil thing I use to make BIG signs is a free program called Block Poster, you can make your letter or words to what ever size and over as many pages as you would like. Its “da bomb”. Save you from driving to Staples (I know you are like me and wanna get ‘er done)
Have a super duper weekend my friend!
Wendy @ Front Porch Mercantile
Lori
September 11, 2015 at 11:45 pmit turned out amazing! Love it and you have my mind whirling now on where I could hang one here.