Browsing Category

Makeover

4 In Makeover

One Room Challenge – The Studio – Week 4

We are closing in on the end of the One Room Challenge, only a few weeks left!  It’s been exciting to see the transformation happening within the studio.  But, boy, what a pile of work!  This week’s progress has been minimal in comparison to last week, which you can check out HERE.  An empty studio and white washed walls are hard to top!

But, still, I have some work to show for my efforts over the course of the last week. With the exception of having to finish doors, and paint the floor, I feel like the hard work is behind me.  Getting those walls done was a huge hurdle and now that’s behind me!  Thanks much in part to Catherine’s help!
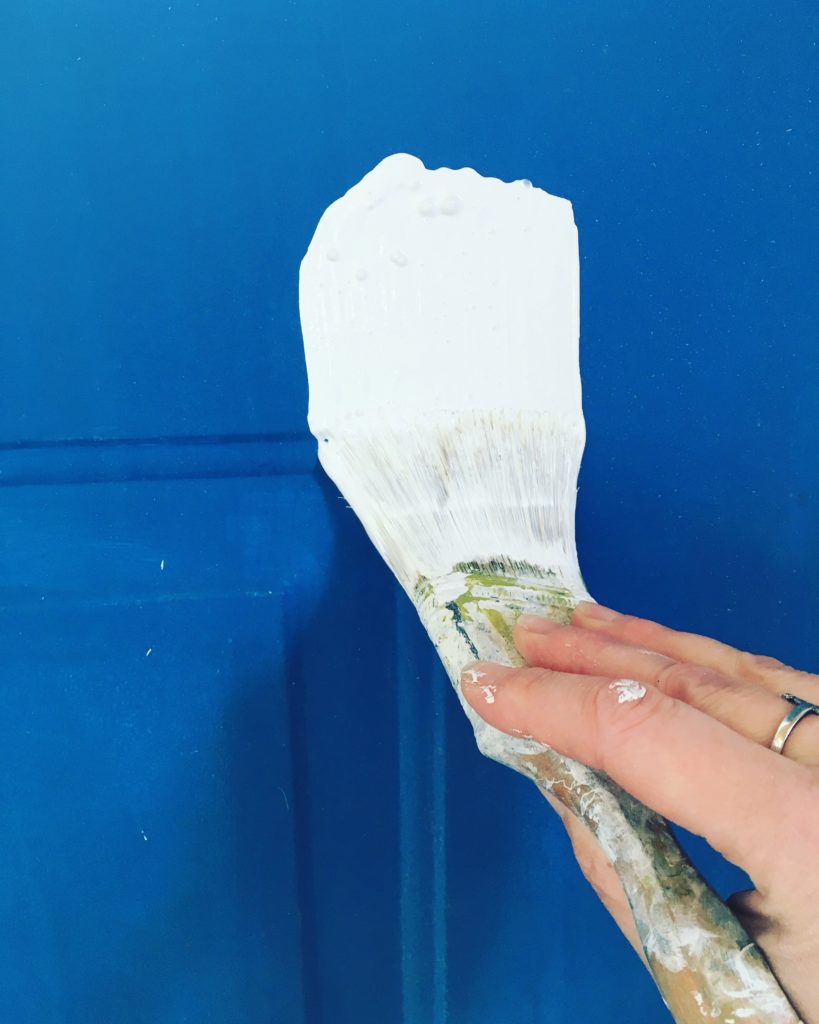
This week I got to do a few fun little things while the trim paint dried.  Painting white paint over white primer on 3 doors and 4 windows is a thankless job, but it will be nice when it’s completely done.  It already has made a huge difference to how crisp the space looks.
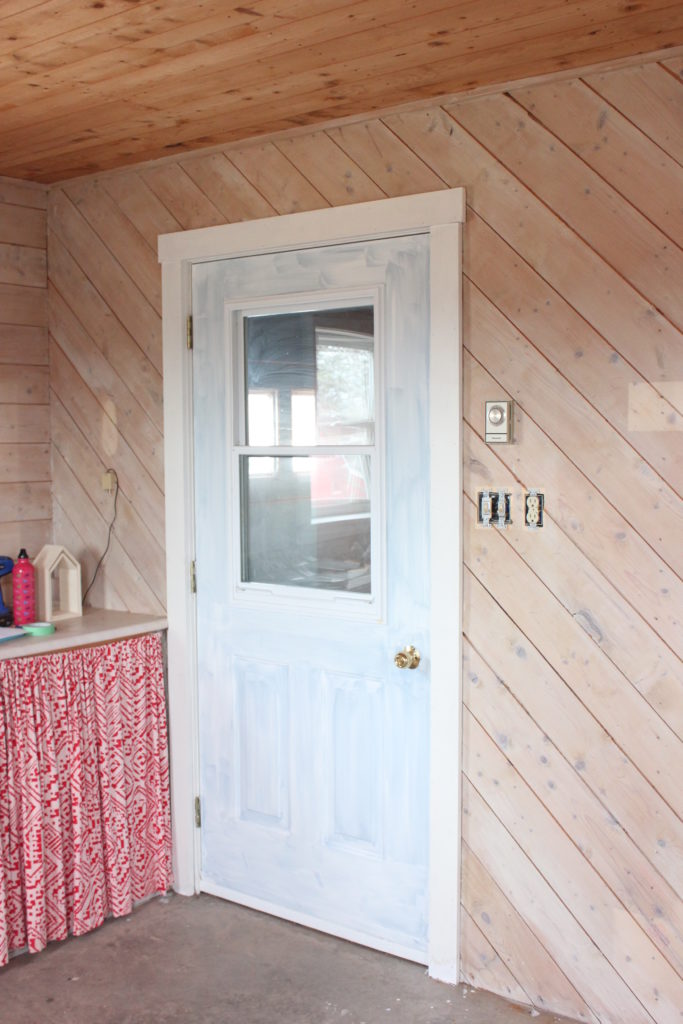
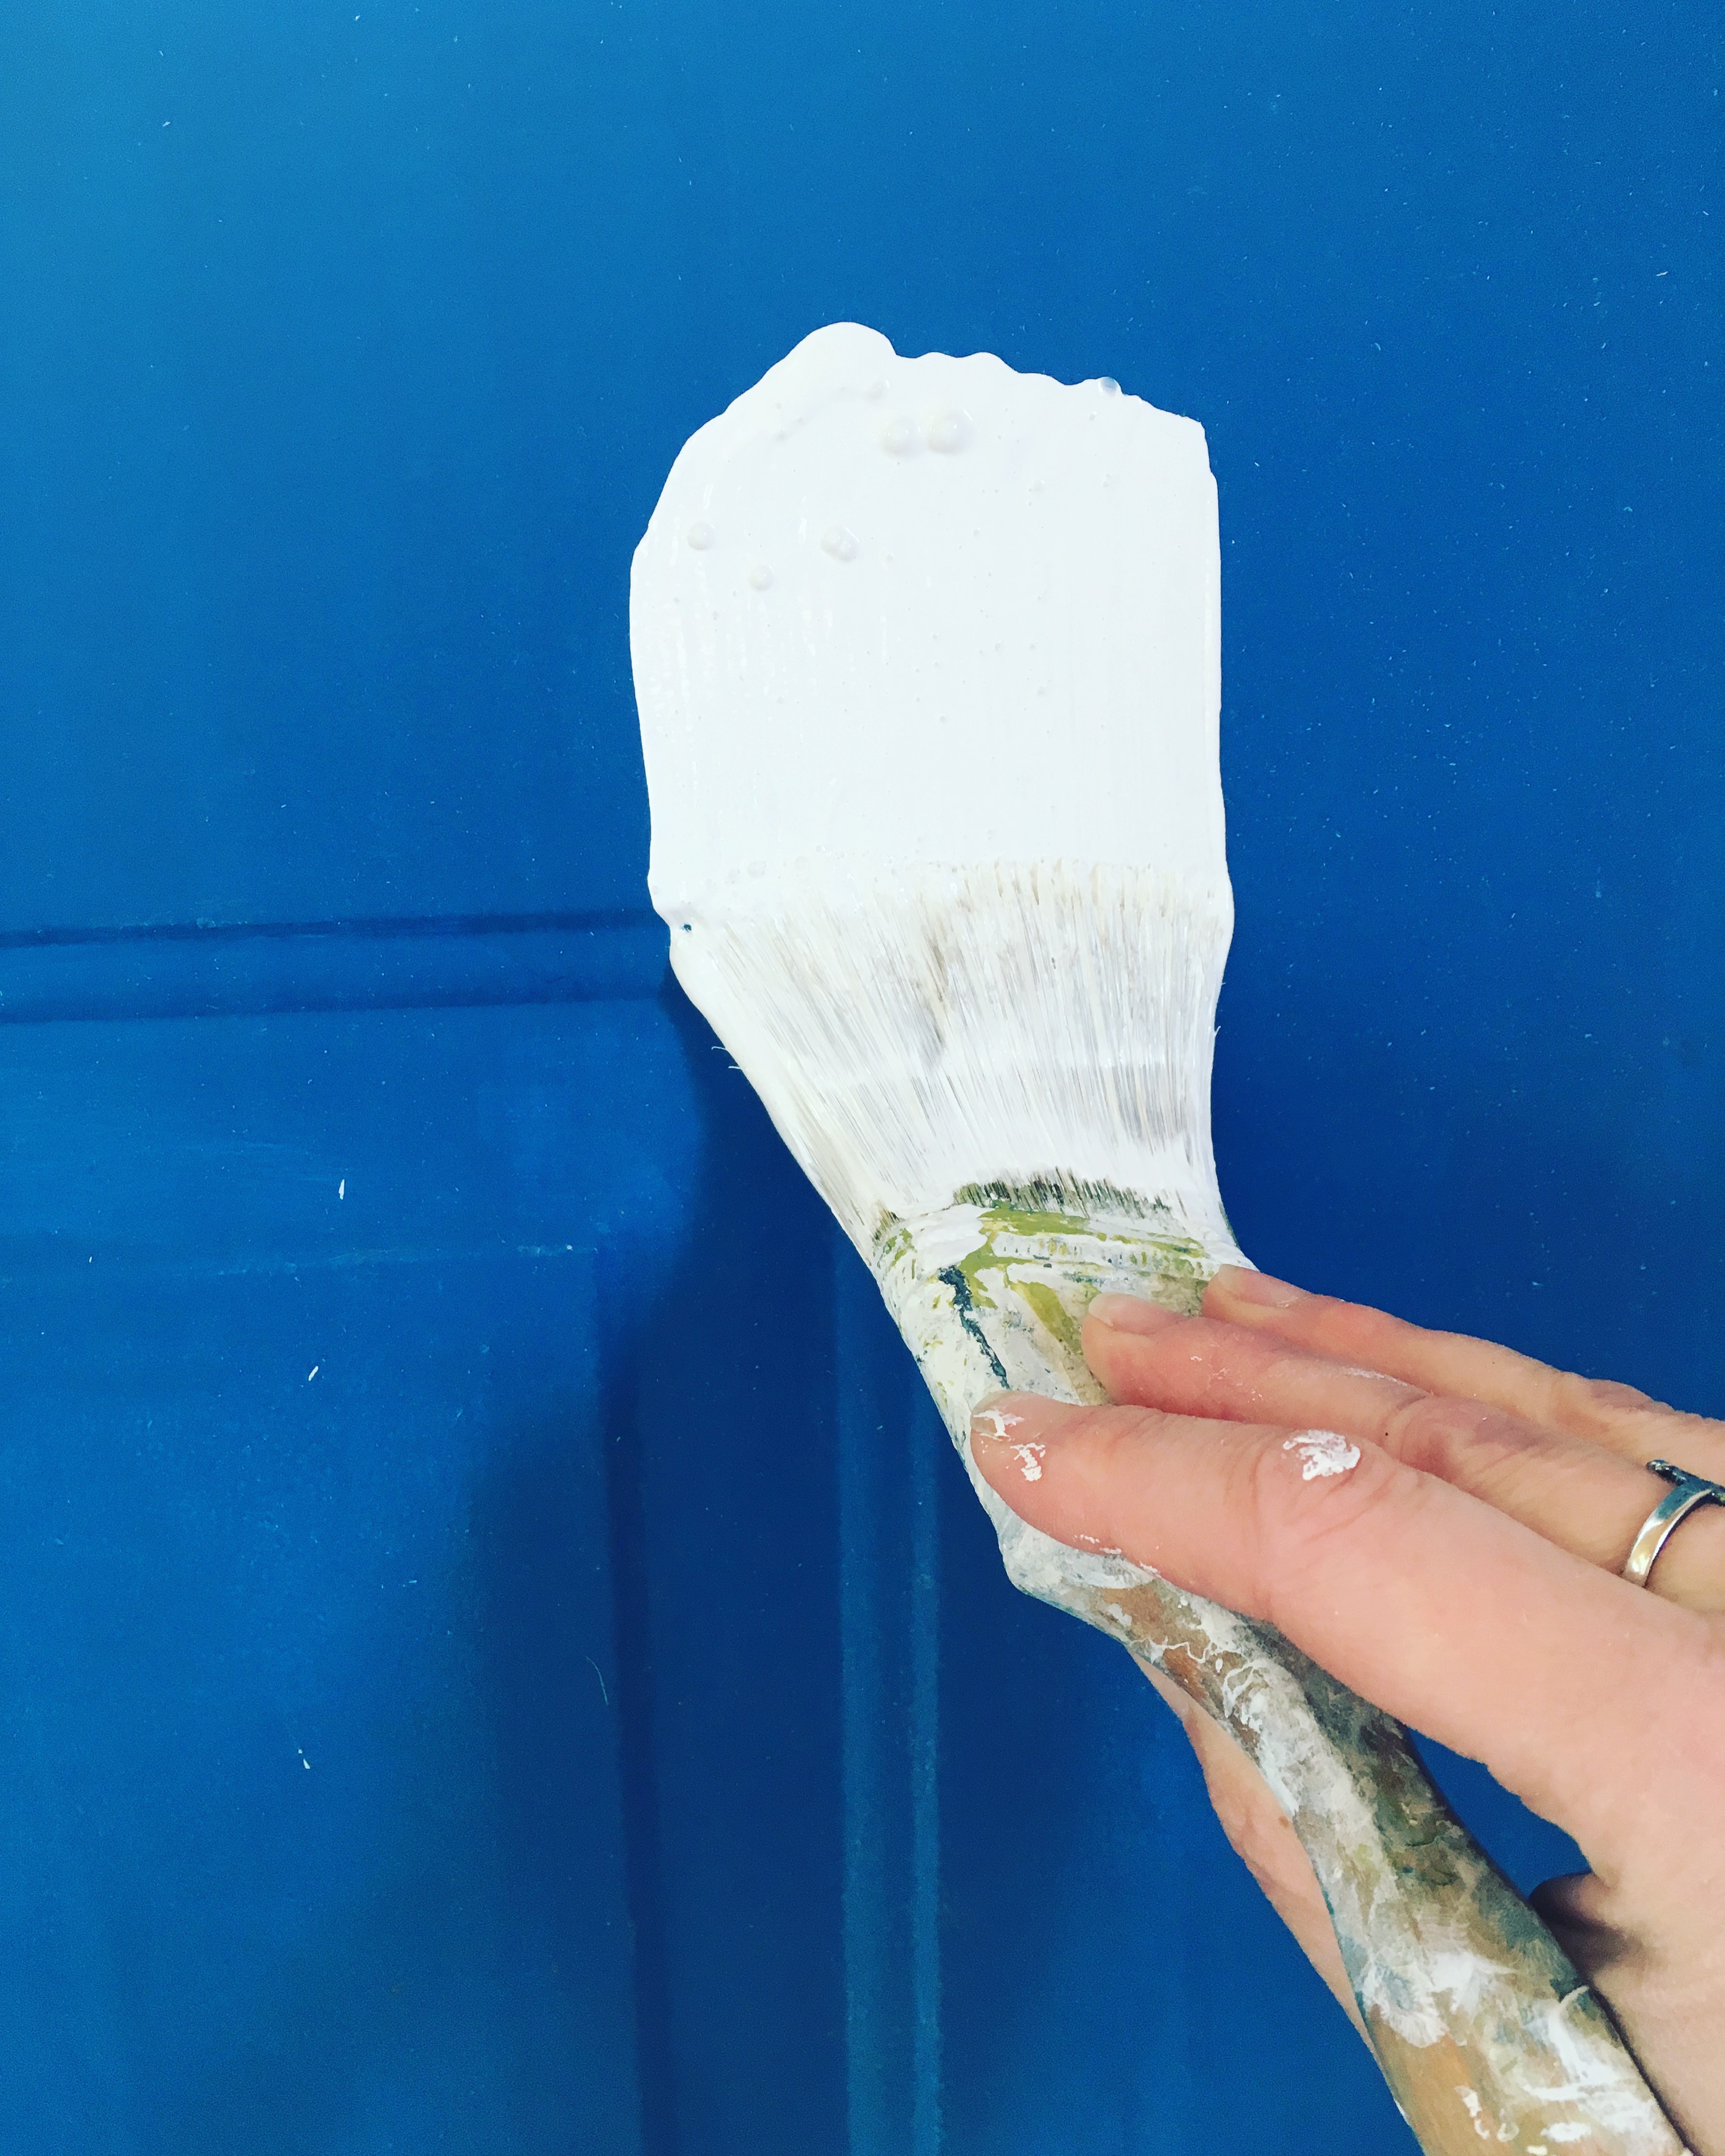
And painting out the blue on the doors was GREAT!!  I need to talk about the blue here for a minute.  Now, I want to start by saying that I do like blue.  I have lots of blue in my life.  But this blue, oh this blue….is EVERYWHERE! All our shutters, all the exterior doors in the garage and house are this blue, including the two huge garage doors.  I’ve painted out our front door, I did that the summer we moved in so now it really pops with its bright green.  We will be painting the whole exterior of the house this summer and I will be changing the blue…ironcially to another blue, but this time a deeper, richer blue.  But the inside of the studio doors do not need to be blue, it always stood out so much in any pictures, so it was with great glee that I brushed on that coat of white paint!
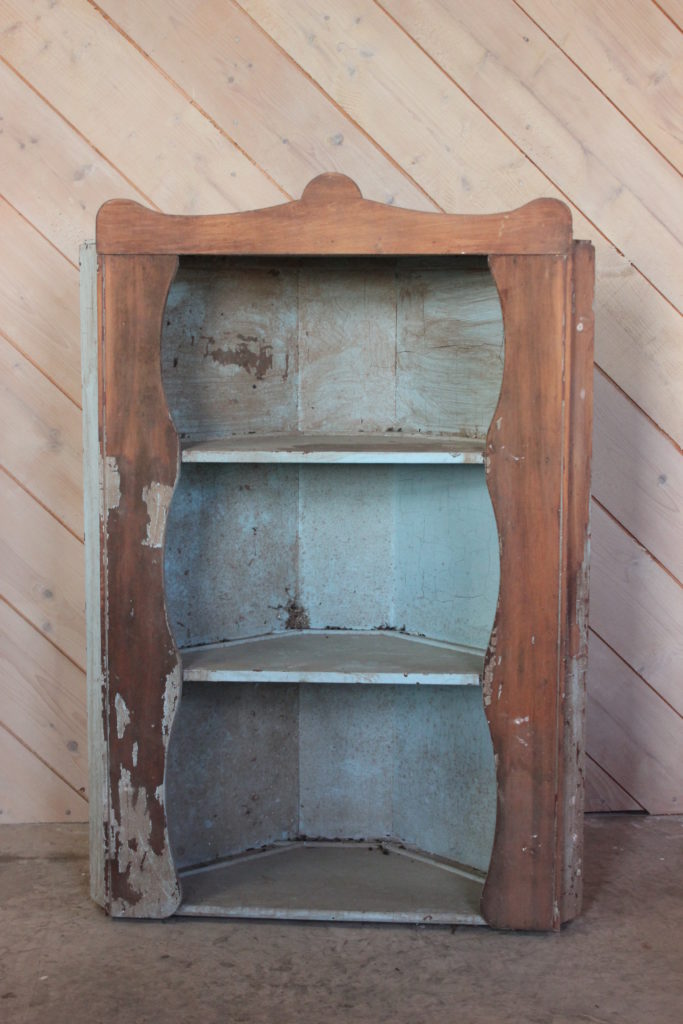
My other fun progress was digging out the corner cabinet from the loft and dragging it down into the studio for its….makeover? Hahaha!!  I’ve had this $5 yard sale find for years tucked away and I believe that the previous owners started to strip it but quit part way into the project.  I’ll just say I love me some chippy paint!  So, when I got it down from my stash in the loft, I snapped a picture of it, even before I cleaned the dead flies and bird poop off it and put it out on Instagram and FB to see what other people would do with it.  The feedback was incredible!  People have strong opinions about chippy, weathered old pieces.  Some said to keep it as is, some said paint the outside, leave the inside, while others thought I should do the opposite.  Some said paint it all!  So what did I do? First I washed it. 😉 But the rest you’ll just have to wait to see it!!
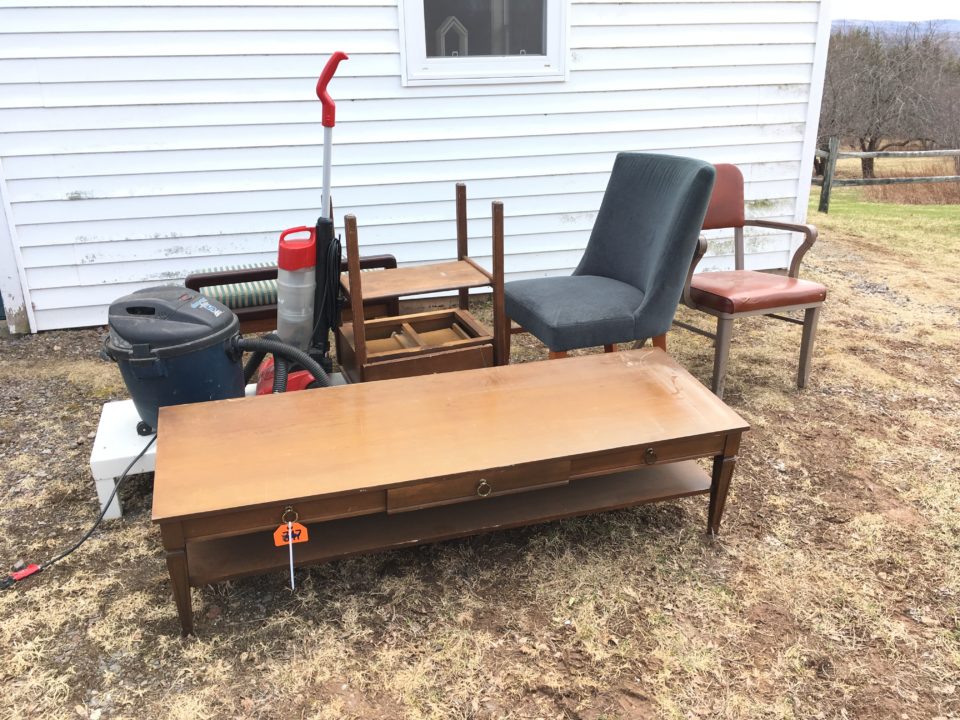
Part of the plan came together by happenstance.  Every Spring and Fall, the Atlantic Stockyards has a Machinery Auction.  I started going after Michael told me about the wooden screen door that went for about $2 and not to him.  He obviously couldn’t be trusted to bring home the right stuff from the auction so I just had to take matters into my own hands.  So, I’ve taken in the auctions whenever I can. This year Dad and I loaded up the girls and headed for Truro.  Now, I will say there are rows upon rows of various farm equipment – from tractors to wagons, saw mills and ploughs.  But, of course, I’m not going for that stuff. I’m going for the random other stuff that people drag there – like wooden wagon wheels, industrial lights, platform scales, milk cans, tool boxes and yes, the furniture.  Random, I know.  And that’s what makes it so fun!  You truly never know what might be on the auction block at one of these sales.  I loaded the back of Dad’s truck up with furniture and 2 random vacuums that were part of the lot. Coffee table, end table, a bench, 2 chairs and a low metal stand and 2 vacuum cleaners.  Yep, that’s how I roll. So, what does this have to do with the studio?  Other than the fact I barely had room to store this stuff?  Well, one of the pieces is going into the new plan.  But what piece in the picture above? Well, you’ll just have to wait!!
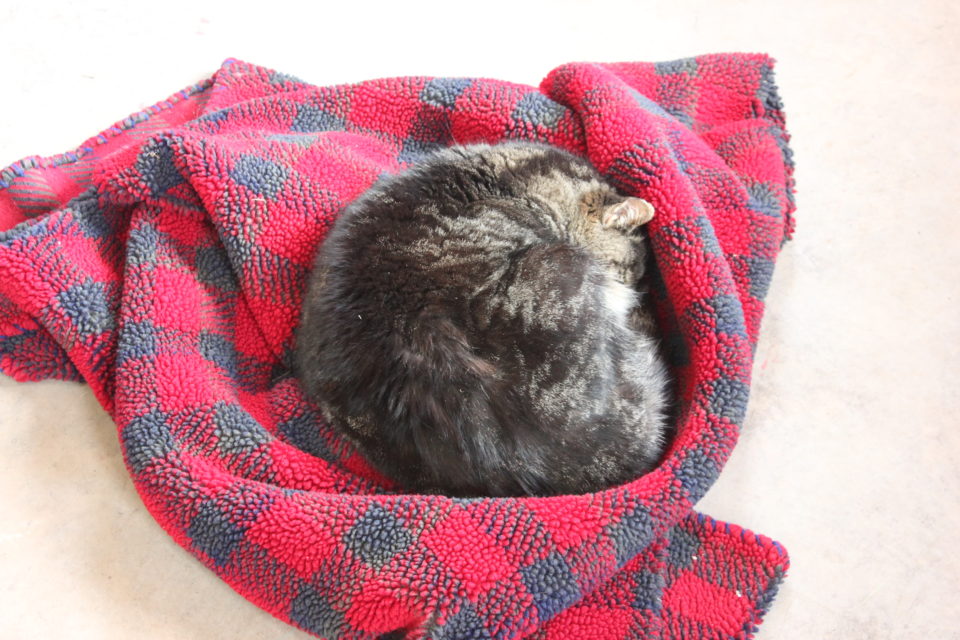
I like to add in here just how put out Buttercat is that there isn’t a spot left for him to sleep when he sneaks into the studio while I’m working.  Finally, after listening to him complain, I threw a blanket down for him by the heater and he proceeded to curl up and have a nap.
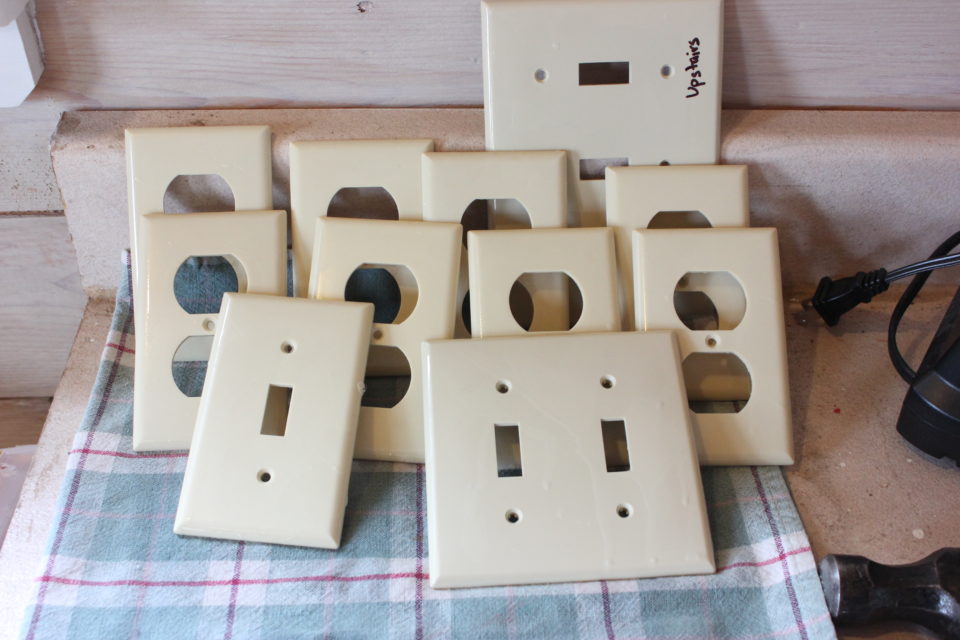
The other exciting thing I did this week was wash the plate covers. 🙂 I know, right?

So, that’s it for progress to show you this week.  Let’s check in on that To-do list shall we?

Sew the curtains for the prep table – done

White wash the walls – done

Paint the floor

Frame the chalkboard – wood bought and cut

Paint the sewing desk – done

Paint and hang the corner cabinet – done

Paint the doors – kinda done {sigh, they need a third coat to cover that blue…}

Paint the sewing chair – done

Paint the trim – done

Once I make it through the To-Do list, I get to do the fun stuff – decorating and re-organizing it all! And then do the big reveal on Week 6!!

To be continued,

Lori

PS To see more Week 4 updates from other bloggers in the ORC, click the logo below!


1 In Makeover

One Room Challenge – The Studio – Week 3


Well, I feel like I’ve made some huge progress on my One Room Challenge to share with you this week.  My body feels like it was huge progress anyway…
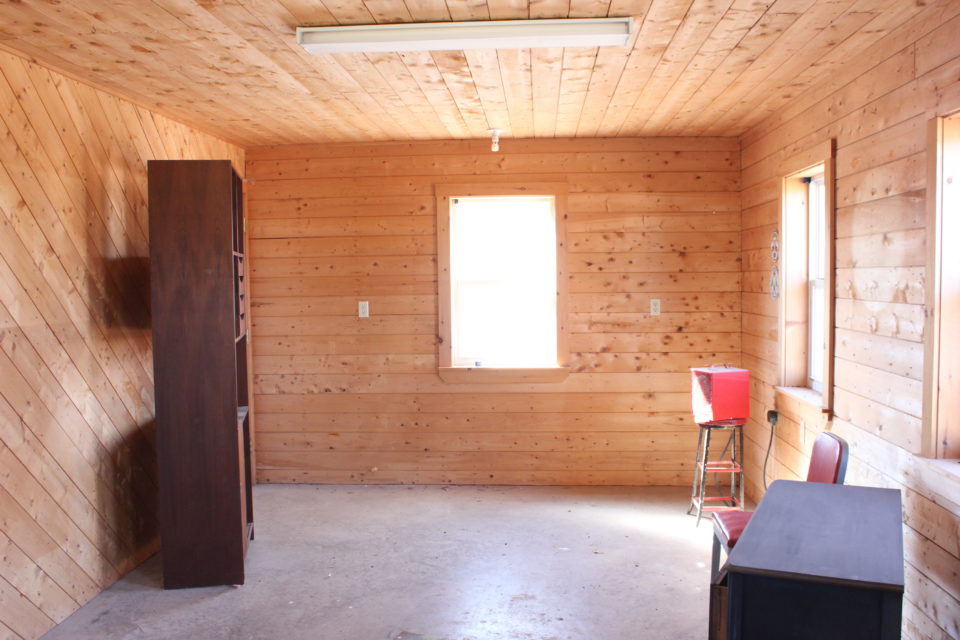
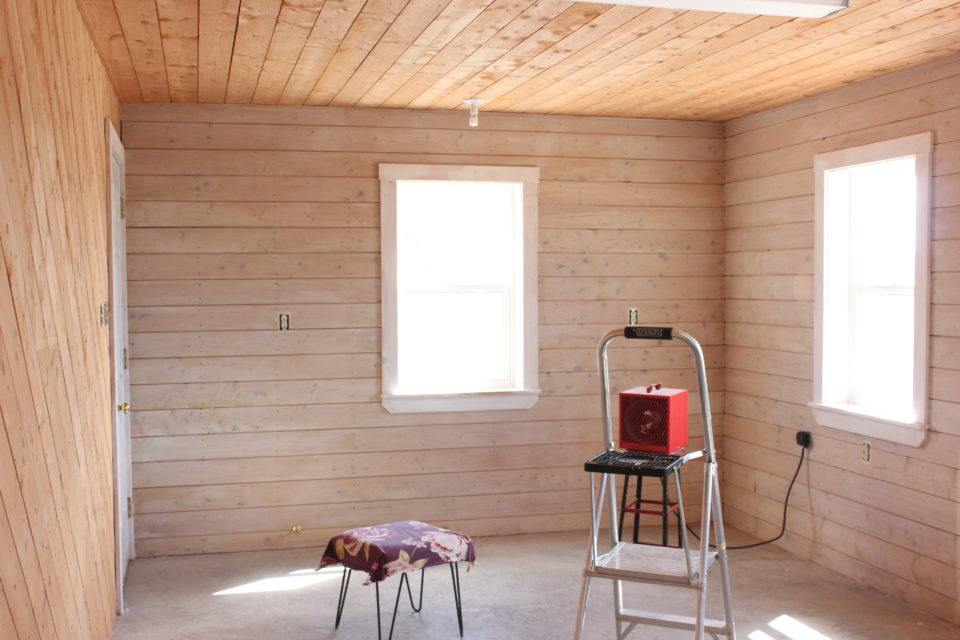
Guys, the studio is empty.

Empty.

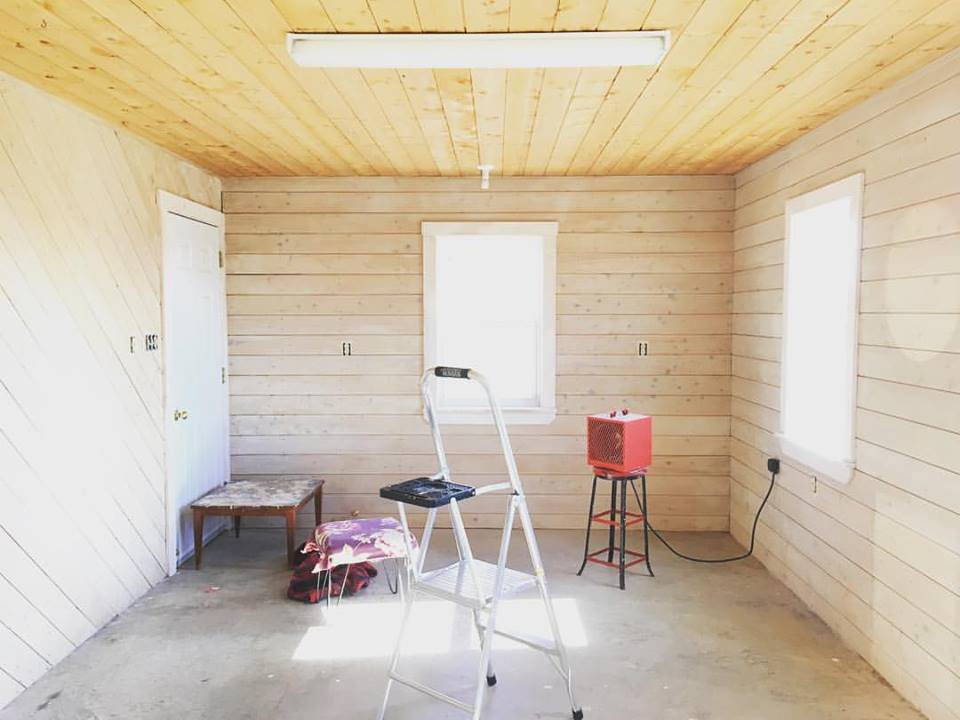
Like a few tools I needed and a ladder kind of empty.  Here it is with just a few bigger pieces left in it…

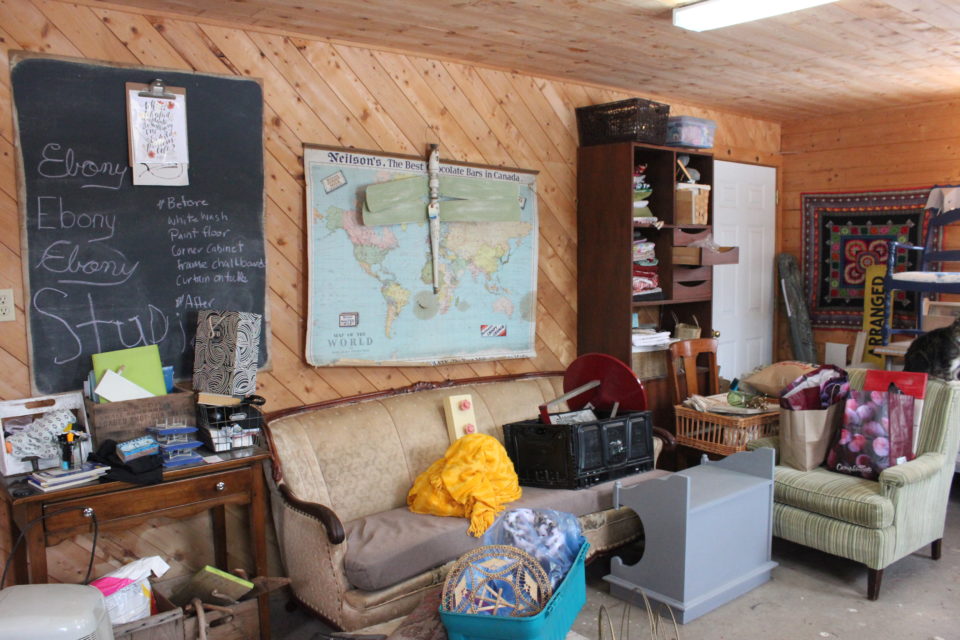
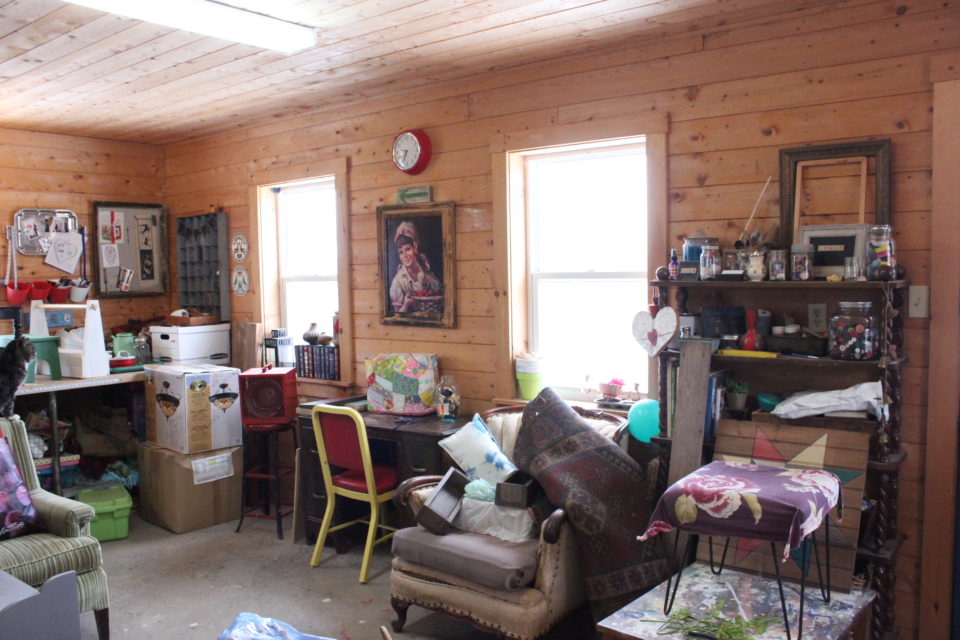
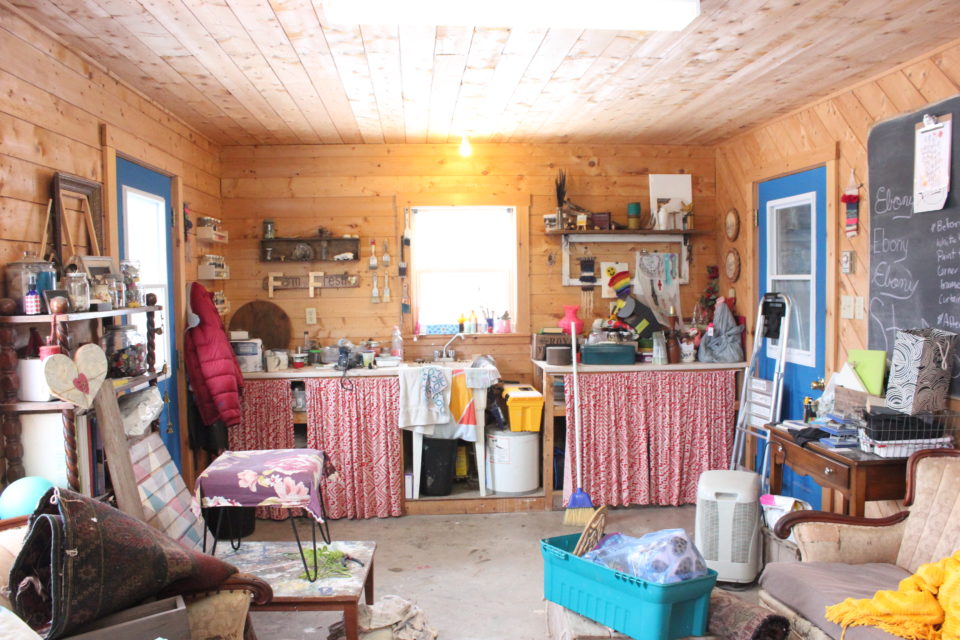
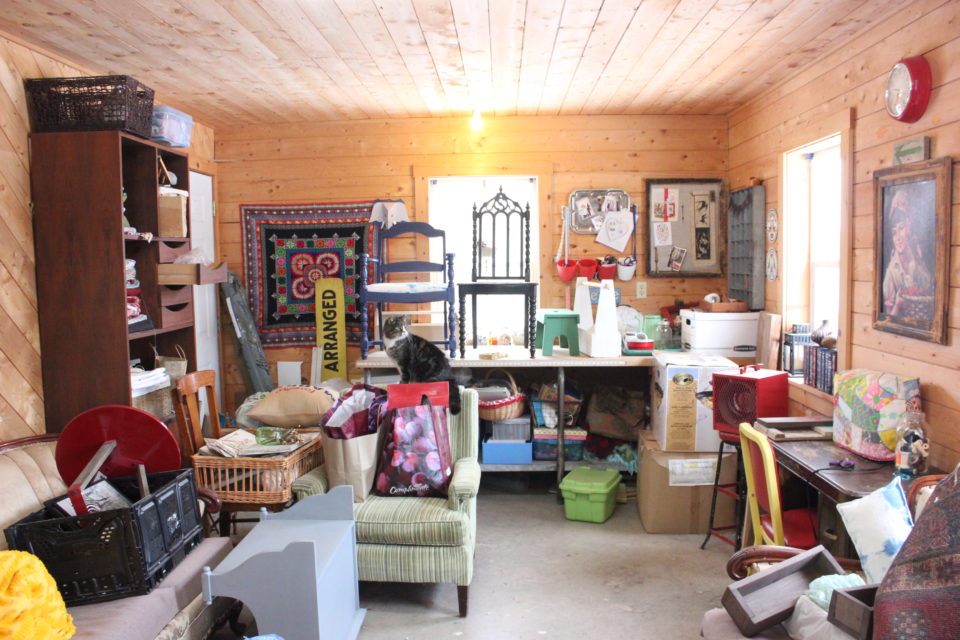
And it’s huge.  I had no idea how much space I had.  Maybe I should rephrase that.  I had no idea how much stuff I had.  So. Much. Stuff.  I filled a garage bay with all that stuff, piles on top of piles.  But I don’t think you really want to see that….

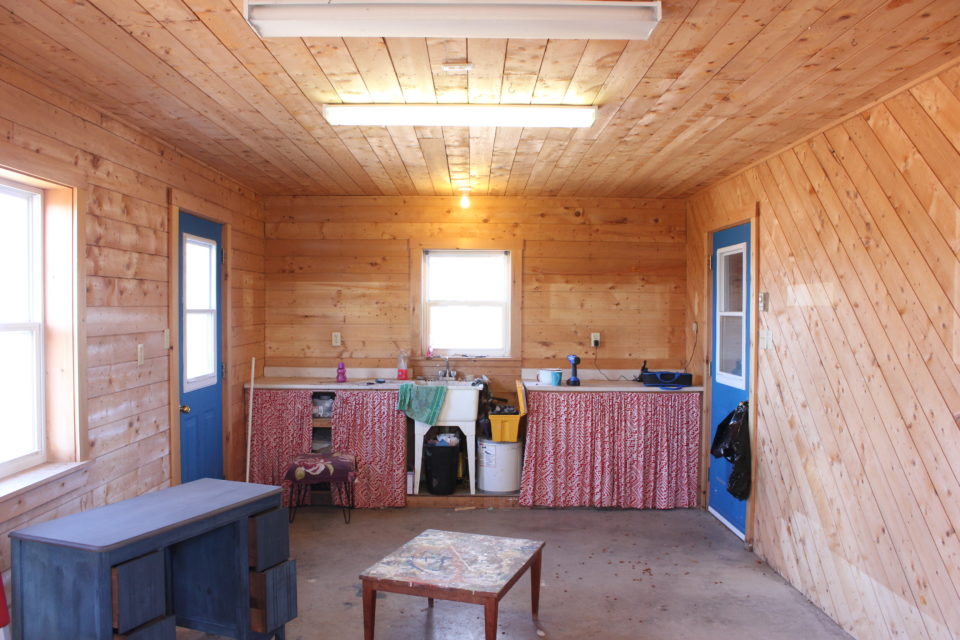
Since last week’s update, which you can read HERE, I discovered that it wasn’t the task of redoing the studio that overwhelmed me, it was all the stuff I had collected and hung onto that overwhelmed me.  To the point that I didn’t enjoy going out to the studio anymore.  All the stuff was making it hard to move around and hard to find a surface to work on.  It had become a joy suck.  The spot that had been my happy place was sucking the joy and the creativity out of my life.  Here’s a quick flashback for you, in case you forgot just where we started:

The space will be well guarded when it comes to putting things back in.  I already have a plan to eliminate some of the furniture that had lived in there.  And I’m going to do some serious purging and sorting.  I’m hanging onto things for potential projects and makeovers.  But if I never get around to it, then it’s time to let it go.  I can’t do everything, I can’t make everything and I will no longer hang onto everything.

I’m really thinking about how I use the space and what jobs I do in there.  I was doing the dustiest jobs right beside a shelf that was filled with little knick-knacky things.  Duh!!  That was dumb!  It was always dusty!!  And I don’t want to go to the studio to do housework, I want to play, to create!  Needless to say, this space is going to function much better when all is said and done!

One of the main reasons I wanted to whitewash the walls was because it was a busy backdrop to photograph against.  But it really didn’t matter since there wasn’t a wall to photograph against anyway! So in the new plan, there will be empty wall space and I’ll try my very hardest not to fill it.  I struggle with gaps…truly I do!  Until I want to photograph something and there’s stuff everywhere!

It was a huge job just to empty the studio out but I finished it and started the white washing before my friend, Catherine, showed up to lend a hand.  One of the things I love about Catherine is she is my sounding board.  When I’m debating something, whether it’s in real life, in fashion or style or in decorating, I use her to bounce ideas off.  So, when the whitewash wasn’t quite looking how I had hoped it would, I stopped and waited for her arrival so I could get her take on it.

She agreed that it wasn’t quite right but maybe we should let it dry before making the final call.  But during this whole debate, the decision was made to paint the trim work throughout the studio a solid white and no longer just white wash it like I was originally going to do.  So, while we waited for the trial white washed section to dry, we put a coat of primer on all the window and door trim.  And by the time we finished that, we knew the white wash really would be alright and we carried on with the rest of the walls in the ratio I had mixed up.  { If we decided to go with a more solid white wash, it would’ve meant waiting to do the work unto I could get back to Phillips and Chestnut another day for more Farmhouse White Miss Mustard Milkpaint because, of course, I mixed all I had….and I even know better!! }

Three walls later, Catherine left with some of her kids and I continued on painting the last, and hardest wall…the diagonal wall.  Ugh.  To prevent dry lines and weird overlap marks, a complete board needed to be done at once, which was pretty easy on the horizontal boards but meant a whole lot of climbing and squatting on the diagonals!  But I finished it off, with a 1/4″ of paint left in the bottom of the big Tupperware container I was using to mix and hold all the paint.

So, once again, my To-Do list grew!  Let’s review:

Sew Curtains for the prep table – done

White wash the walls – done

Paint the floor

Frame the chalkboard

Paint the sewing desk – kinda done

Paint and hang the corner cabinet

Paint the doors

Paint the sewing chair – kinda done

Paint the trim – kinda done

But look at that progress!!  Looks a million times better – so bright and fresh….maybe that’s just because I washed the windows, though….

So much to do, so little time left!!

To be continued,

Lori

PS – To see other guest participates of the One Room Challenge – click the logo below


2 In Makeover

One Room Challenge – The Studio – Week 2

Here we are, at the second week of the One Room Challenge.   I suppose you’d like to see the progress? I’m at least happy to admit there is progress to show!  { If you missed Week One – you can see it HERE }

Well, I’ve made a few decisions for the direction I’m heading with the colour palette and some changes to the layout.  I’m excited to make the space look and work better for me.

I have the fabric for the curtains on the prep table – I’ve had it pretty much since we moved in here, back in July of 2014.  I got it on clearance at Fabricville for about $2.00/yd and I manged to get the ones done up for the counter but not the table.  There isn’t quite enough to do exactly what I want but I’ll make do and not tell you my exact plan so you won’t know the difference. 😉  I just need to get the hardware to hang it – I knew I wanted to go to Walmart for something but couldn’t remember what it was!! Does Momma Brain ever go away?!?!

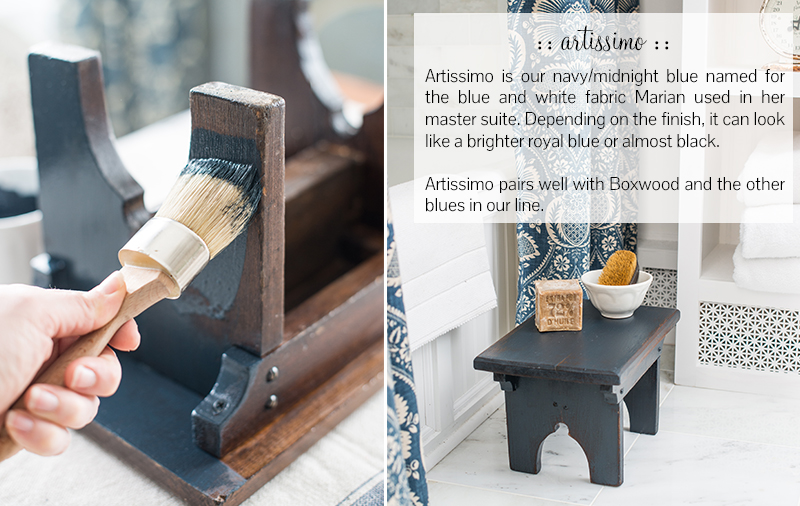
The desk I use for sewing was a desk that we had in our house growing up, I’m not really sure the history of it and apparently neither does Mom, she couldn’t remember where it come from.  Lena had it is her room until the last makeover and then we put it in the studio and swapped out what was my sewing desk with the old computer desk in the back bedroom….again, being able to shop from your own personal ‘stash’ is great!  We checked in with mom and she’s okay with my painting the desk out so I’m going to do it in Miss Mustard Seed‘s Artissimo – I’m a huge fan of deep blues!  When I showed Mom the sneak peek of it, she said she may want it back when it’s all done.  Hands off, Mom!!

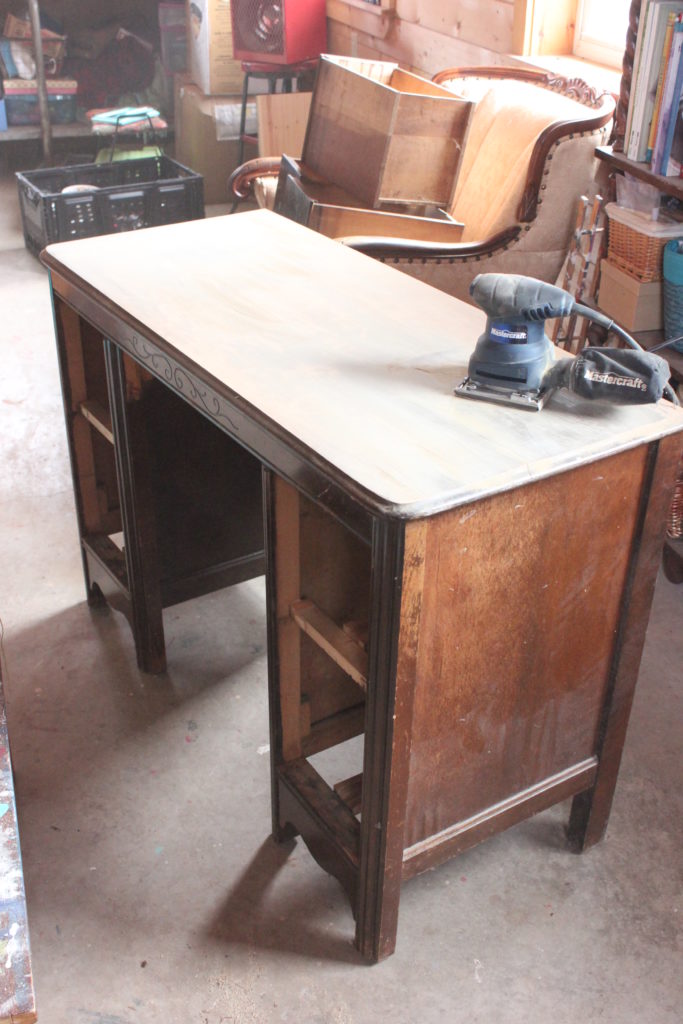
Here’s the before, or in reality, the during because I forgot to take a picture until I started sanding it, of course!  My plan is to keep the hardware, paint the drawers and sides in Artissimo and then stain the top.  And when it’s finished, I’ll put my favourite finish on of Miss Mustard Seed’s Hemp Oil to seal it and add to the richness of it.  My original idea was to paint the desk a turquoise colour, but when I started looking at painted desks on Pinterest, it was the deeper, richer colours that really appealed to me.

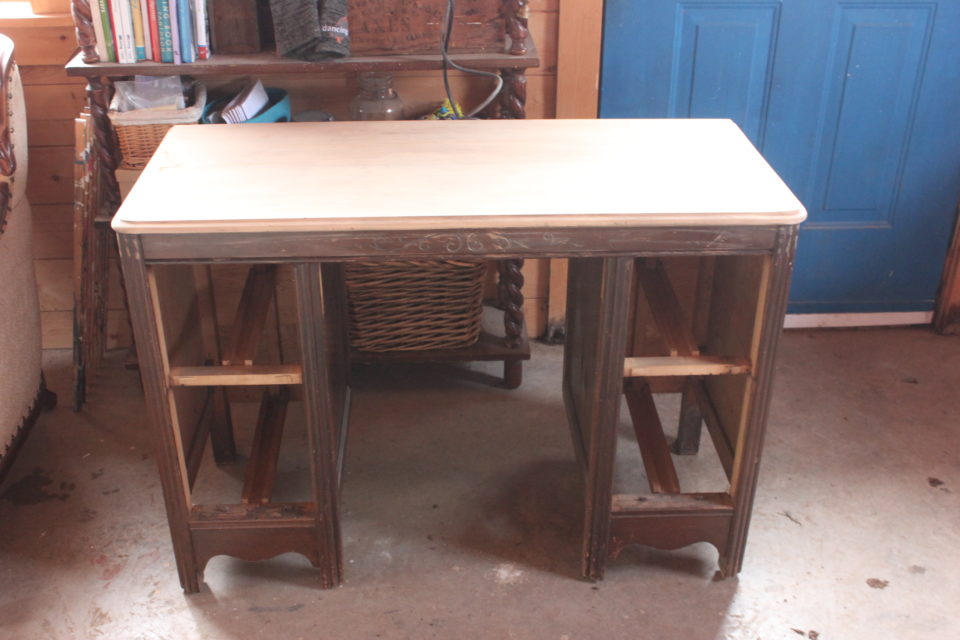
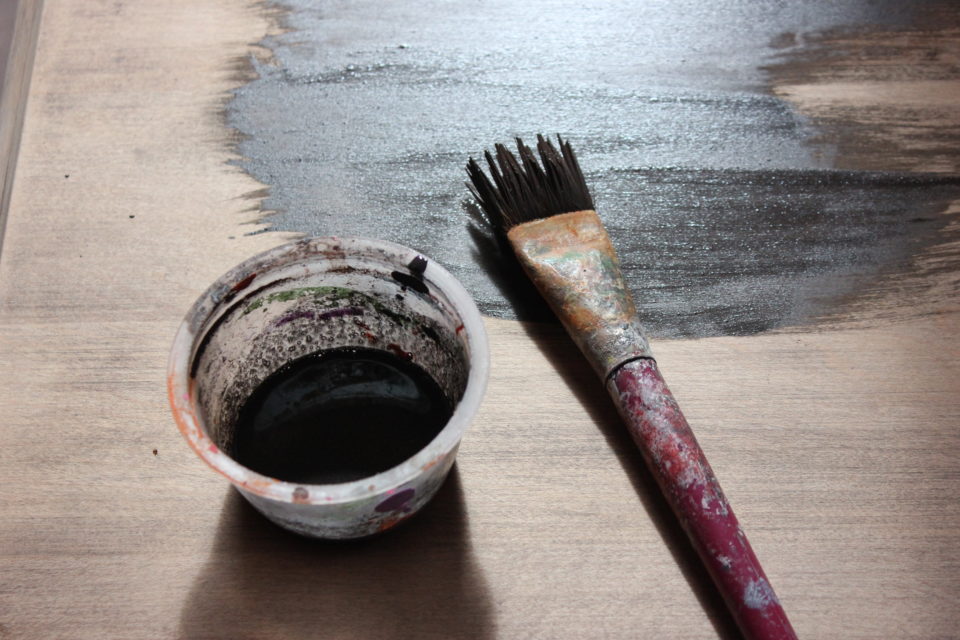
Here it is with the top sanded off…I have to admit, I’m surprised how little time it took to sand the finish off on the top.  Probably 20 minutes max and it was down to the raw wood again.  I love my palm sander for jobs like that!  And the raw wood will absorb the stain (which is just a watery mixture of Curio and Typewriter from Miss Mustard Seed) really well and add a nice bit of contrast to the painted wood on the rest of the desk.

Then I stained the top…

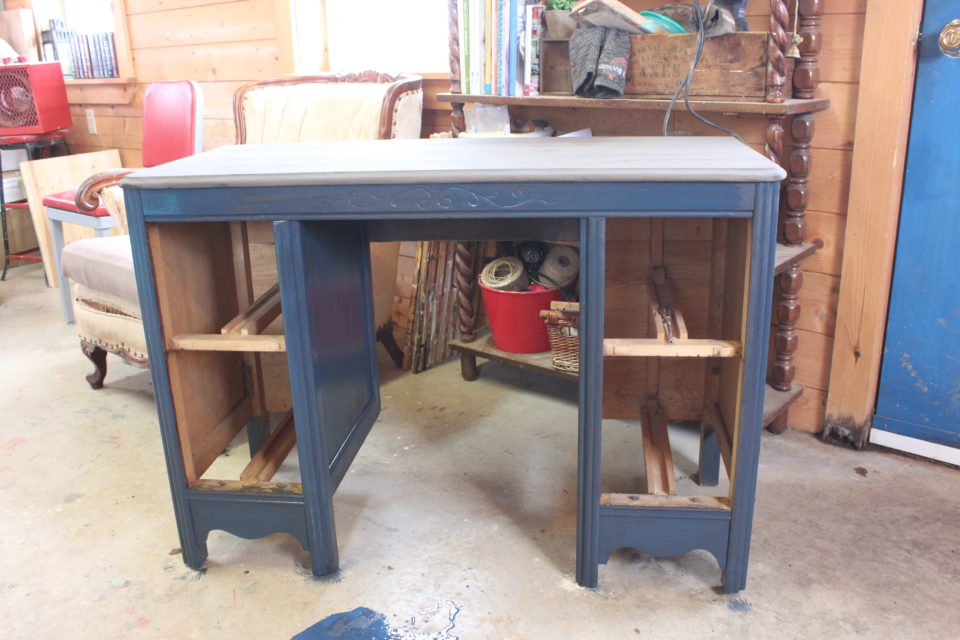
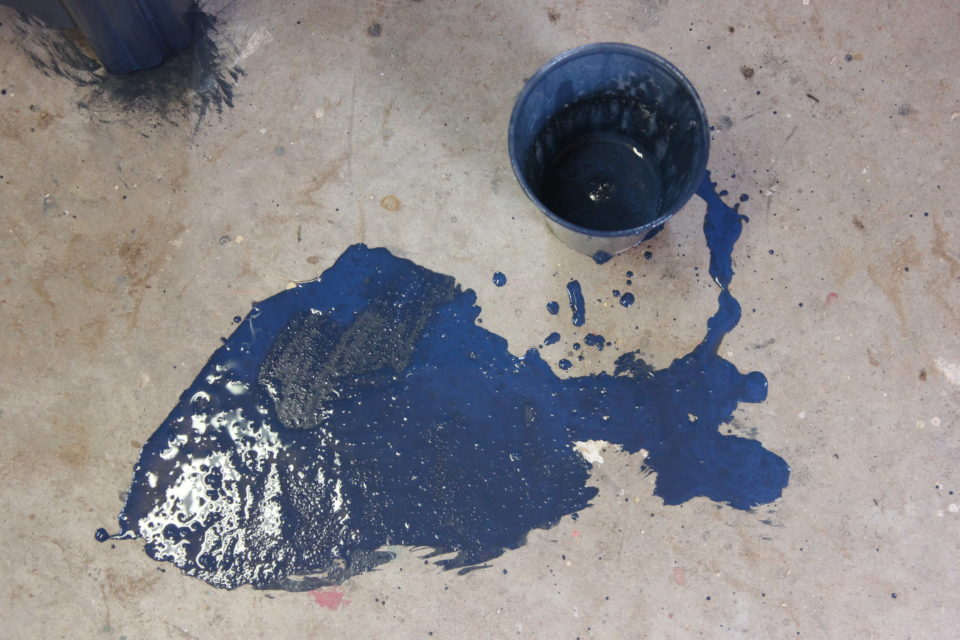
And then I put on the first coat of Artissimo paint.  And I knocked over the cup with my paint in it and said a ‘farm word’ which my girls quickly corrected me on!  Oops!!  I tried to use as much of that paint as I could so not to waste it, thankfully it’s just the first coat and the chunks can easily be sanded out…sweeping the floor was on my list…. 😉  And from there on out, I’m happy to admit I just used the word ‘crap’ and nothing worse….
Just keepin’ it real for you!  That’ll probably be the last you’ll see of the desk until the big final reveal, I need to keep some secrets to show you at the end of it all!

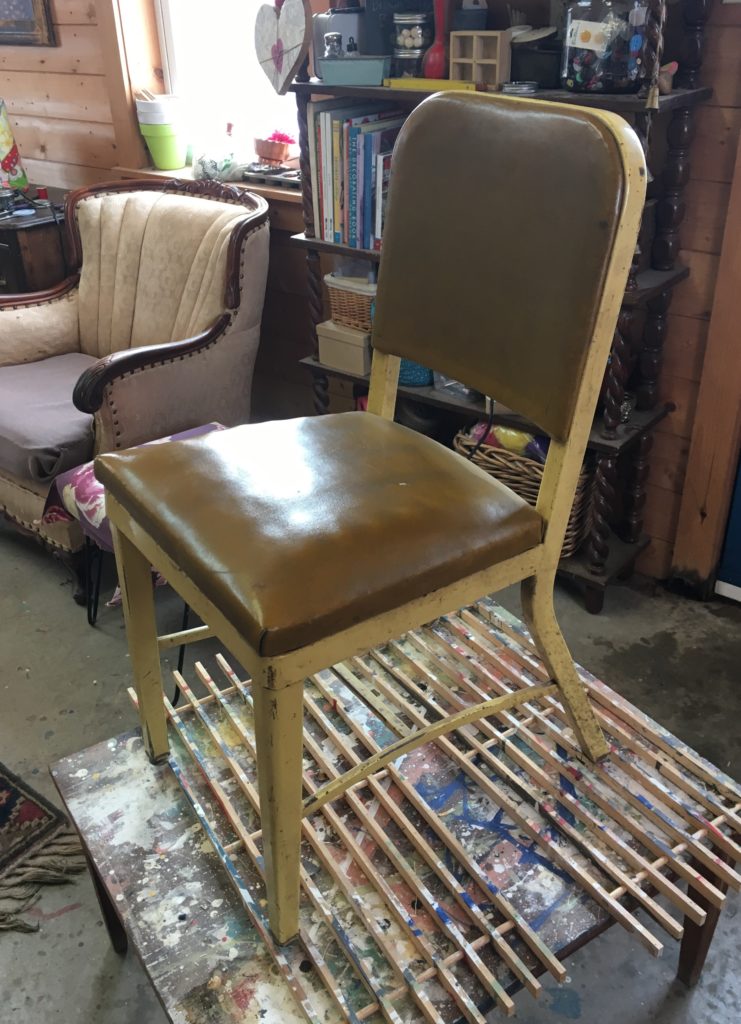
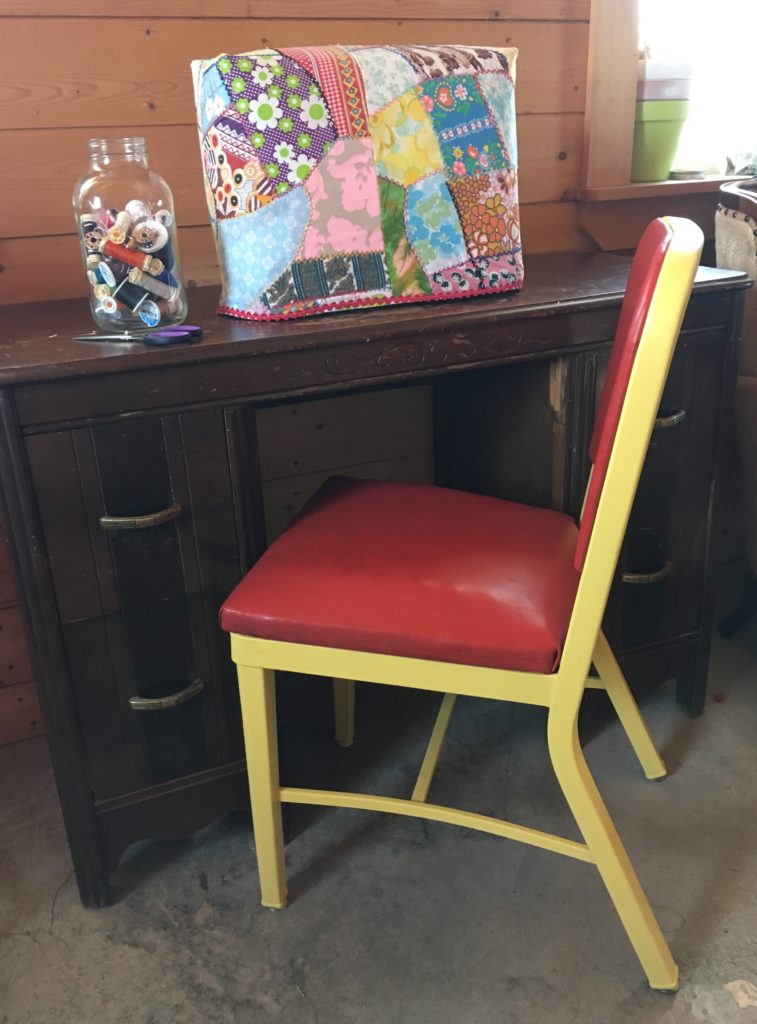
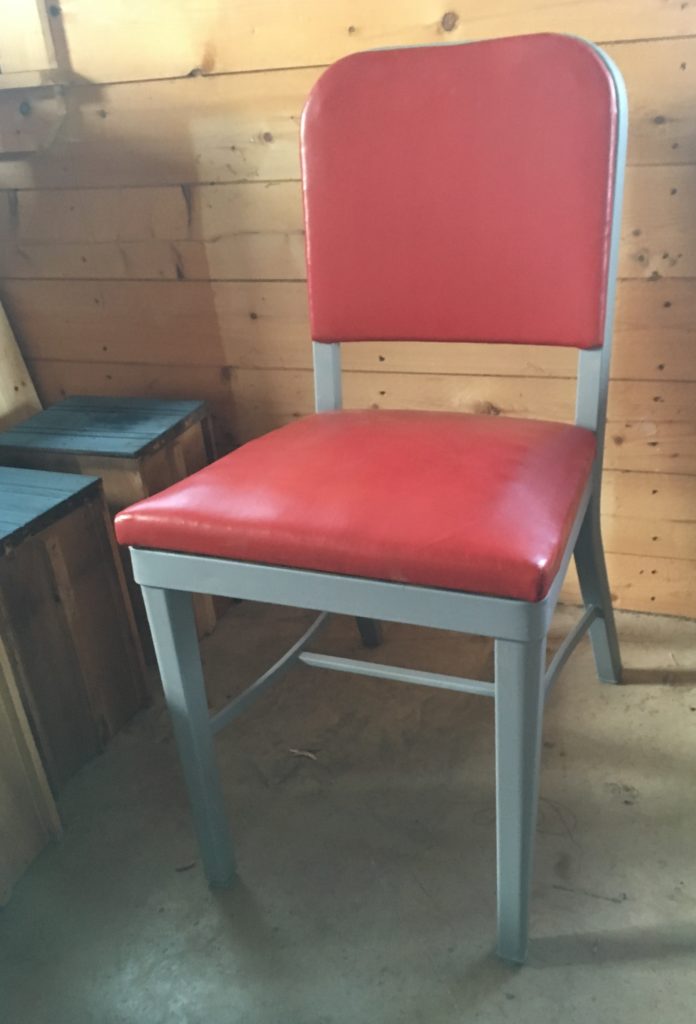
The chair that I use at that desk will need to change up a bit, too….yes, I’m adding MORE projects to my list!  This is a road-side score that I grabbed while traveling with the handsome Mr. Byrne….can I just add how mortified he was that I stopped and loaded this number in the car! 😉 Now, probably about 2 months ago, I decided I would give it a facelift and painted it but now I need to change it again! I’m not loving the yellow…so it got a coat of a custom grey I mixed for another project.  And the seat? Yeah, that’s paint!  I used Fusion Mineral Paint and waxed it!  We’ll see how it holds up but I’ve heard great things about it so I thought I’d try it for myself!

Office Chair Before Before:

Office Chair after Makeover 1.0:

Office Chair with one coat of Makeover 2.0:

The floor will be going painted with Benjamin Moore’s Porch & Floor paint, which I have used many times in the past and I love it.  I think painting out the floor will really make the space feel less like a workshop off the garage and more like an intentional space.  It will also hide all the various colours of paint I’ve used over the last three years and force me to use a drop cloth!  The colour I’ve decide on is Pacific Ocean Blue 2055-20.

One of the other project on my To-List is to paint out the doors between the studio and the garage and the door to the outside.  I’m very sick of this blue.  Very, very sick of it.  All the doors and all the shutters everywhere here at Clear Day Farm are painted this colour and when we get the house painted this summer, I’m changing them all!!  The interior sides of these will just go back to white, just to freshen them up and to keep it light and bright.

So, let’s review my To-Do list:

Sew curtains for the prep table

White wash the walls

Paint the floor

Frame the chalkboard

Paint the sewing desk

Paint and hang the corner cabinet

Paint the doors

Paint the sewing chair

It looks like I can only cross one and half tiny tasks off the list this week.  Oh well, I do feel like I’ve made some progress!  The biggest task is just going to be to move everything out to get at the walls and the floor to attack those painting projects! Ugh!  And I know I need to do considerable sorting to pair down what makes it back in. But we’ll save that for another week, I guess!!

To be continued,

Lori

To see other One Room Challenges by other bloggers, click the logo below!


8 In Makeover

One Room Challenge – The Studio – Week 1

I’m so excited!!!  I’ve been wanting to do some up-dates to the studio and this is the perfect reason to check it off my list! But, first, let me back up a little…

I had heard about the One Room Challenge before, but I honestly couldn’t tell you if it was a blog post I came across, a FB post or on Instagram.  It certianly made me a little curious but not enough to actually take part.  But when Erin of DIY Passion put it out there in our blogging group, my first thought was of the studio!  When I read more about it, I thought that this would be a great challenge for me to focus on getting something done for me and make my studio suit my style a little better and hopefully function better for me at the same time. { Read: clean it up and move some stuff along }

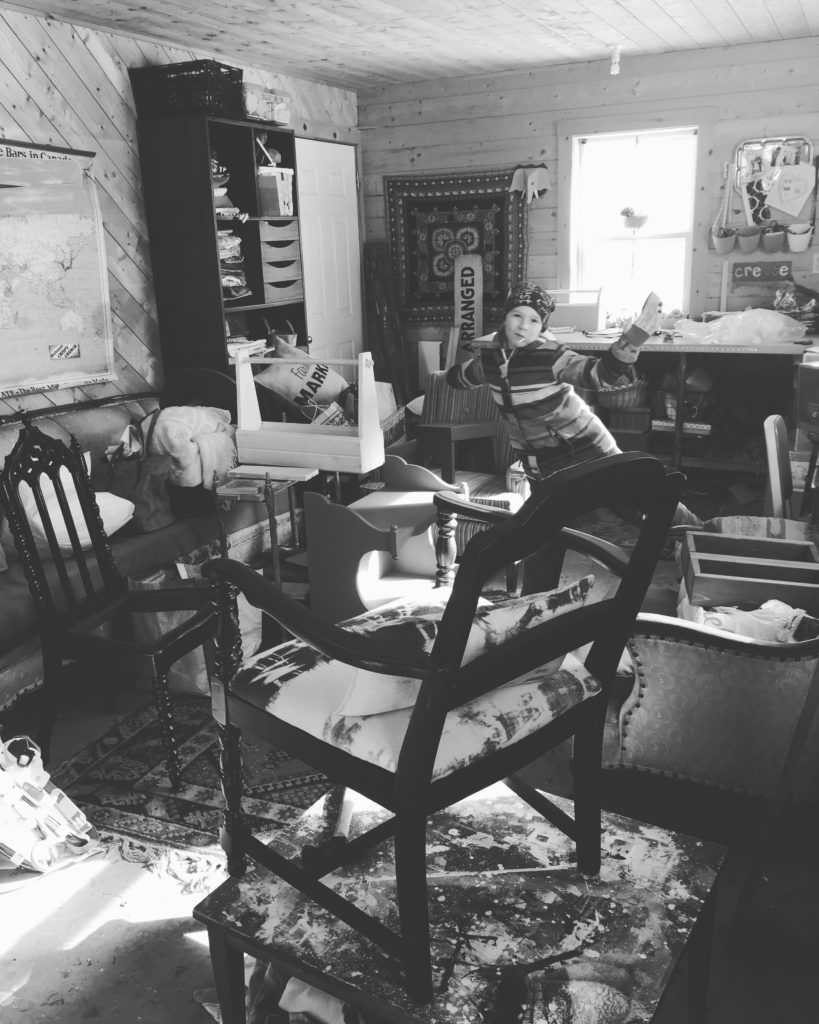
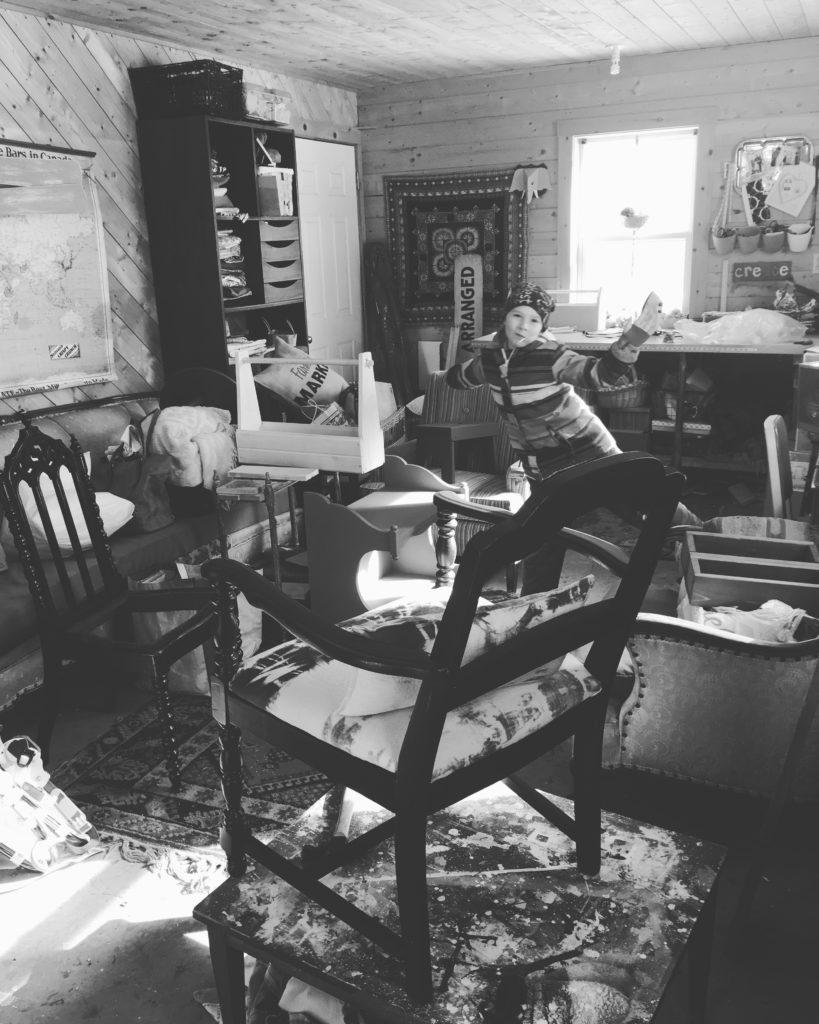
Now, let’s review a little about where we’ve been with the studio over the past almsot 3 years.  You can check out my first post about the space HERE.  And then it transitioned into THIS and THIS.  I would sometimes post pictures like the below picture, in Black & White so it masks what a huge mess it currently is in!  See? You can even hide a kid in there!

So when I started thinking about what I wanted to do out in the studio, a few thoughts were immediate – white wash the walls and paint the floor.  Hands down, no question.  There’s a catch with doing those projects.  A rather large catch….that involves moving things out of the studio and the only place to put things is in the loft or the garage.  But here’s the rub…somethings won’t fit through the door and up the stairs to the studio so they need go to the garage, which sounds simple enough except we seem to be caught in a never-ending winter so I need the garage space for the car – you know, what the garage is actually for! 😉

The other problem is that I hoard projects.  Hi, my name is Lori and I’m addicted to chairs and future projects. I know I”m not alone in this, right? Everybody raise your hand!  So, the studio is filled with things I’m working on and getting ready for the Homegrown Vintage Market in August { I never prepare this early! } and thankfully just a few client projects which I need to wrap up and move along.

Here’s a rough list, in no particular order, of what I hope to accomplish over the next 6 weeks:

Sew curtains for the prep table

Paint the floor

Whitewash the walls

Frame the chalkboard

Paint the sewing desk

Paint and hang the corner cabinet

Paint the doors

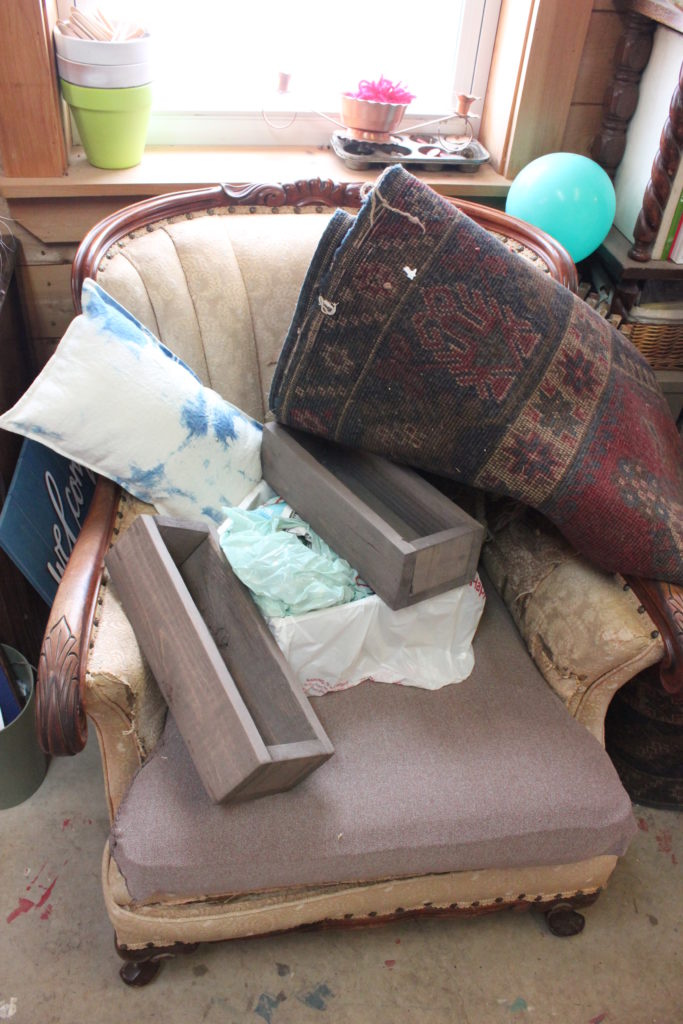
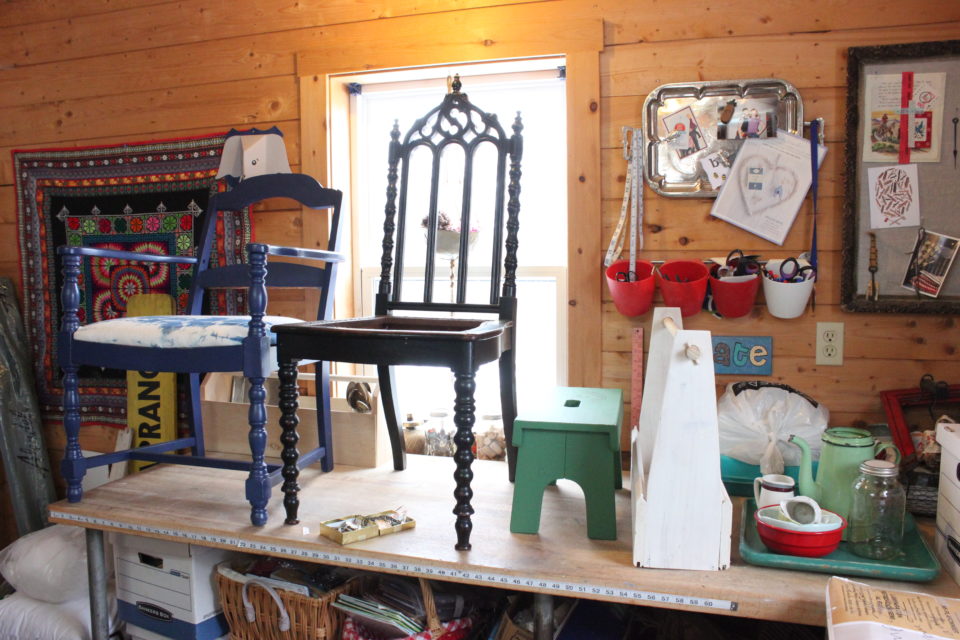
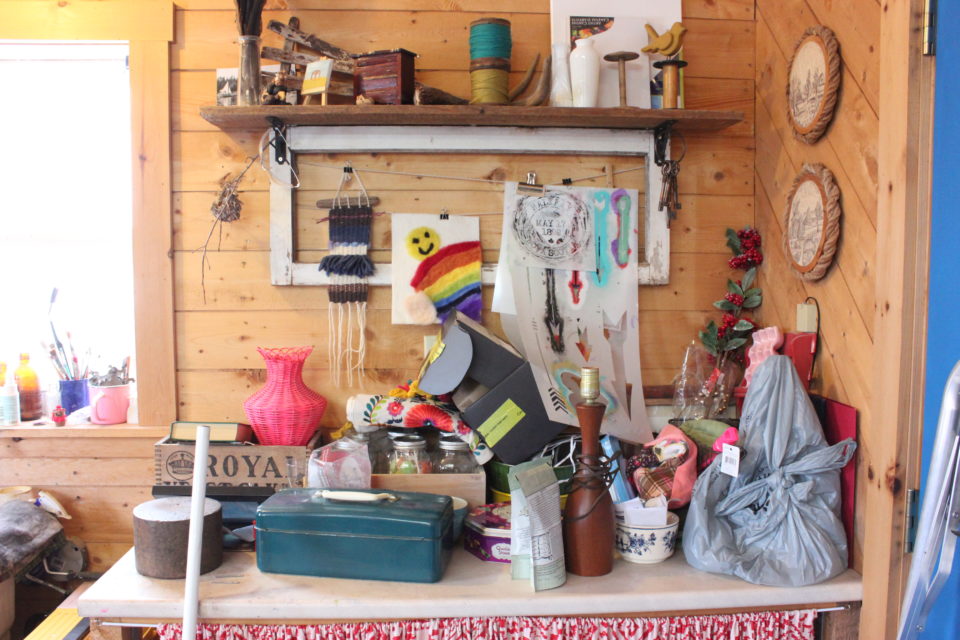
So pull up a chair and I’ll show you exactly what I’m dealing with….lol, see???  This is exactly why I need to focus some attaention on my work space!

Ugh – when I look at these pictures, I feel completely overwhelmed!!  Will 6 weeks be enough time? I have so much work to do just to muck this space out, let alone give it a makeover!

But one has to start somewhere, right?  I guess I best get out there and start sorting things out, packing things up and hauling them out of my way! I love my studio space and am so thankful that it was here for me when we moved in.  Now, I really get to freshen it up and concentrate on doing it over, making it my own.

See you next week where I’ll give you a progress report, complete with pictures!

To be continued,

Lori

PS Click the logo below to return to the other ORC Guest Posts!!  Have fun!


In Clear Day Farm/ Makeover

The Living Room

We spend a lot of our home time in our Living Room.  That’s where we watch TV, chat, read or visit if we have company.  It truly is our ‘Living’ room.  We spend a lot of time in that room.

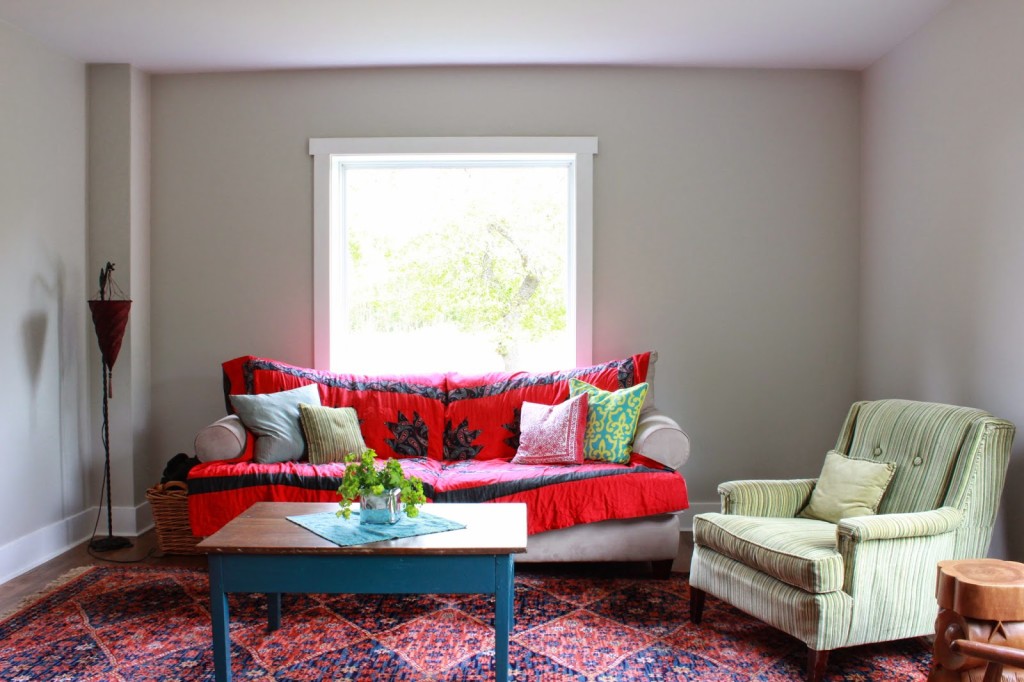
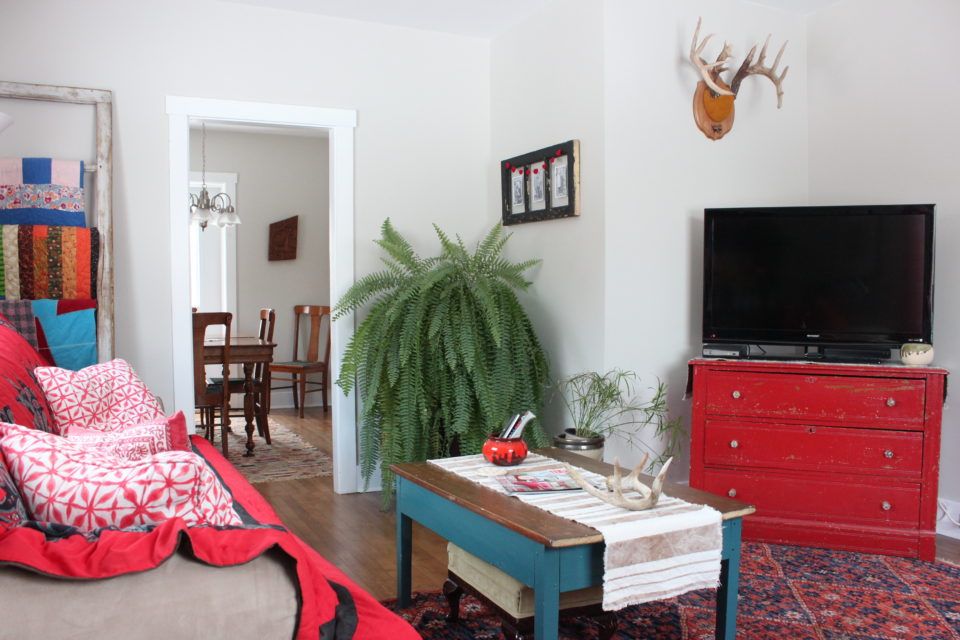
Here is a before picture, to remind you of exactly where we started a few years back now, when we first moved in:

Now, back then, the couch went in front of the living room window that faces the road.  I wasn’t really convinced we had many options for the arrangement of furniture.  The TV, because of the cable, had only one spot to go but it simplified the awkward corner where the flue goes through the room. But eventually I begun to think that with some other re-arranging, that there might be other possibilities.  I know, I know, I am a decorator and all, but you know how it is when it comes to your own stuff, you can’t always see the forest for the trees.

The couch is cozy for one person or four.  The fights usually break out when there are just two girls on it, funny thing about that.  I’m not sure what I was thinking when I picked out a light beige sofa when we had small children, but considering it was an inexpensive sofa from The Brick 8 years ago, I’d say its done well for us.  We keep it covered most times.  It’s a pain but a cleaner couch is worth it.  We also don’t let the kids eat on it….that certainly helps, too.

I decided that this past Christmas, I wanted the tree in the front window which meant I had to figure out a new arrangement that involved moving the couch in front of the other window.  And once I get something in my head, there’s usually no going back…even if it means struggling to rearrange furniture with only small children to help out.

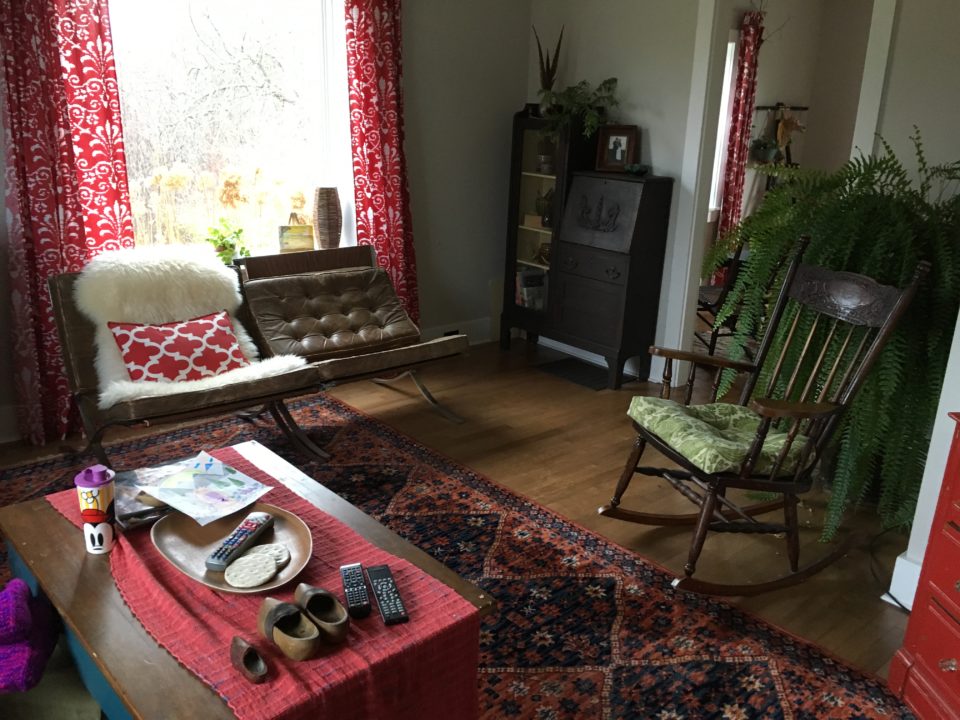
If you’ve been hanging out in these parts for any length of time, you know I have a few chairs.  As in, I hoard chairs – for just the occasion as this!  I tried to make the living room work for me without having to move the couch, and the cabinets that would also need to be shuffled if we figured it out.  I took a few options in from the studio and tried this but the green chair was too big there beside the TV…

And this but the blue chair was too little…

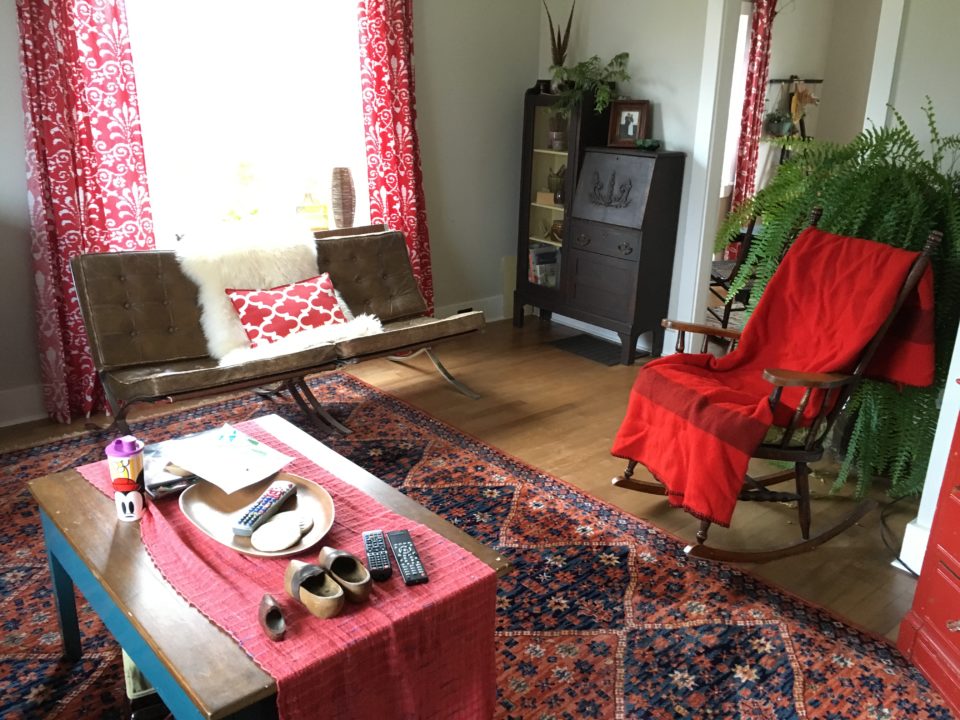
And this but the rocking chair wasn’t right, either….

So I threw a blanket over it….but that didn’t work either.  I feel like there’s a story about the wrong chairs… #goldilocks

So, then I figured if I wanted a change, I had to be all in.  So I moved what I could myself with the help of Lena and her friend Gabby, and then I called my brother since Michael wasn’t home.  Poor Steve always gets the call when I’m in the middle of something and need a hand when Michael isn’t home.  Because, like I said, when I have it in my head….

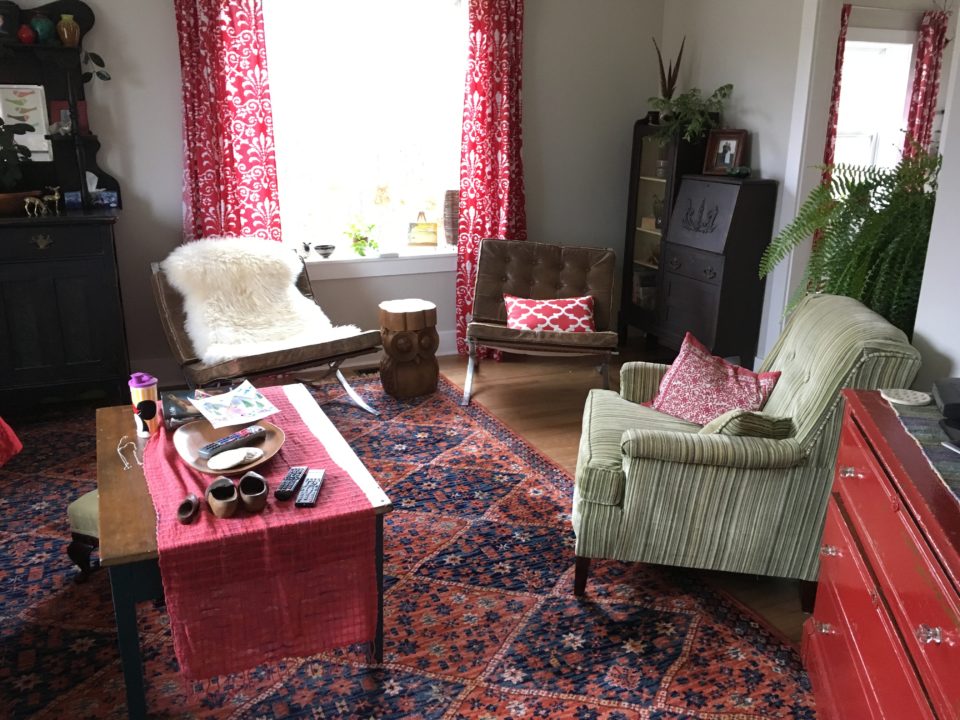
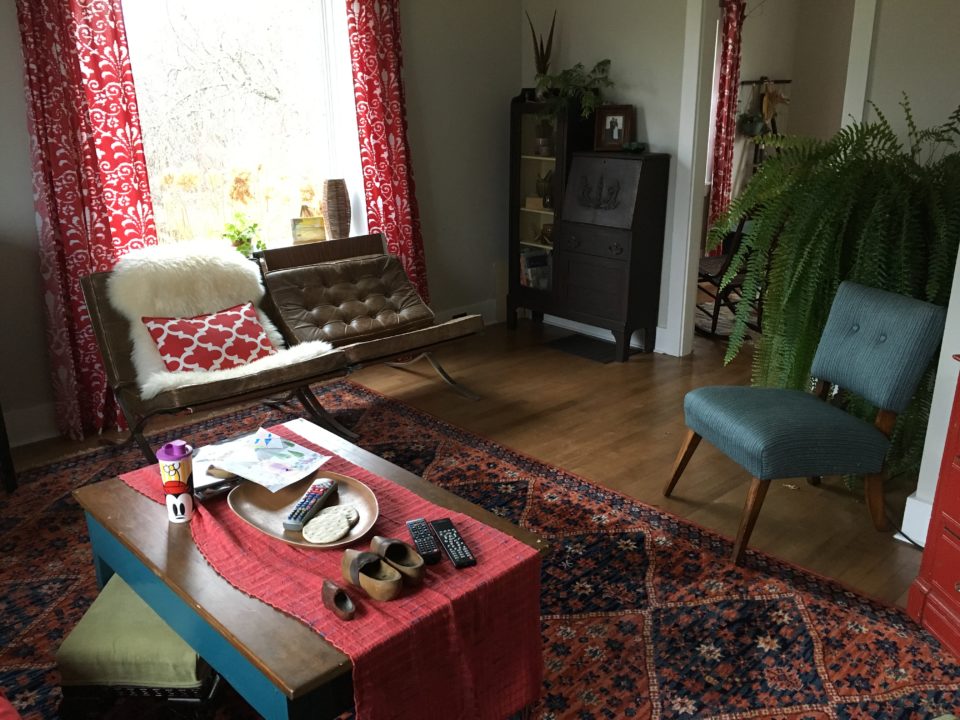
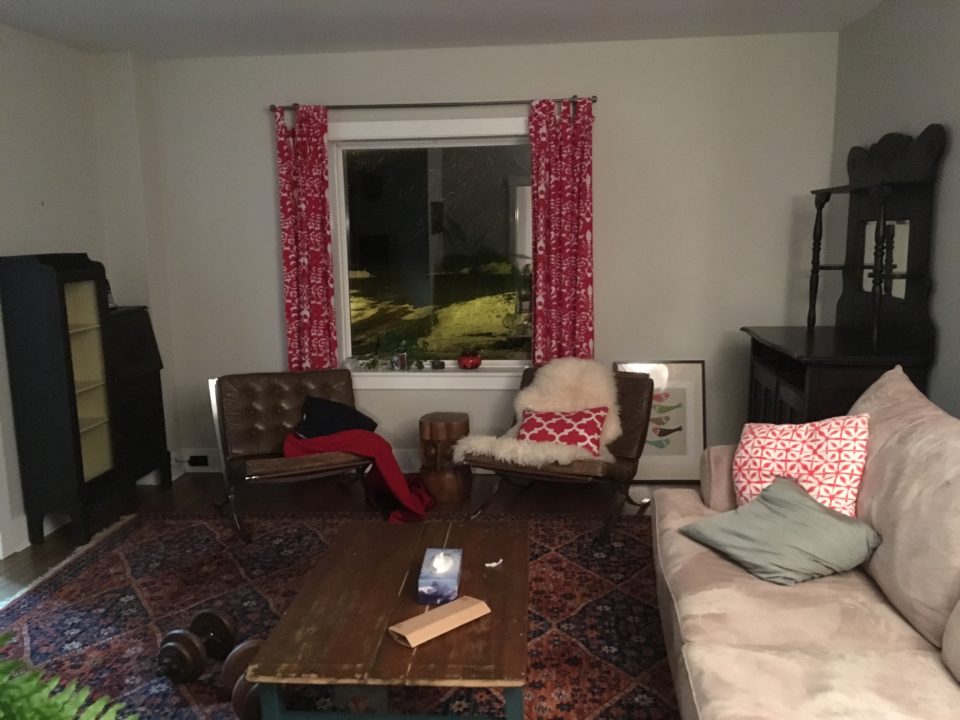
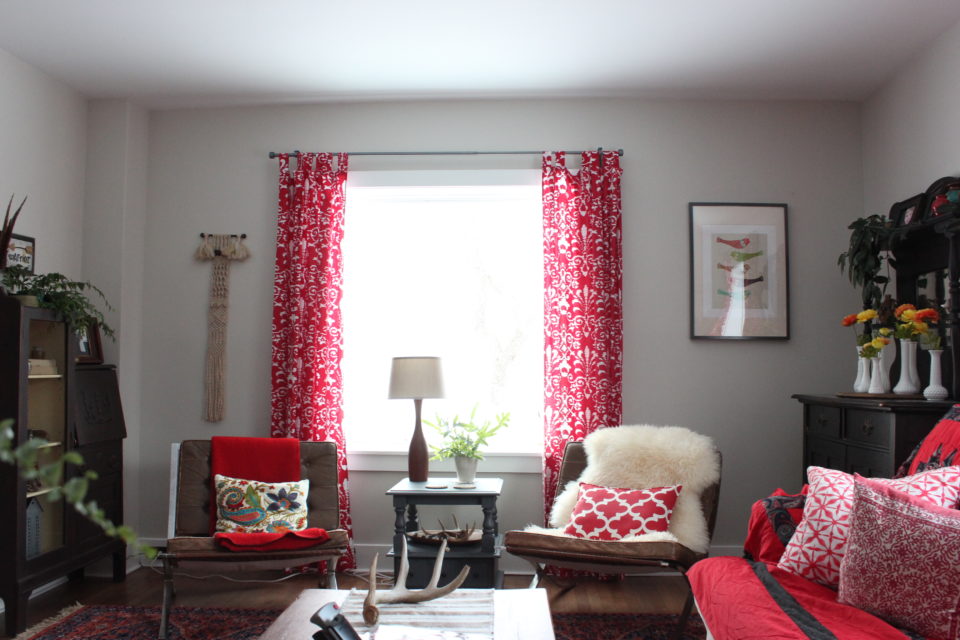
When the dust settled and the furniture was roughly placed, I ended up with this:

And then I had to find a coffee table that worked for me….again, I went to my stash.  But apparently I didn’t photograph my various options.  You know, the old $5 coffee table, the bench from the veranda and then the cut down table shown in the above picture.  I settled on the cut down table, it’s wider than I want but the scale is better and it’s a good height to rest your feet on, which is important, too!

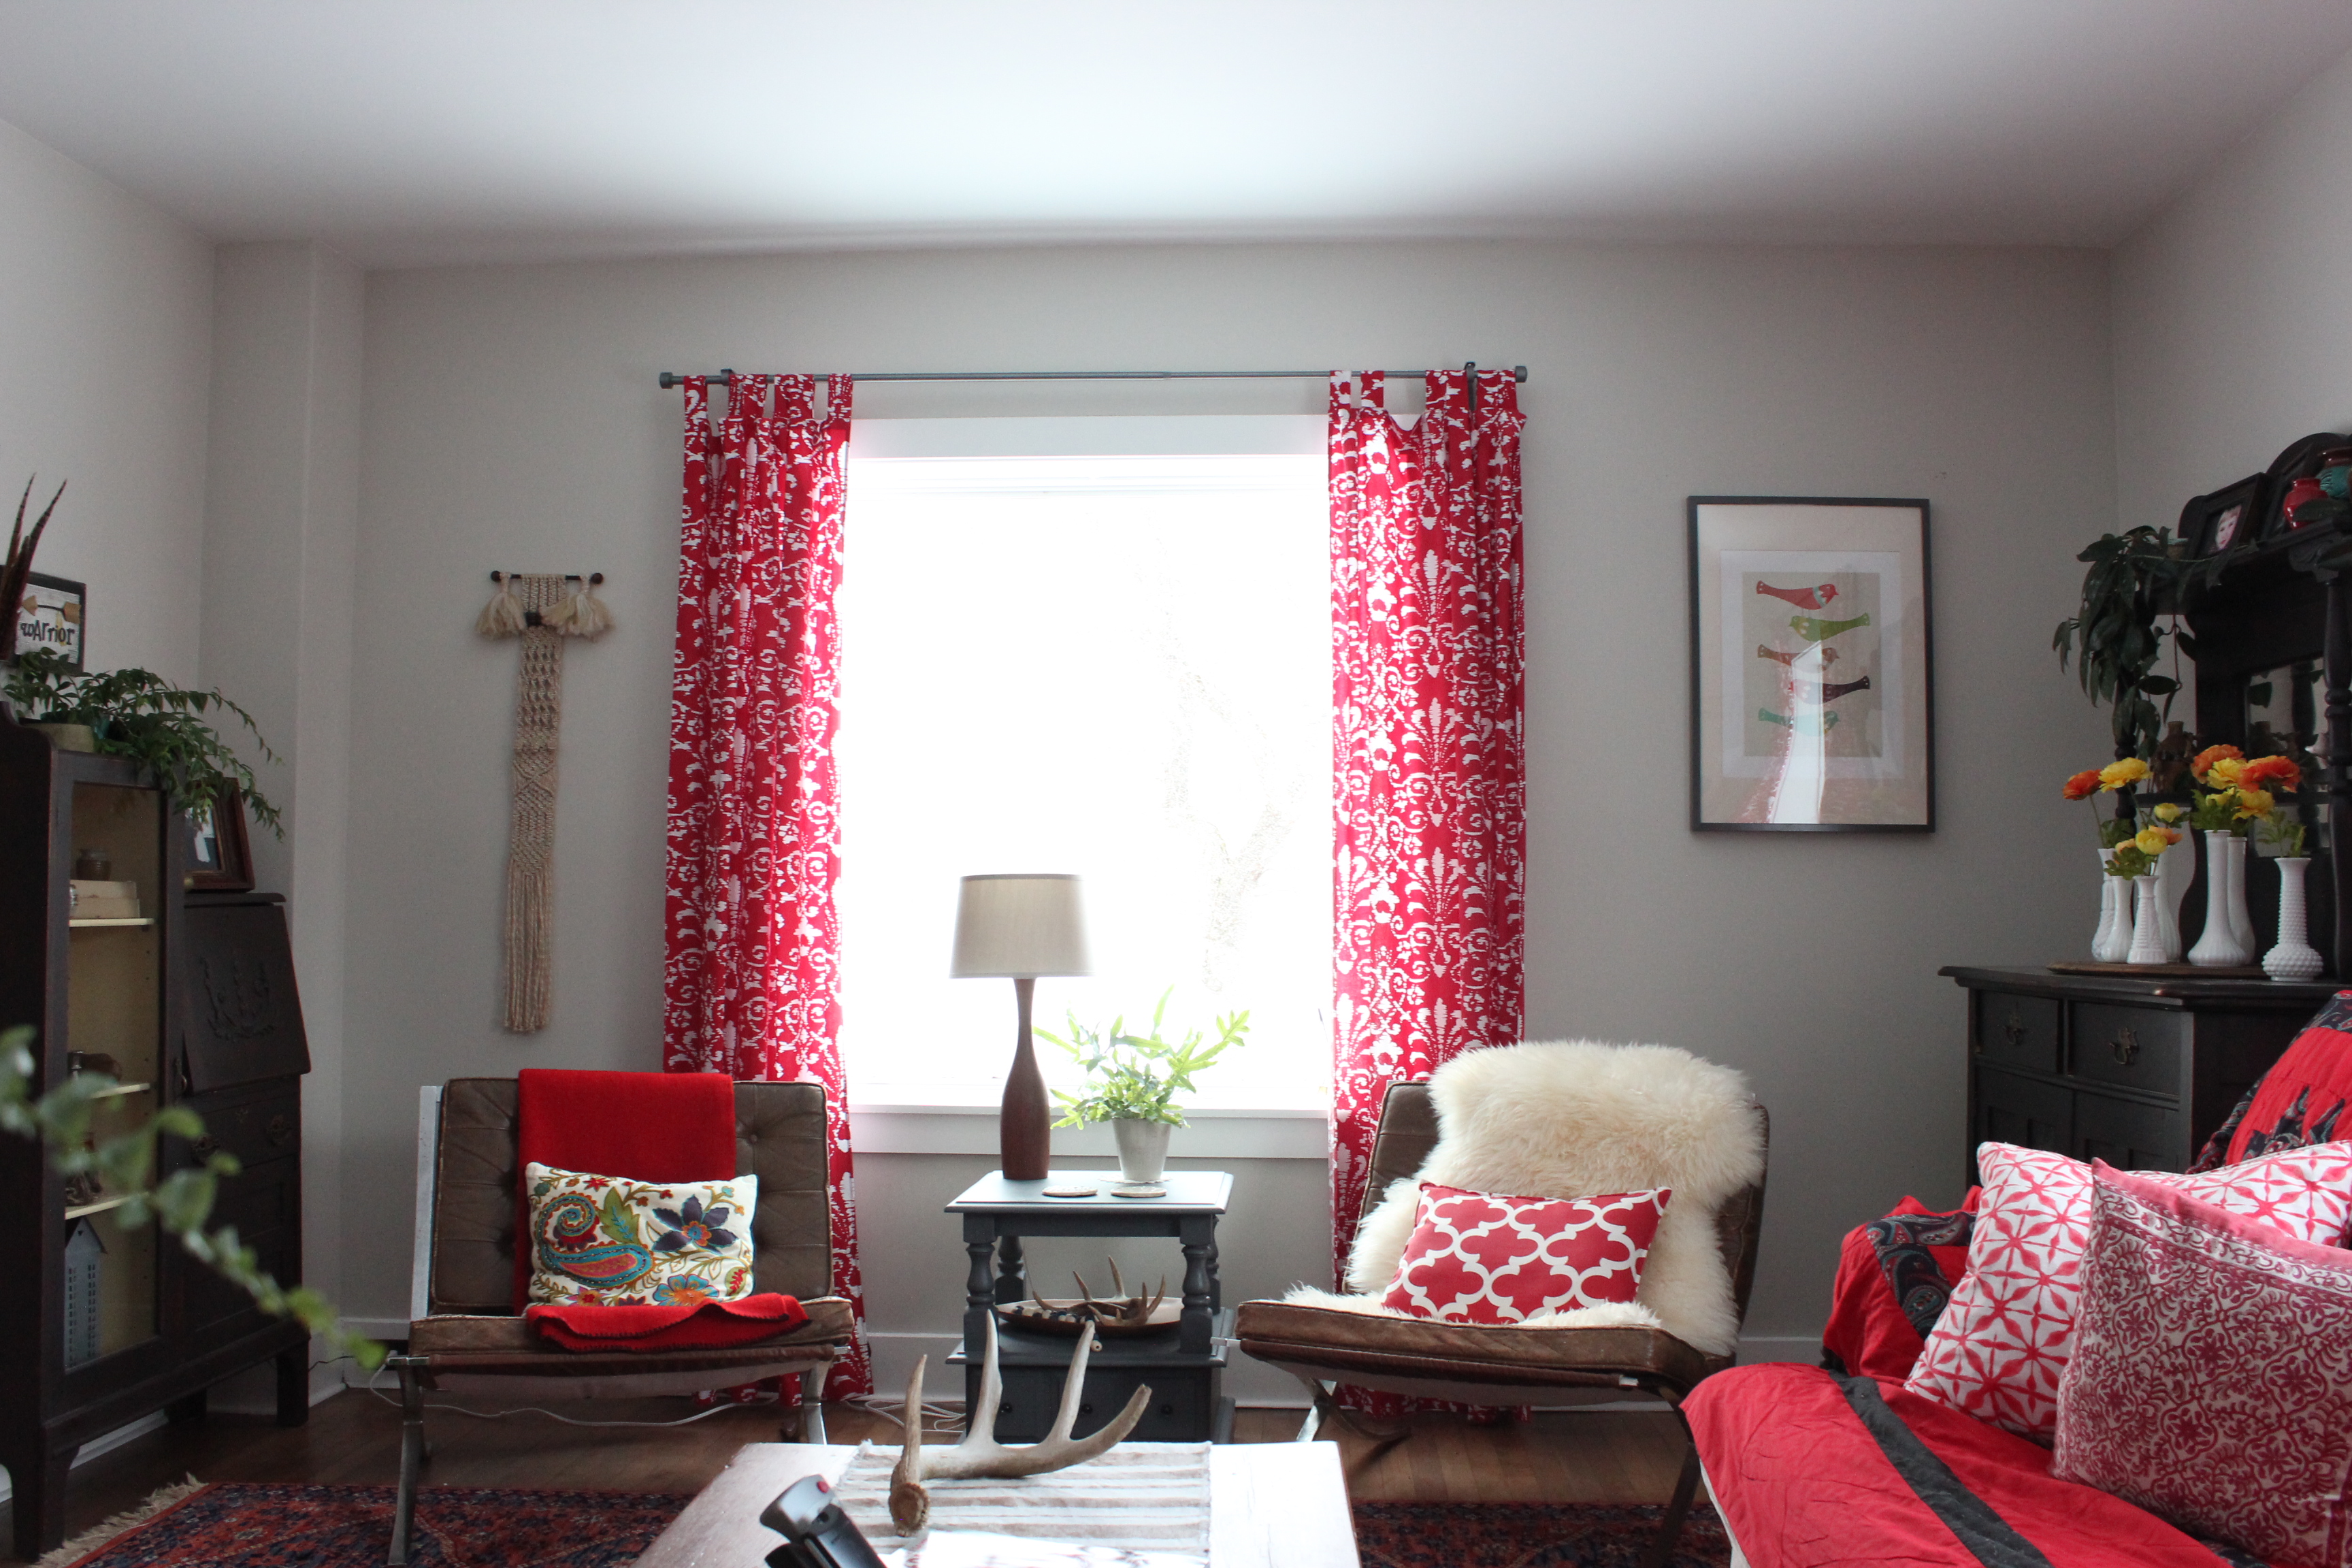
The rearranged living room feels much larger and open than it had before and we only took out one chair.  It feels like a much better use of space and the couch seems to be much cozier along that wall.  When the tree come down after Christmas, we had no desire to put it back the way it was before.

I especially love the two chairs in front of the window.  The chair on the right seems to be my chair.  If I’m not snuggled on the couch, that’s where I’ll land.  Sometimes, there’ll be a little body jammed on there with me, but I’ll take those snuggles as long as I can.  Those chairs are very comfy to sit in, the chrome may be pitted in spots and the leather worn, but I love the character and vibe they bring to the room.

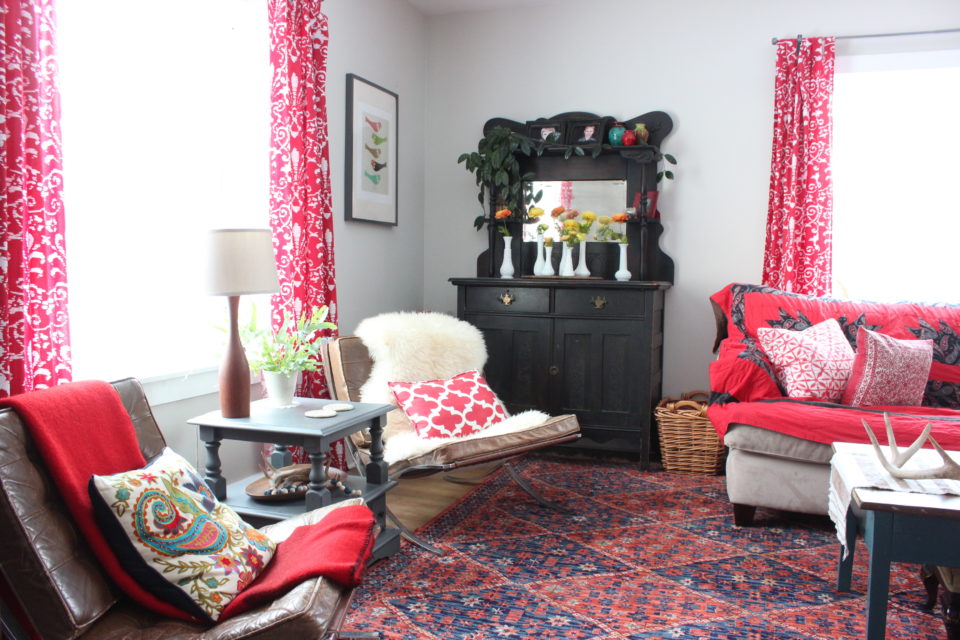
All in all, I’m liking where the living room has ended up.  For now.  You know it’ll look different in three week’s time when I find some other treasure that needs to be in here.  I’m enjoying the bright pop of colour from the collection of flowers in the milk glass vases on the big cabinet.  It’s fun to switch that display up from time to time.  I’m currently struggling with what to put on the coffee table, we need foot room and sometimes a kid or two will have a snack there, too.  I’m not loving the runner for this time of year but I know I’ll settle on something that will make me happy.  I’m thinking beach glass collection in a dough bowl….keep an eye out on Instagram 😉

To be continued,

Lori