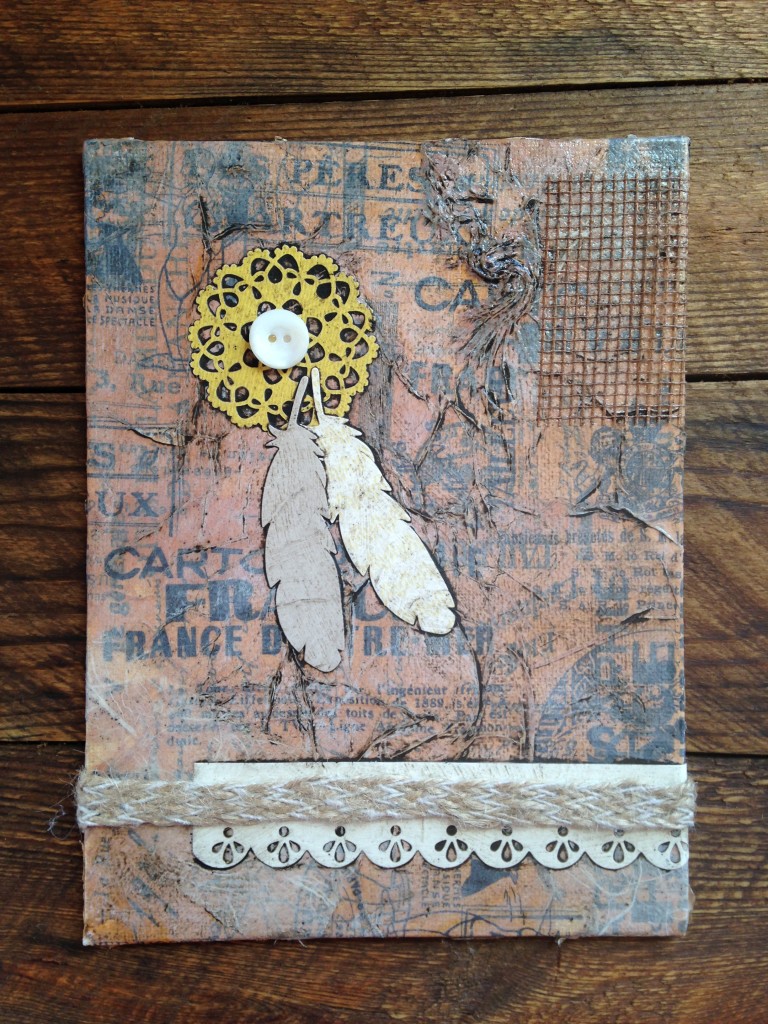
Lena had been studying Mixed Media at Art Lessons, so I took some inspiration from that. I also knew that what ever I made would have to been mailed and the people taking part were from all over the world. So I figured my base would be a canvas and I would build from there. Of course, I also looked on Pinterest for some ideas, too.
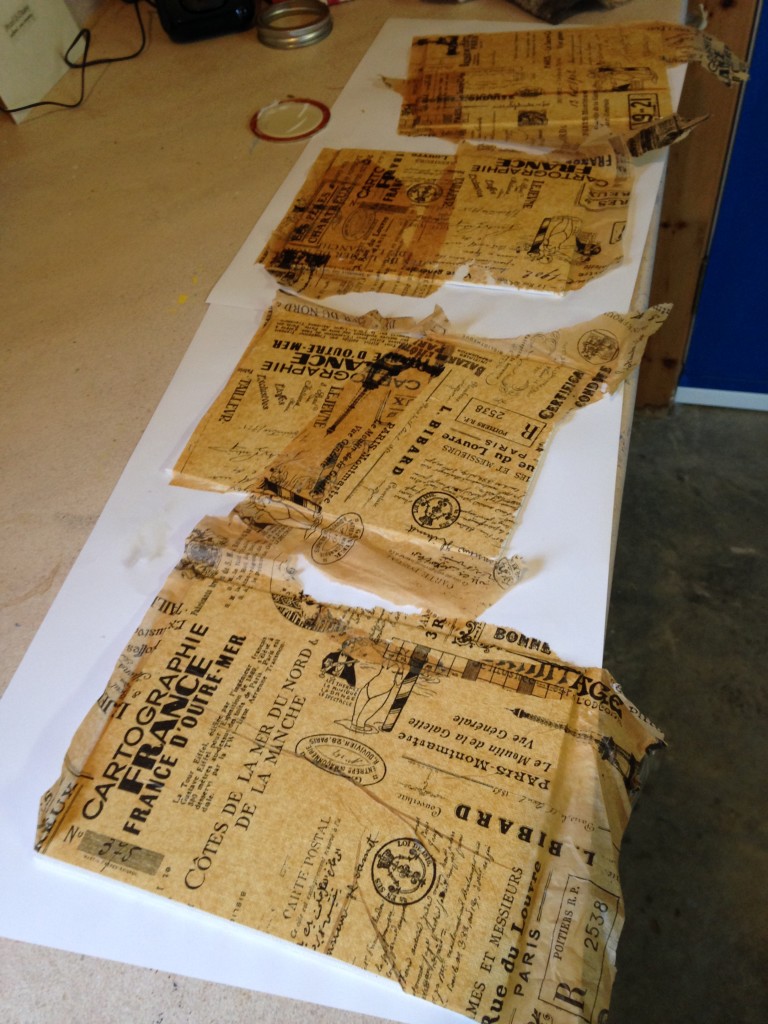
From there I added layers of crumpled tissue paper, glued down with ModgePodge. The tissue paper was some that I bought at a scrapbooking store in Antigonish quite a few years back and have been hoarding it in my stash of cool-things-to-make-stuff-with. It’s got a fairly tan background and black lettering and graphics so I knew I wanted to tone that down. To achieve that I did a wash of watered down Fusion Paint, leftover from a sample that Rosemary gave me from Onslow Historic Lumber.
Now, for me, that was the easy part. Now I had to decorate the canvases. Hmmmmm, so hard to do!! I had a kit from Stampin’ Up! that I’ve had for some time that I’ve been saving for just the right time. And I figured this just might it! Paper doilies and feathers seemed to be just the thing. I did two with that and then I did one with a crumpled paper heart.
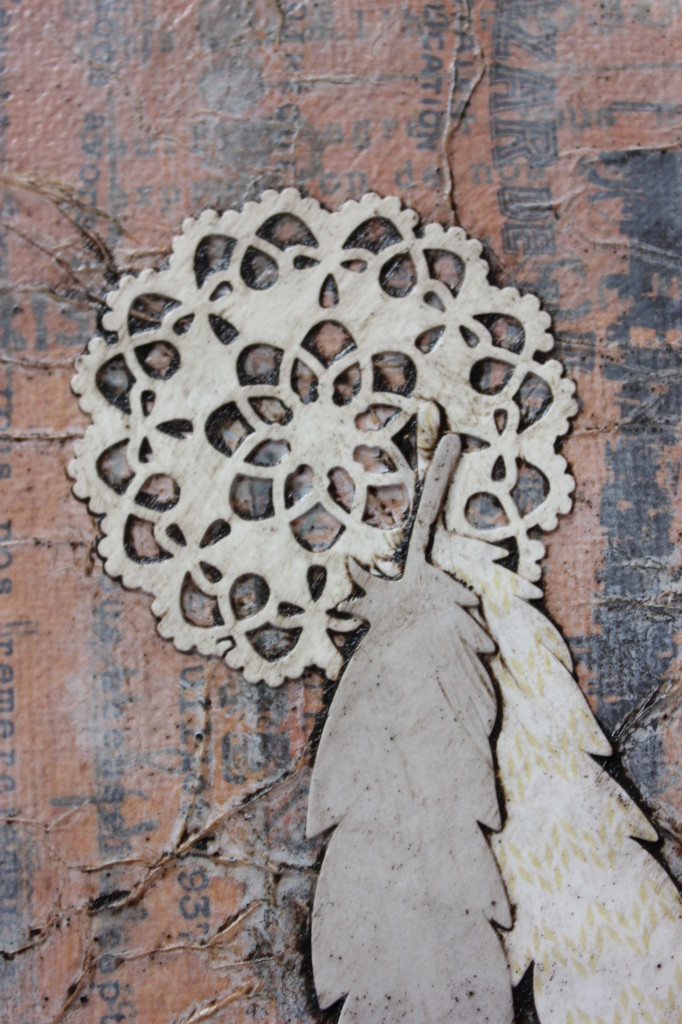
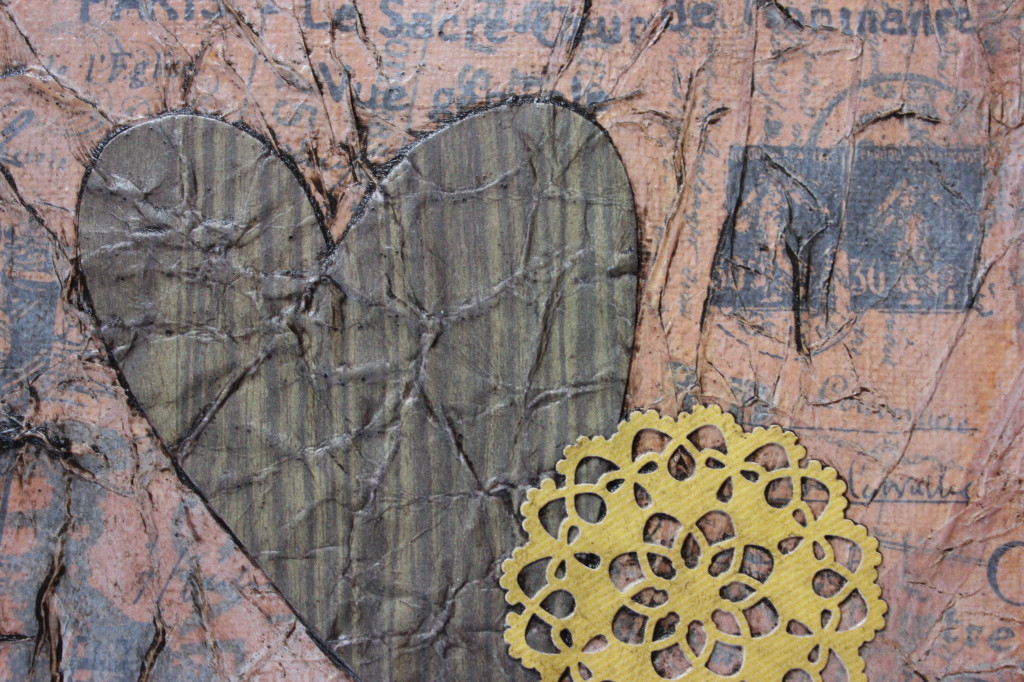
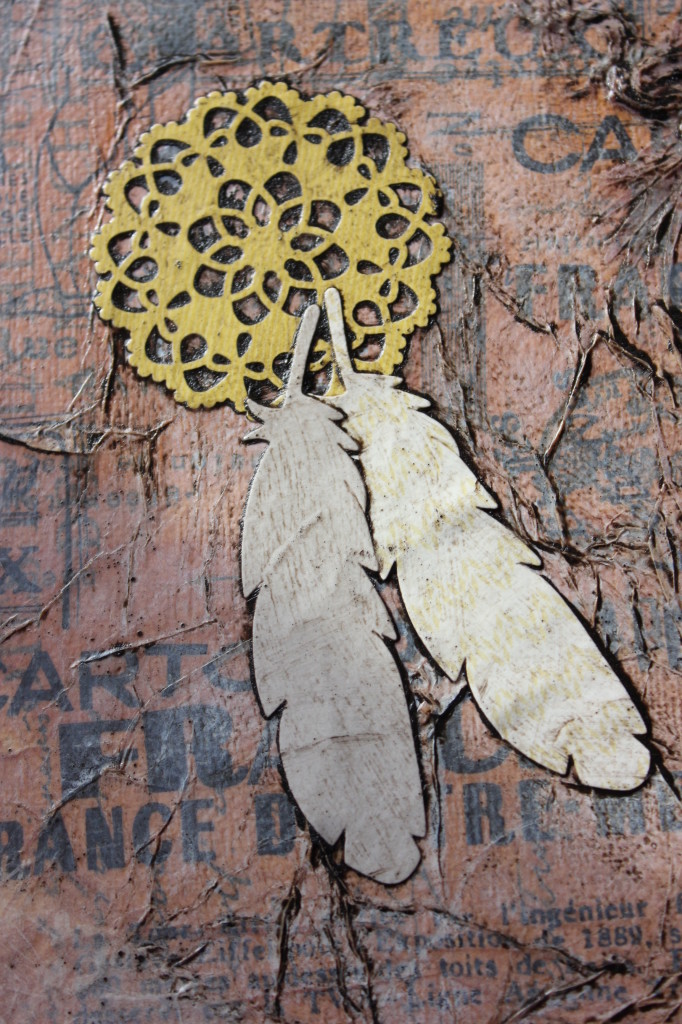
Once all that was attached and dried, then I added some Miss Mustard Seed Antiquing Wax to add some depth to the texture of the crumpled tissue paper. Then I got to add some other little accents, like jute ribbon, buttons and mesh.
Then, TA-DA, they were ready!!
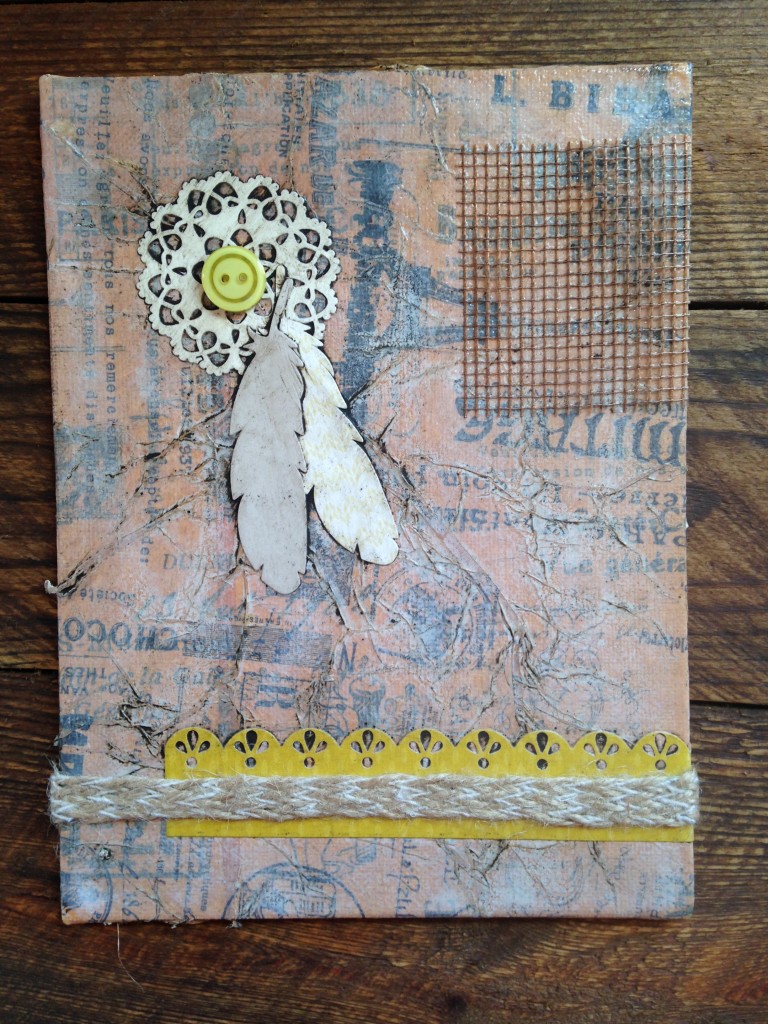
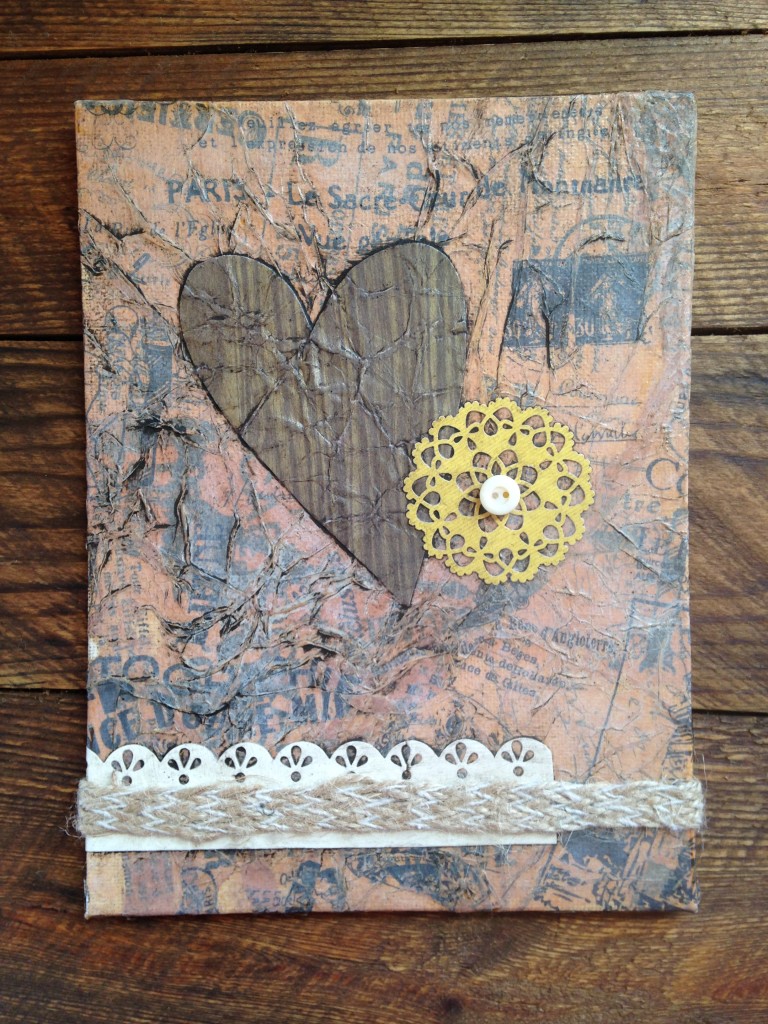
I added a little note on the back, wrapped them up and tucked them into their envelopes, all ready to be mailed out.
The lady who organized it did a great job as I will be mailing my pieces within the Maritimes, so I’m not mailing anything too far. One of the things about mailing my pieces within the Maritimes is that the people receiving my pieces are people I could potentially met, which is cool to me, too. (I may have been stalking them on Facebook to see if I can sleuth a little bit about them, too.)
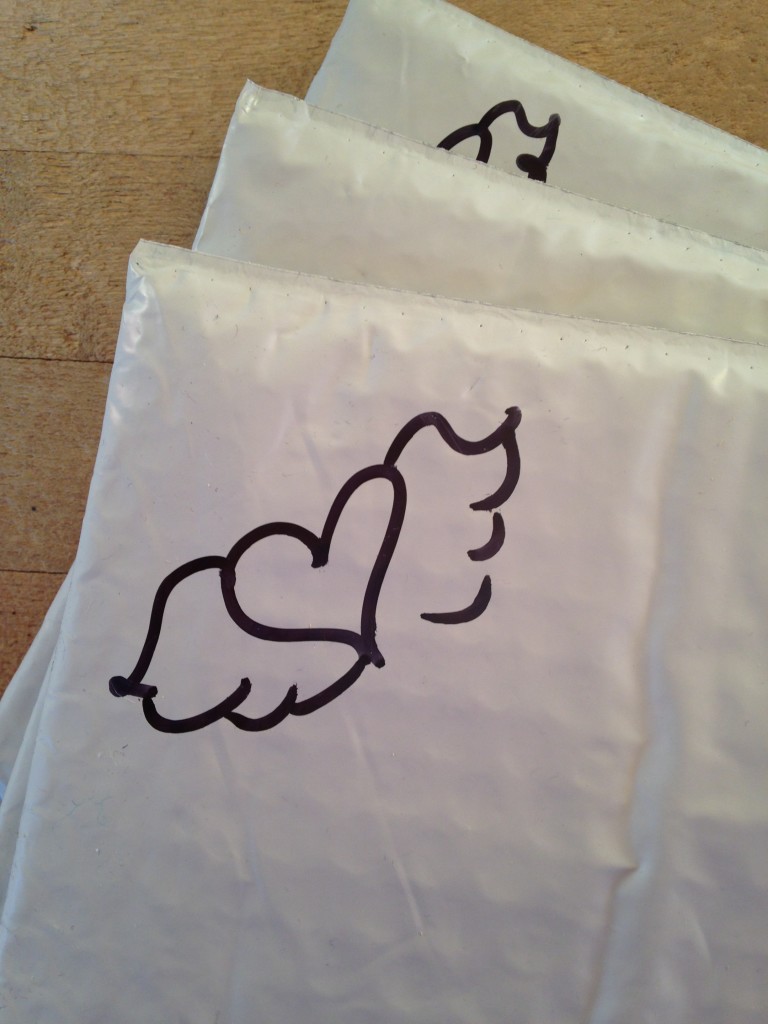
When I went to drop them off at the Post Office, the debit machine wasn’t working. So, the lovely Post Office Lady asked if I would mind dropping in another time with cash, she took my envelopes and gave me a copy of my receipt and sent me on my merry way and the packages off on their way. This is just one of the many benefits of living in a small community. I’m there enough, she knows me and she knows I’ll be back. I love it here – have I mentioned that?
I’m so happy I took part in this Mail Me Art Swap. It challenged me to step out of my comfort zone and outside the safe circle of what I think I am capable of. It made me question my talents and made me appreciate that I do have an artistic side, even if I consider myself more of a crafter, not an artist. But, I think that might be a blog post for another time!
When I get my three pieces in the mail, I’ll be sure to share them with you! I already have one and a funny story to go with it! Thank goodness for pictures on Facebook!! 😉
To be continued,
Lori

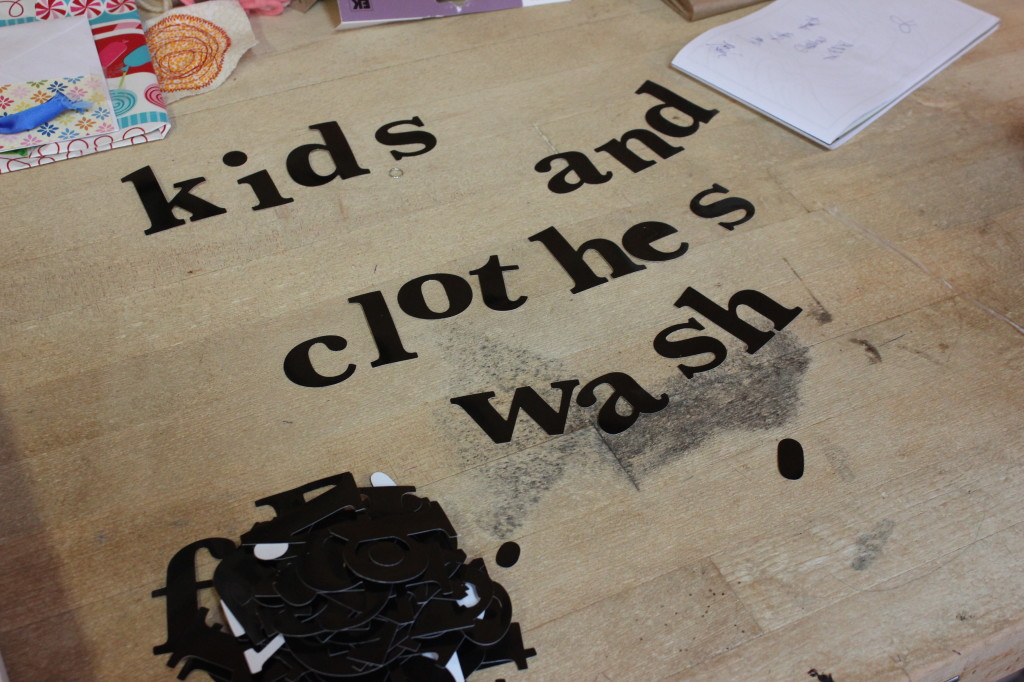
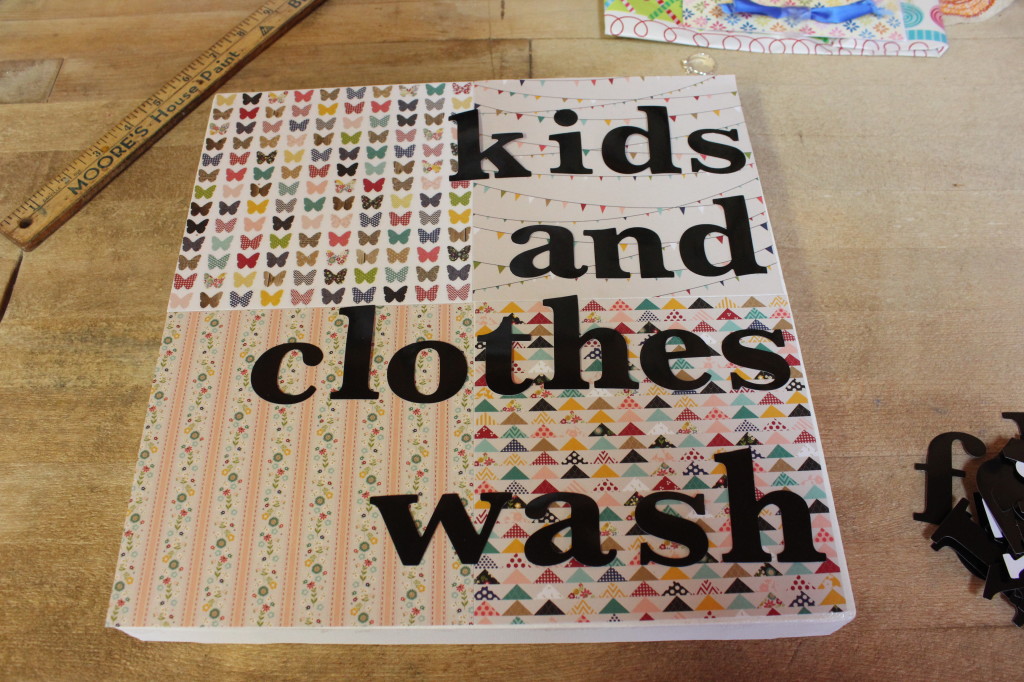
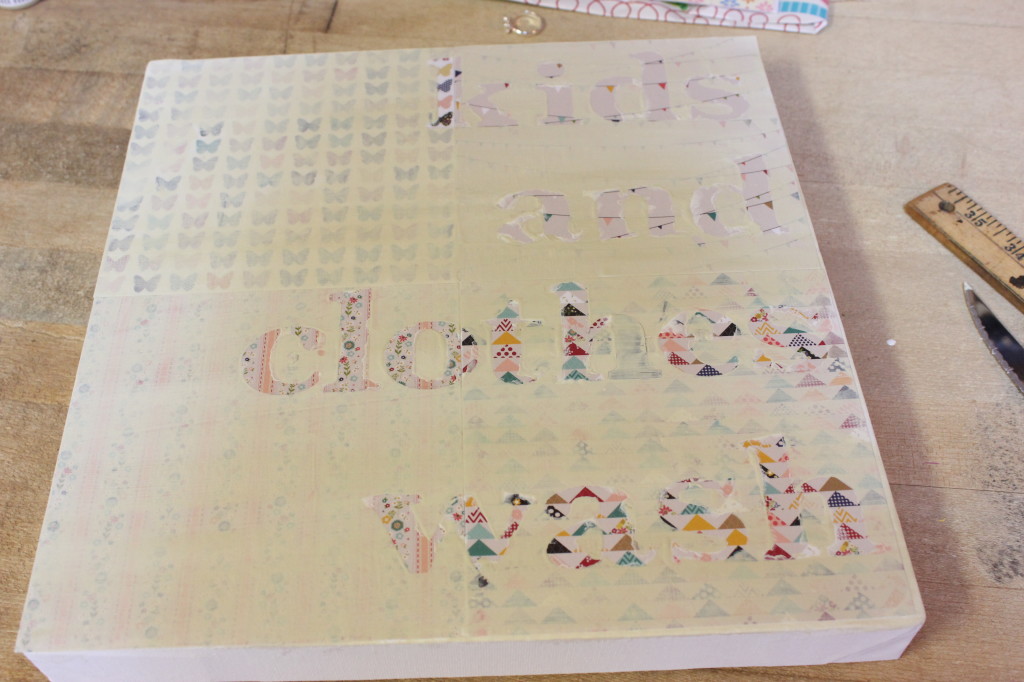
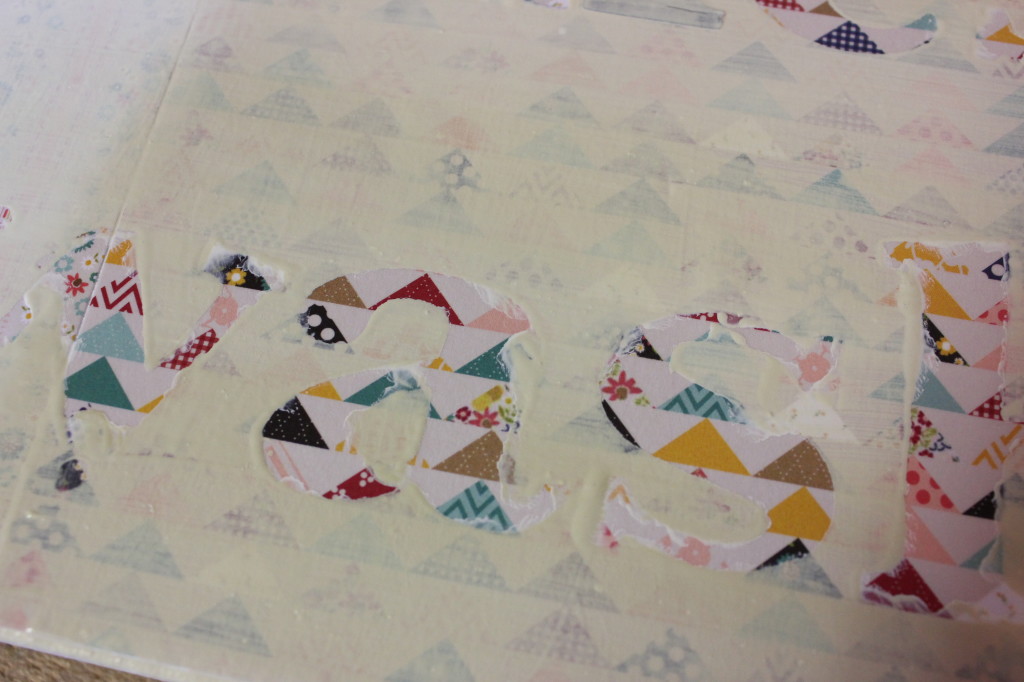
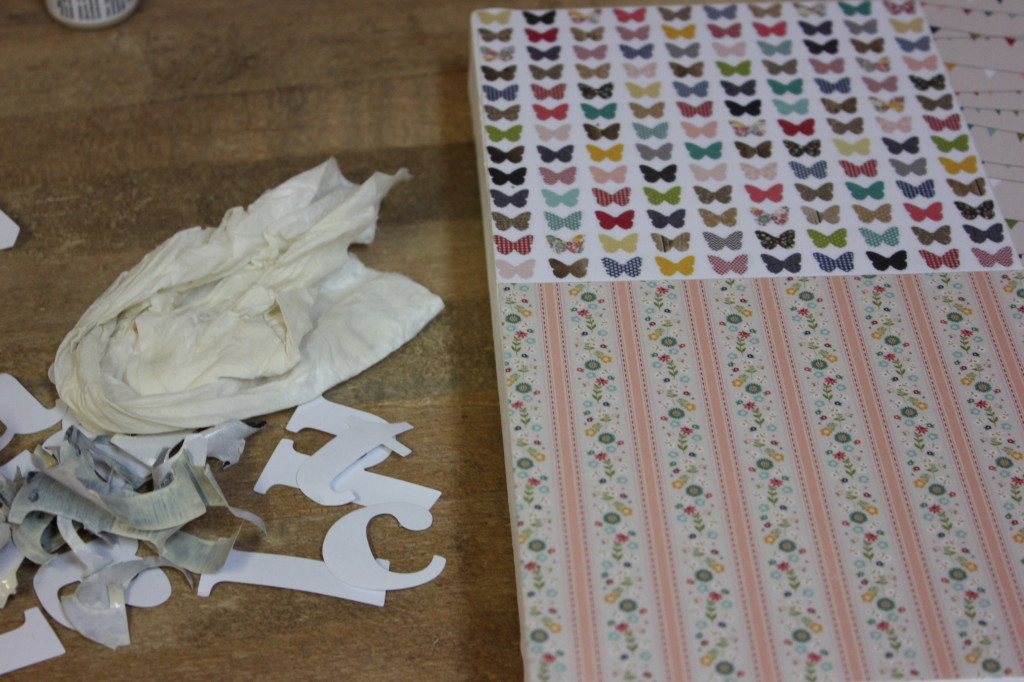 I’m sure there are other Pinterest Fails out there!! What project did you tackle thinking it would be EPIC only for it to fail miserably? I’m sure I am not alone in this!! Help a girl out – show me your fails so I don’t have to wallow in self-pity alone!!
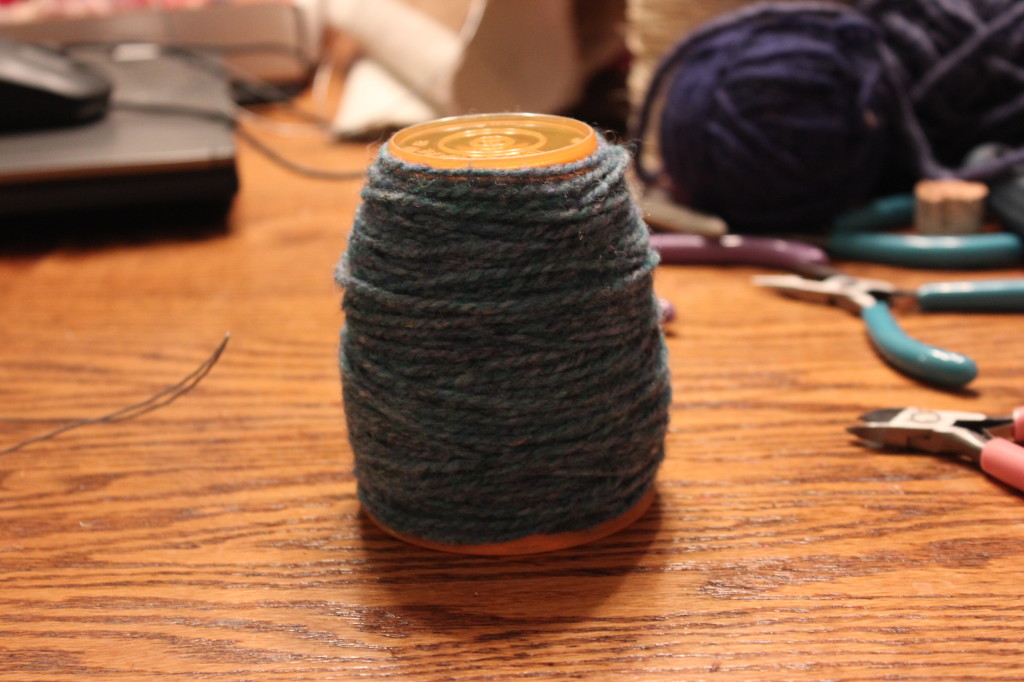
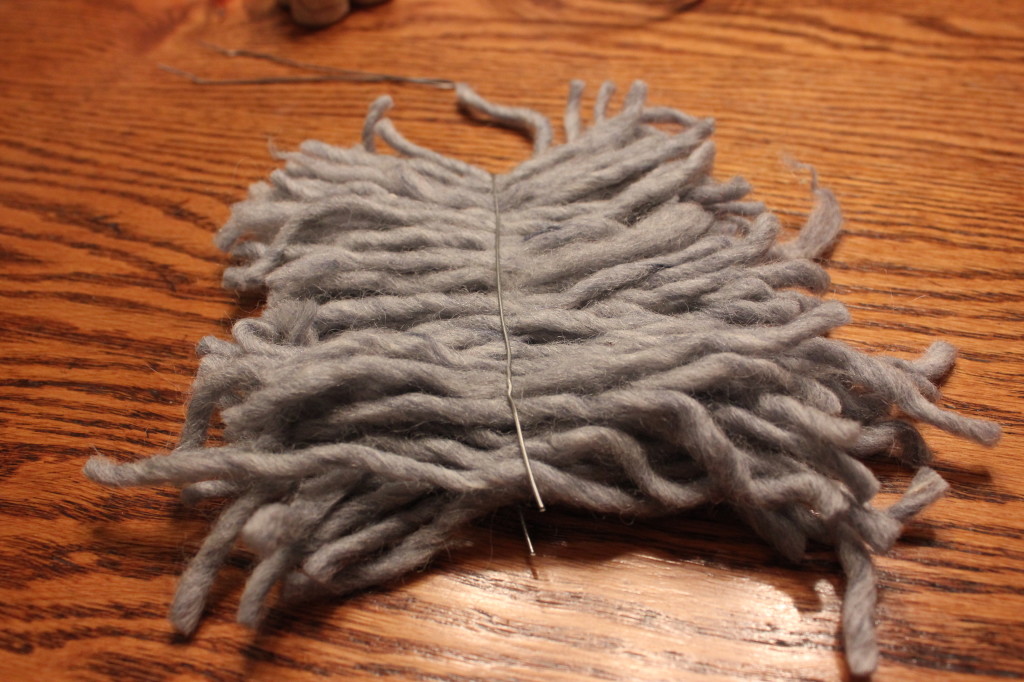
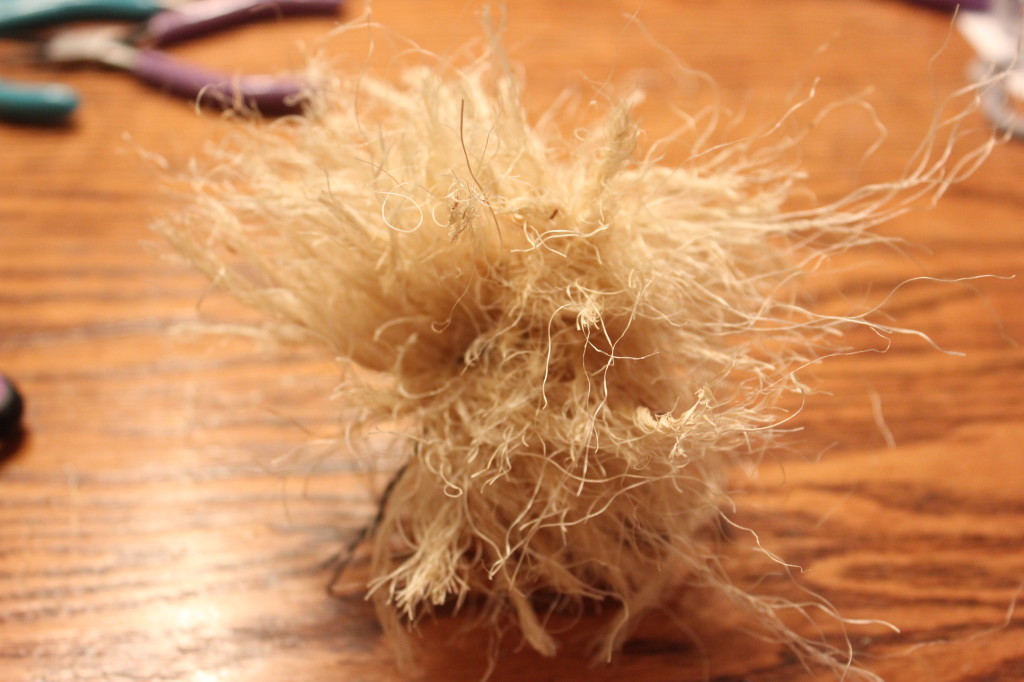
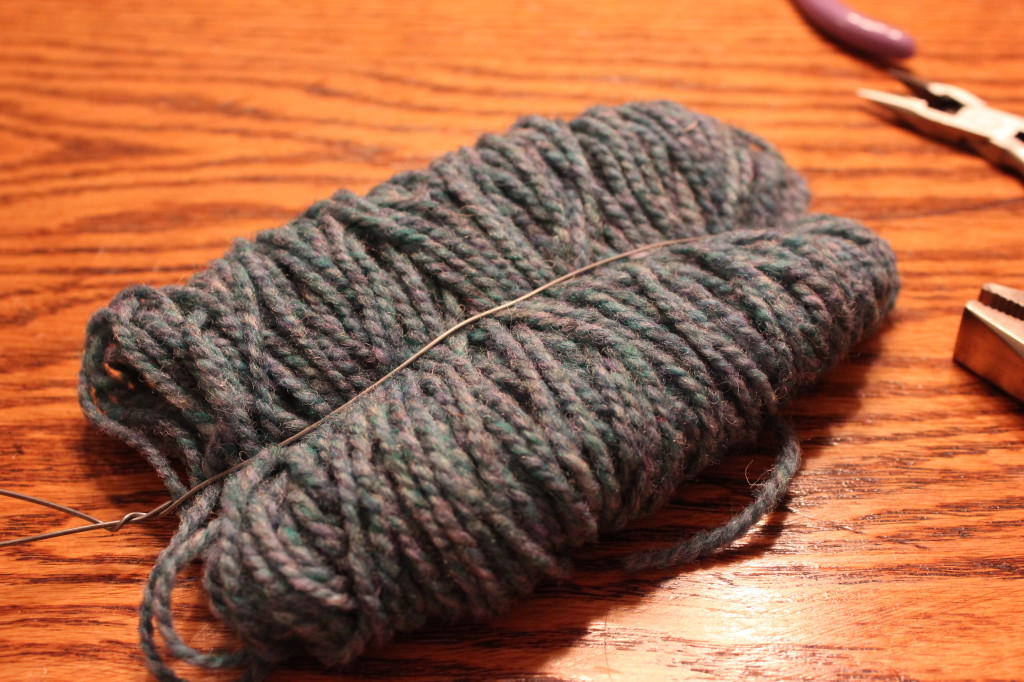 Step 2. Insert yarn strands or the looped yarn from the cup between a doubled over piece of wire. I used 20 and 22 gauge….both worked well, but the heavier is what I would use if I hadn’t ran out. Give the ends a little twist. This is where you’ll need to clip your loops if you wrapped it around a cup. Next, grab the top and bottom of the soon to be tree with pliers and twist, twist, twist. You will be left with a woolly mess like the one below.
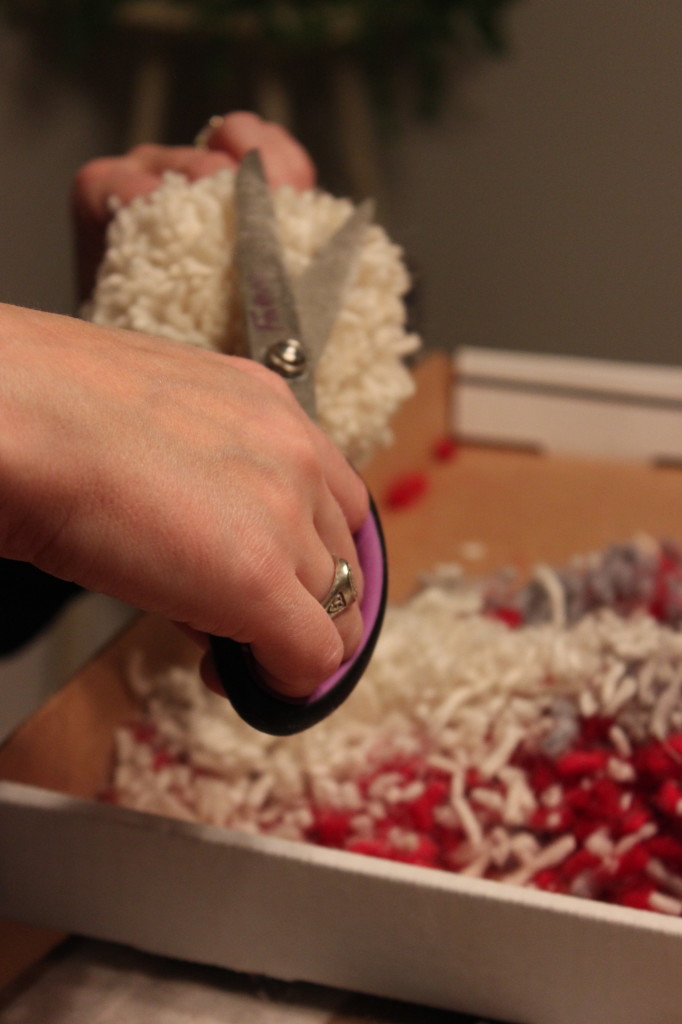
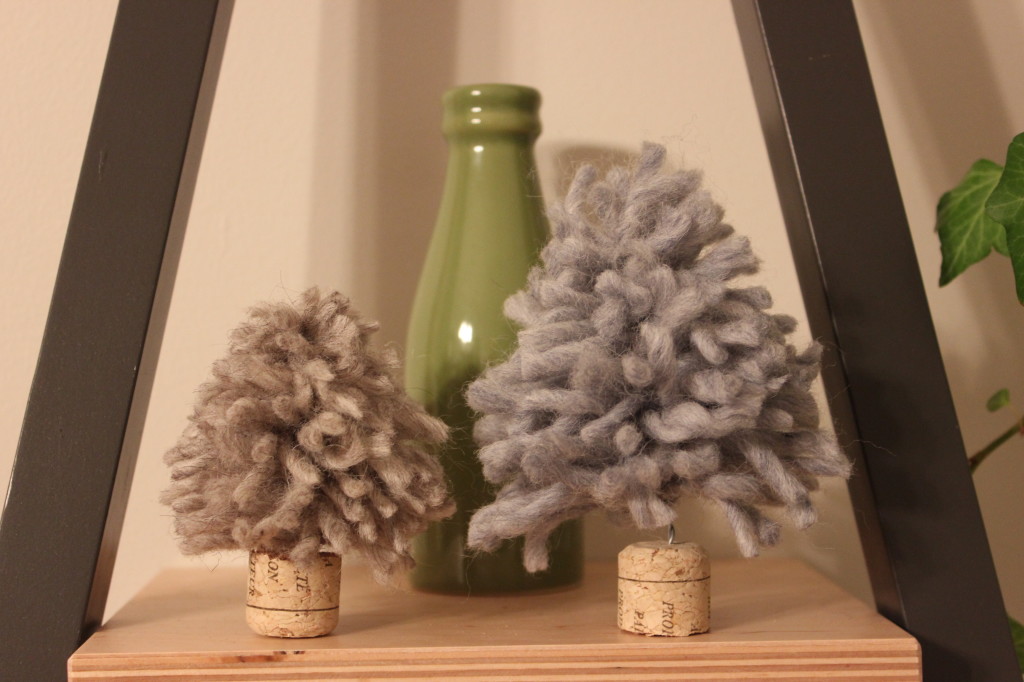
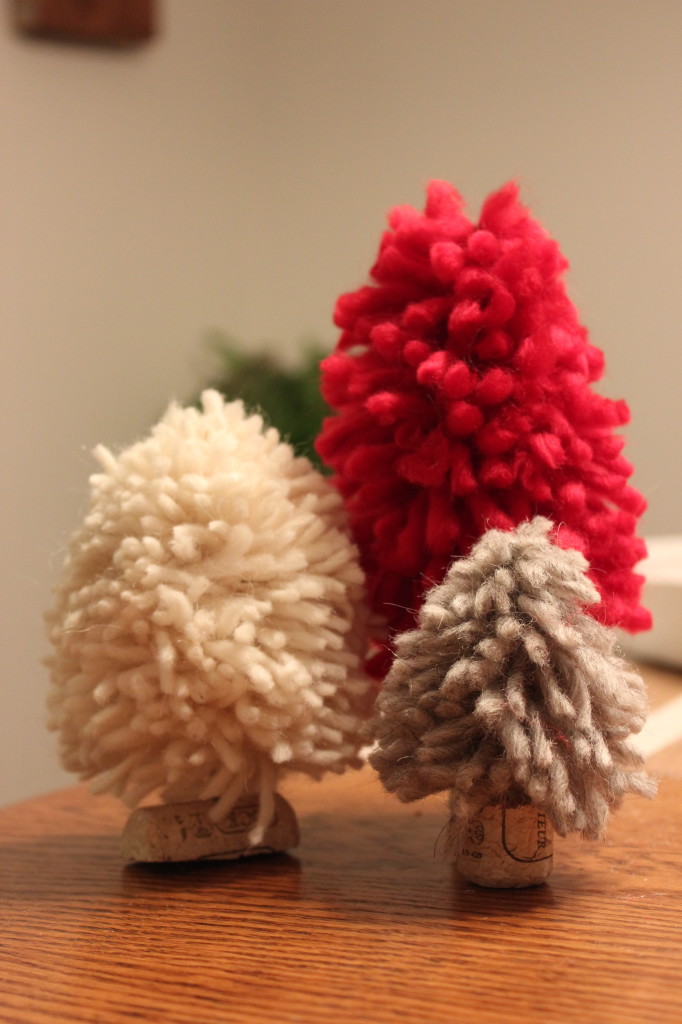
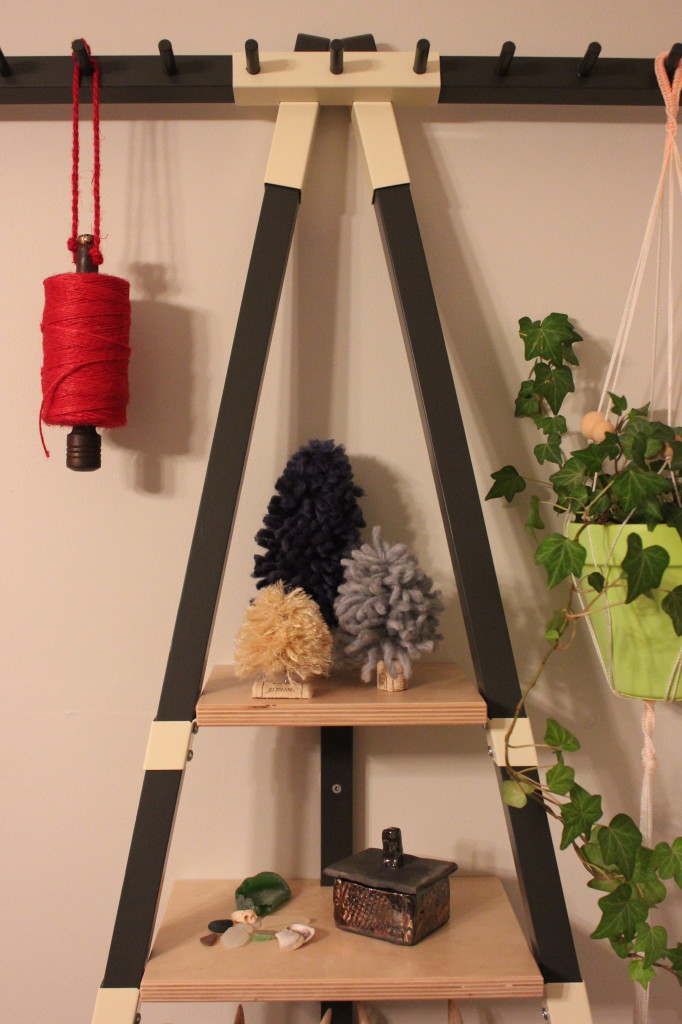
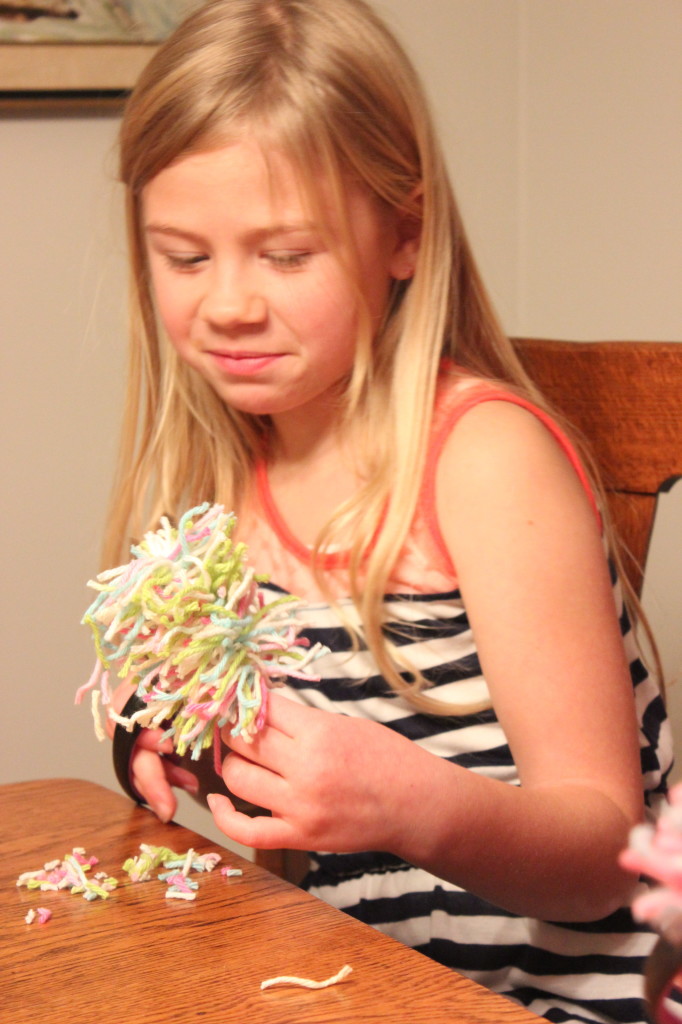
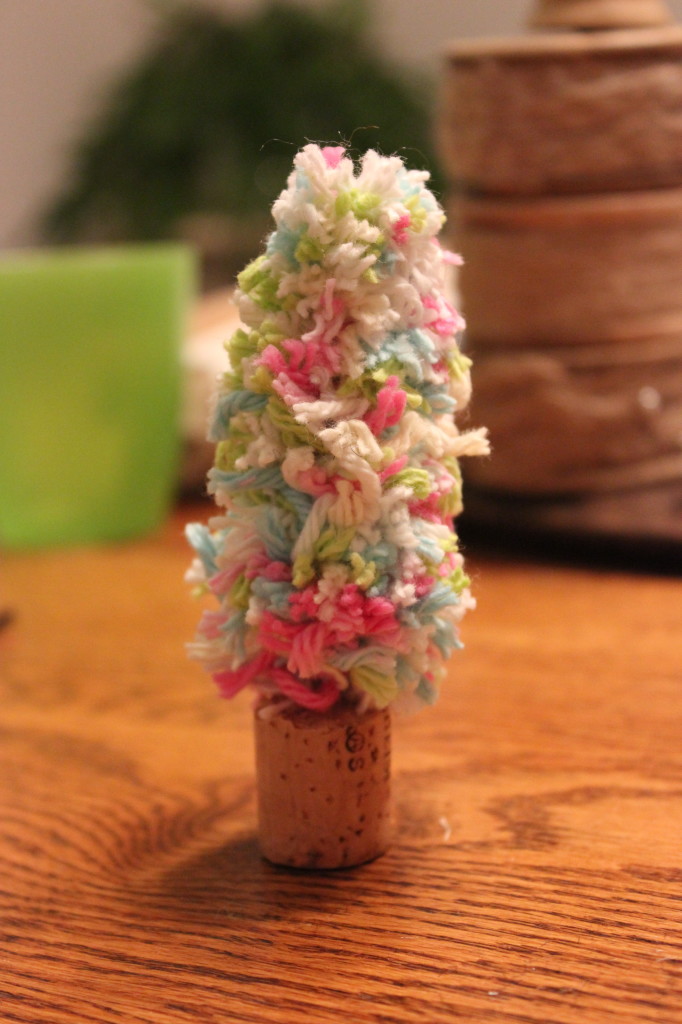
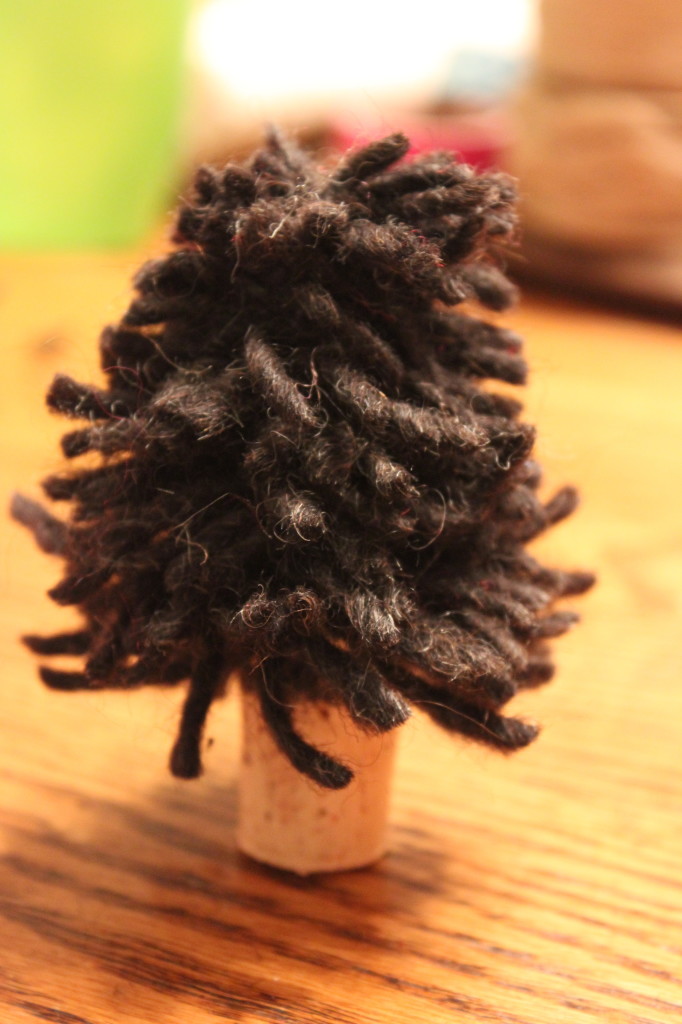
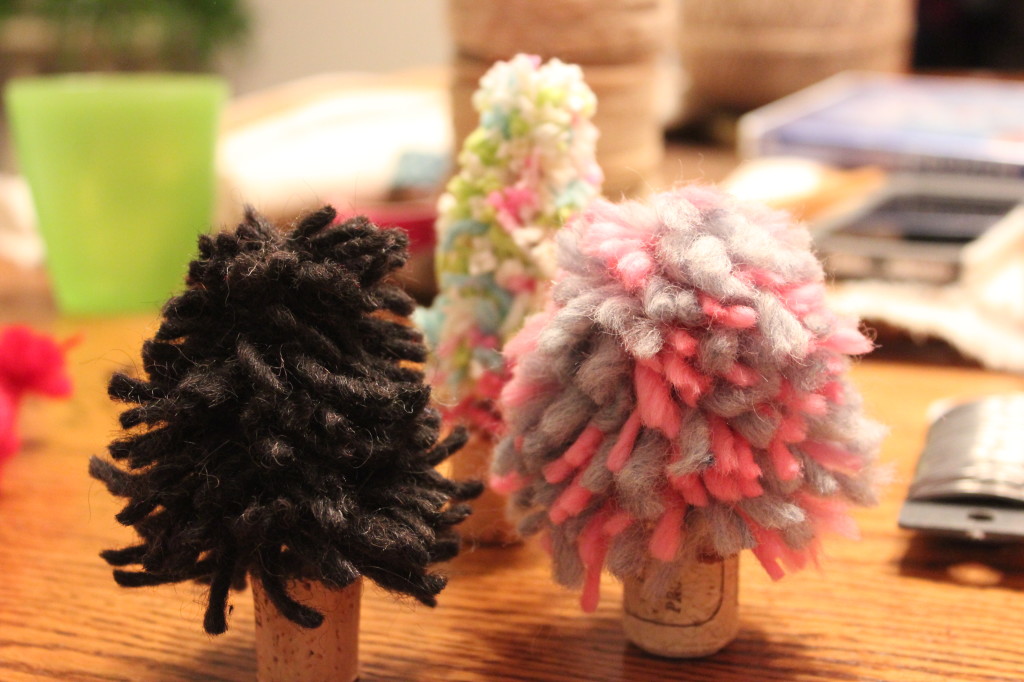 These trees are so much fun! I would highly recommend making these! I’m looking forward to decorating my new house with my new trees!! Now, I want a cloche to tuck a few of these under….