Browsing Category

Make Something

In Make Something

Creating Home Retreat

Hey – look at me go – three posts in one week!!

Creating Home

I popped in today to tell you about an exciting retreat coming up this month!  Rose, from Onslow Historic Lumber, and I are teaming up again to bring you ‘Creating Home’.  This retreat will be about paint, colour but mostly about your home.

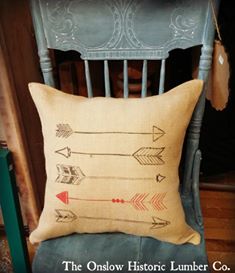
We are busy planning painting projects!  We can’t have a day without painting something!  And the projects are going to be geared to dressing up your home.  So, you’ll get to learn a few different techniques plus you’ll have some awesome things to take home with you, too, made by you, especially for your home!  Here’s an example on one of our projects:

pillows

Rose will teach you all about painting with Milk Paint, from mixing to applying the paint to finishing your project off with the right sealer for the job.  We’ll be using Miss Mustard Seed Milk Paint and Fusion Mineral Paint.

We are going to talk about how to arrange and style objects in your home to make lovely displays with your treasures.  I’ll be bringing some fun props to play with during this part of the retreat, too.  We can play and take pictures, so be sure to bring your camera along, too.

I know people struggle with selecting colours for their walls and for things in their home, so I’m going to be chatting with our guests about that and offer some help.

Our day is going to spent a-top the beautiful Fitzpatrick Mountain at Smith Rock Chalets in Scotsburn.  This venue is incredible!!  They will be catering lunch and providing our snacks throughout the day, as well.  And we encourage our guests to make a weekend out of it and stay the night, too!  I believe there will be karaoke happening that evening, too, so you can paint all day and sing all night!  The Chalets are offering a discount to guest of our retreat, too.  So if you book a chalet, be sure to mention you’re with the retreat!

HERE is the Facebook Event page.

HERE is where you can go to book your spot for the retreat.  Early Bird pricing is in effect until May 21st so book  now!

Hope to see you there so we can hang out, paint and work on making our homes just right for us!

To be continued,

Lori

4 In Adventures/ Make Something

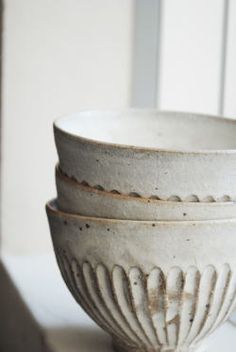
Pottery Obsession

So, I’ve mentioned it, I’ve Instagrammed it and if you follow me on Pinterest, you know I am currently obsessed with pottery.  Sigh.  I even dream about it.  Seriously.  I fall asleep dreaming about glaze combinations.  I think admitting you have a problem is the first step, right? But I’m not really sure I want help.

I’m not sure how far back my love of pottery goes. Quite a ways, really.  When I traveled to England with the family I nannied, I took back pottery and we still use is as our tooth-brush holder.  One of the souvenirs from our honeymoon is pottery and some of our gifts were pottery, too.  When my grandmother, Lena, passed away, I got a pottery bowl from her collection, too.  I’ve also been picking up pottery at yard sales and thrift shops, too.  I’m getting quite a collection…. My favourite coffee mugs are custom made for me by Sara Bonnyman in Tatamagouche.

A few years back, my bestie, Catherine, and I went to my other bestie’s place and took a Raku pottery workshop with her in Cape Breton, taught by the amazing Tim Isaac from New Brunswick.  You can read about the classes HERE, HERE and HERE.  That wet my appetite for pottery. But the opportunity never presented itself to learn more or, maybe I just wasn’t looking very hard because I was busy moving and starting my own business.

And then a friend of mine, Denise, built herself a lovely pottery studio and offered to guide me in the world of pottery and I spent one, I repeat only one, afternoon there with her and I knew I was in trouble.  She let me try my hand at throwing on the wheel.  Oh man.  I look forward to spending more time in Denise’s sunny studio but I also wanted to have some basics down before I showed up, too.

When it came time to figure out what I wanted for Christmas from the handsome Mr. Byrne the debate was between a compound miter saw and pottery lessons.  And we have one saw and I don’t build much so pottery lessons won out.  🙂

Enter Danielle Sawada into my life.  If you’ve never met her, you should.  She is patient, talented and has a great sense of humour.  Plus, she runs classes and a shop out of a brightly painted house in Truro.  So, now, every Tuesday night you’ll find me driving to Truro for lessons.  { Thankfully, the weather has cooperated for me, too, which was a concern when I signed up for lessons starting in January…everyone around here knows Mt. Thom or Nuttby are not fun in bad weather! }

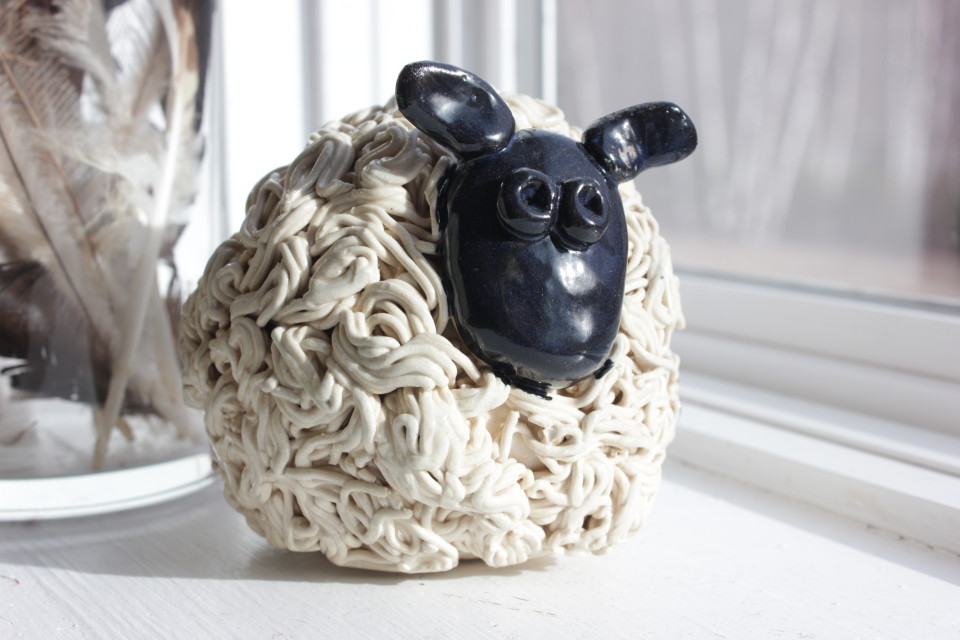
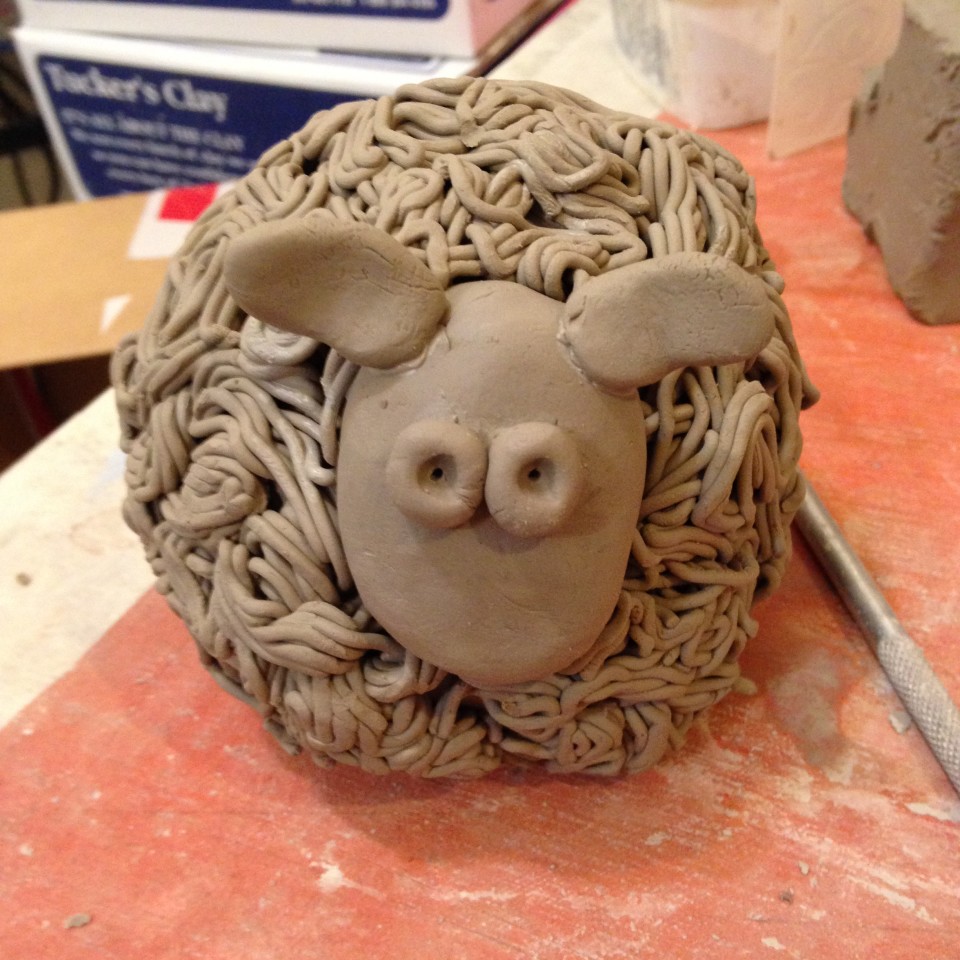
The first lesson was about pinch pots.  And I built a sheep and a bowl that I didn’t love until after it was fired.  The sheep is still a favourite….of everyone’s!
farm fresh pottery

farm fresh pottery

Second lessons was on coil pots.  And let me just say how time consuming it is to build a coil pot.  Not sure what this will get used for….storing something or other in the studio probably.
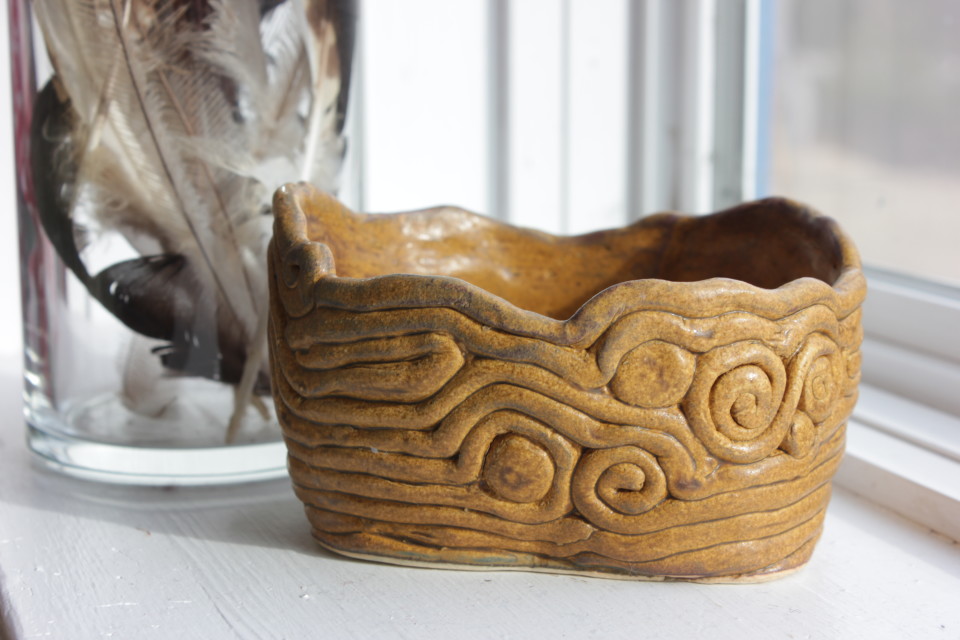
farm fresh pottery

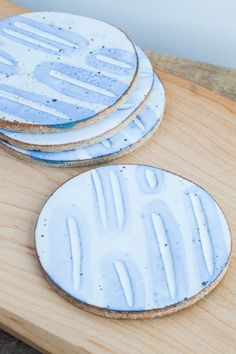
Third lesson was on slab work.  I built a mug that I enjoy drinking from, although I refer to it as ‘The-mug-only-a-mother-would-love’ because it reminds me of a project a middle school student would take home for Mother’s Day.  I also built a business card holder, a soap dish and our new coasters, which I’m really excited about!
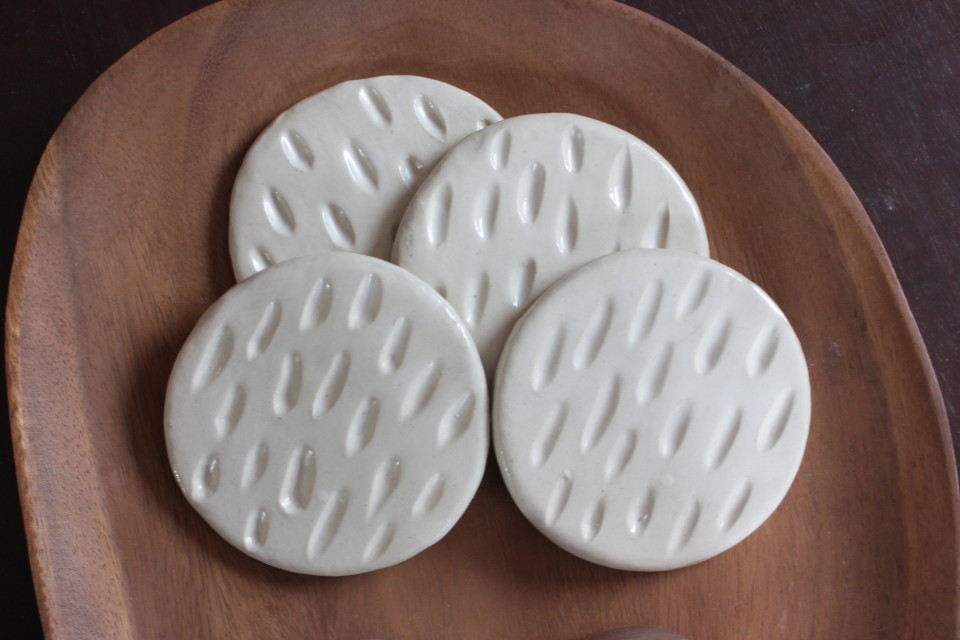
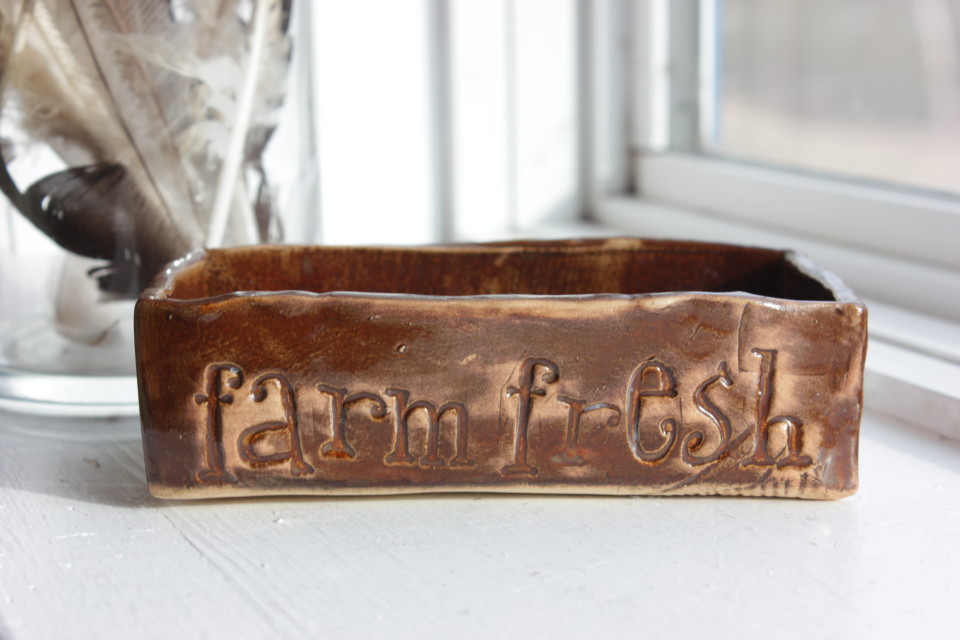
farm fresh potteryfarm fresh pottery

And then, it was time to try the wheel in lesson four.  Oh – the pressure!  I was excited but nervous and I just, really, really, wanted to be able to do it.  First bowl of the night went okay, the second was meh and the third was a flop….  On the drive home I analyzed class and what and why it got worse.  Sigh.  Would I ever be able to do it right?
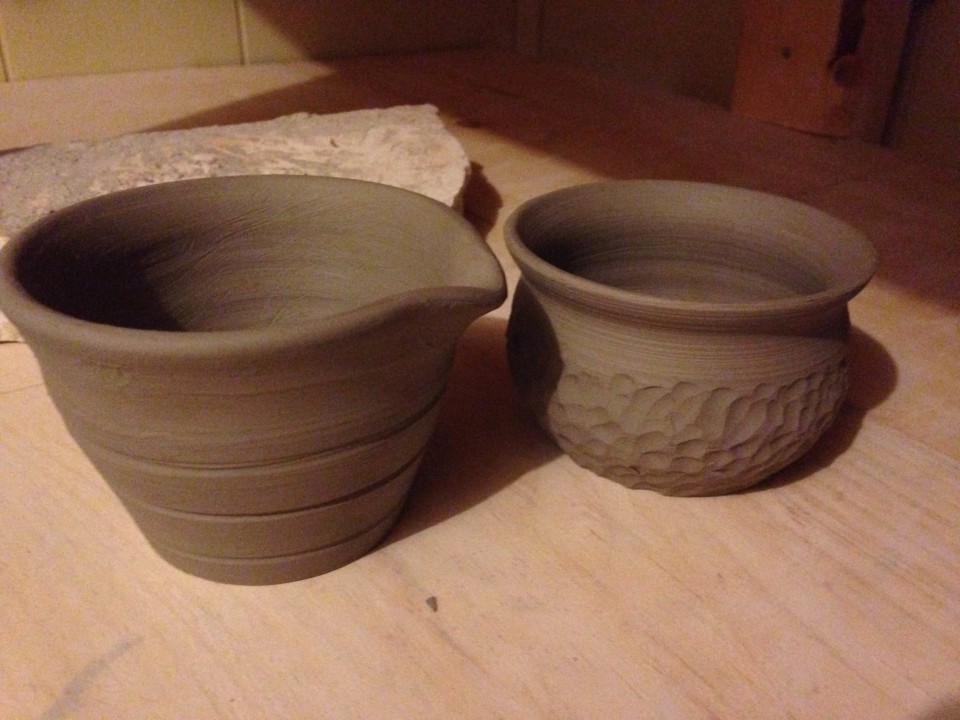
farm fresh pottery

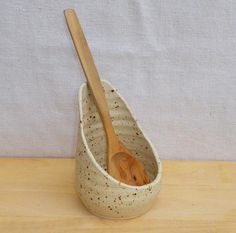
The next few classes went better, I made some bowls. Tried a utensil holder which will make, ahem, a lovely bowl…. Tried to pull handles which sucks and is no fun at all.  Thankfully, I only made one more mug….squat as it is.  But I made lots of awesome things that I’m really excited about, too.  You win some, you lose some!  Everytime I post a picture, people are so encouraging!
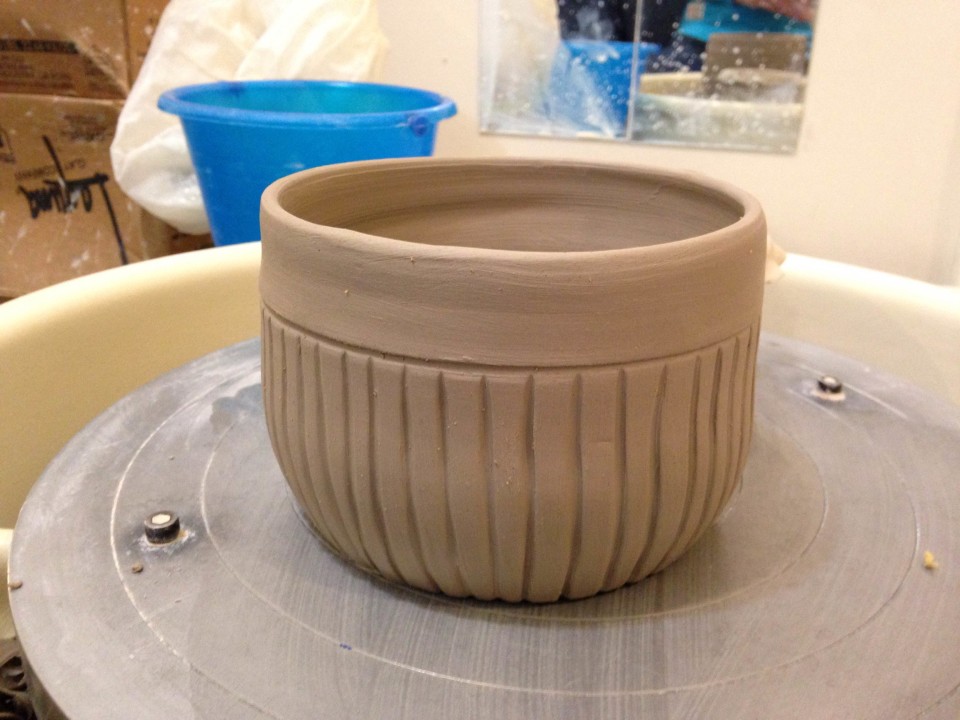
farm fresh pottery

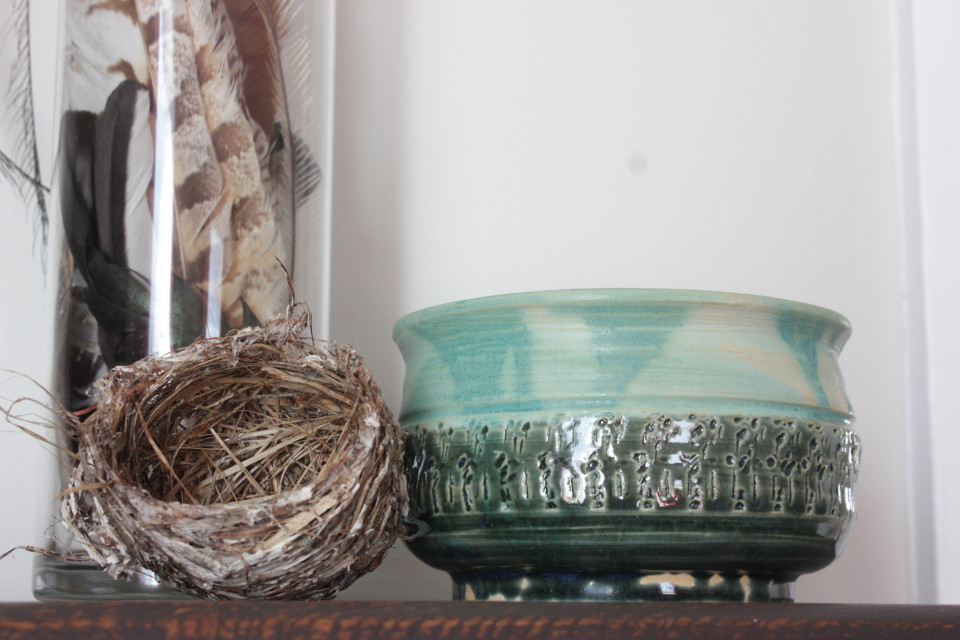
It’s fun to go to class from week to week to see what’s come out of the kiln bisque fired and what’s ready to glaze.  And after it’s been glazed and fired, to see what your finished piece actually looks like.  Because you really never know….er, at least I don’t know!  I love the different reactions between glazes and the colour combinations.  And the ladies in class are so willing to share what combos are good, bad and otherwise.  Below are the first two bowls I made in class, all completed! Gotta say, I’m pretty pleased!
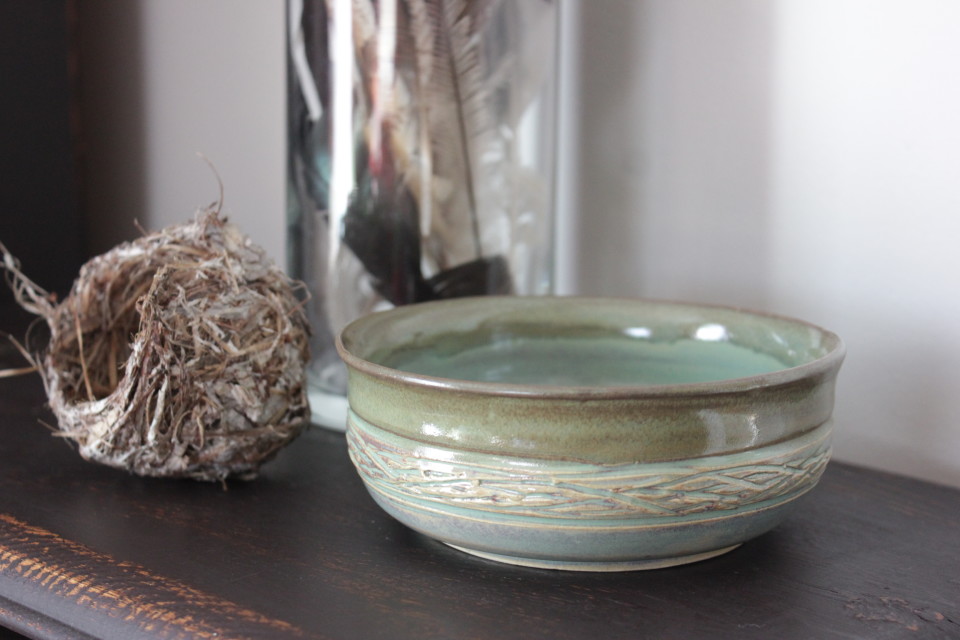
farm fresh potteryfarm fresh pottery

And then next week is the end of Tuesday Night classes.  I’ll miss the ladies who helped me along, shared their weeks with me and laughed at my frustration because they’ve all been there, too.

I’ve loved learning about pottery and having made some successful things.  I’ve learned that patience is a good thing and you can’t hurry things along.  I’ve learned that no matter how long you’ve been doing pottery, there is still lots to learn.  And apparently people never leave class….pretty sure I met some ‘lifers’ on King Street the past few Tuesday nights.

To be continued,

Lori
1 In Adventures/ Make Something

FAT Paint Workshop @ HUE

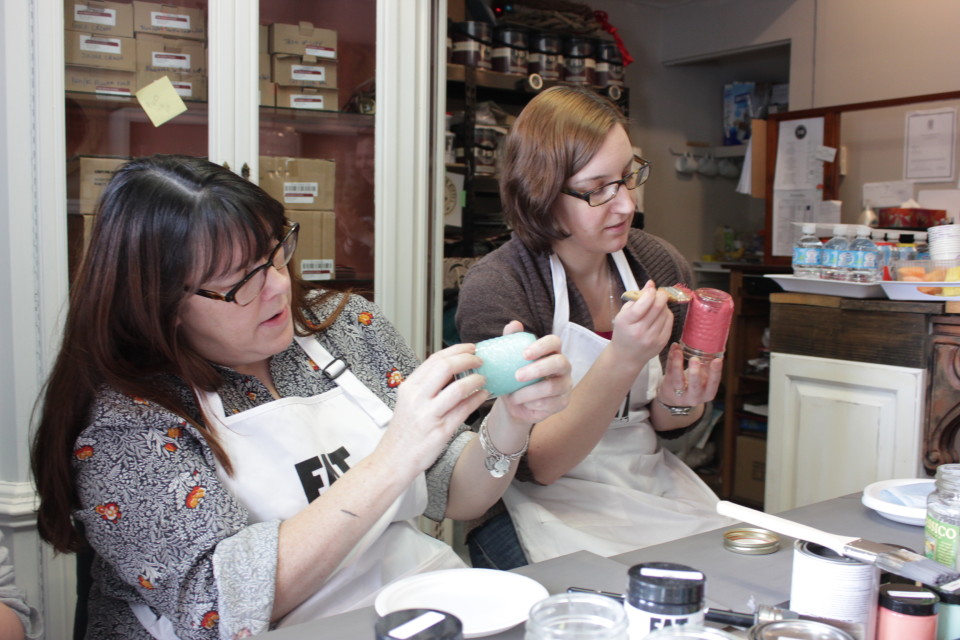
Today I got to go to a workshop in Halifax.  Nothing too crazy about that, really.  But….it was a workshop that came out of the BlogJam indirectly.  AND it was FAT Paint, which I hadn’t used before.  AND it was Hue Design Studio, which I was excited to check out.  So, all in all, the potential to be a fun day.  And it didn’t disappoint!

I convinced….okay, arm-twisted, really….Jennifer into coming to the workshop, too.  Once I had her on board, we made plans to meet before hand.  We wanted to stick to something in the area of Hue and something tasty.  Jennifer suggested Lion & Bright, so I googled them and quickly agreed.  It was a tasty place to meet and eat, and it was a neat restaurant with the live-edge tables, locally supplied menu and family friendly atmosphere.  { One thing that struck me as genius was the tables that would normally be the most unused were designated as work stations and thus busy, leaving the other tables open for people who were just there to eat. }

FAT Paint

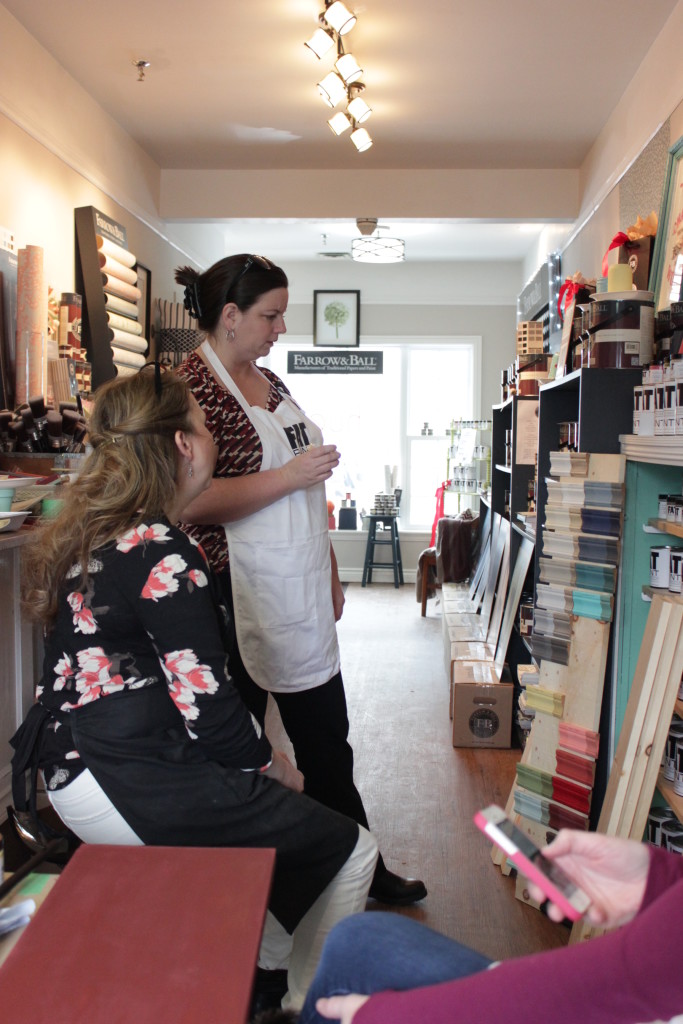
Then it was time to get to Hue to attend the workshop.  I walked in and was smitten.  Farrow & Ball, Robert Allen fabric, Kravet fabric, painted furniture, blind samples, pillows…..sigh – my kind of place.  Michelle had everything all set up for us, all our supplies and tasty treats, too.  We couldn’t wait to get started on our projects!

FAT Paint

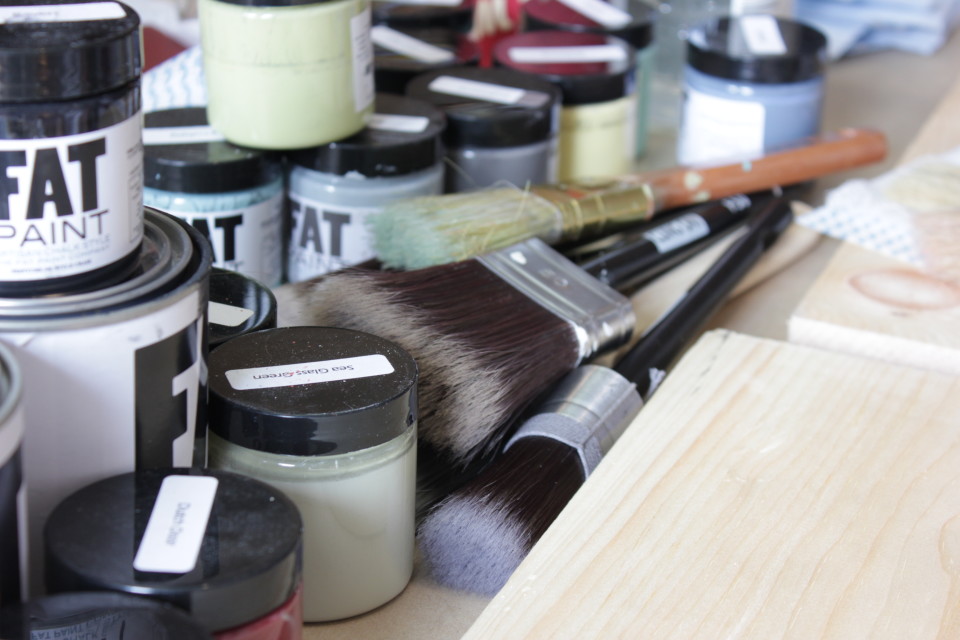
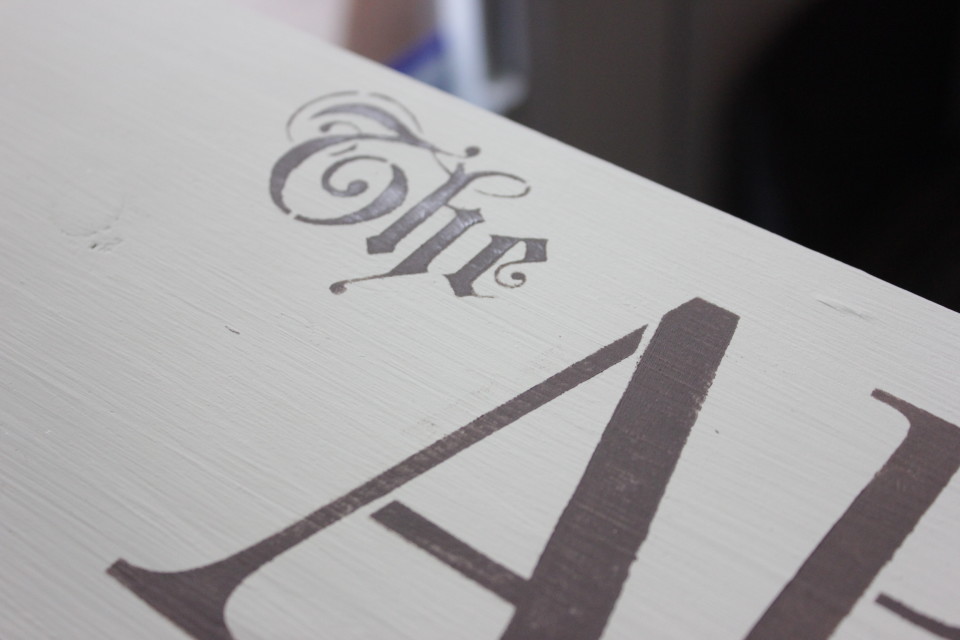
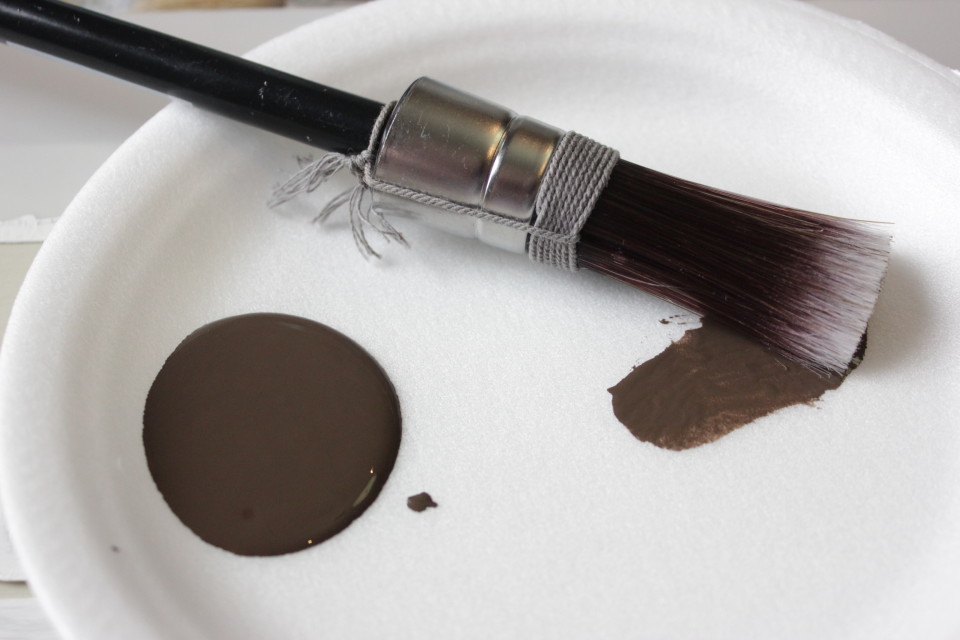
We were using stencils, so we needed to decide on stencils, board size and then paint colours.  So many choices!  I had made up my mind about 3 different times and then changed it at the last minute… So many possibilities!  I settled on the Apothecary stencil and some Sea Glass Green for the base coat.  Two coats gave great coverage, actually one coat even covered the accidental spot of Indigo that I got on the board.  Then it was time to stencil and I used the Bitter Chocolate for that.  A quick sand to weather the lettering and then it was time to wax.  I used a first coat of the clear wax and then a coat of the antique wax to add some age to my sign.

FAT PaintFAT Paint

That’s the how-to of the workshop, but that does not cover the laughter and conversation around the table today.  It doesn’t cover the conversations about who broke what bone and how { Colleen….} the college debate, the when to start your children in school debate or what to do with your biggest fan and the possible sponsored post….  When you gather a group of people in one room, linked first only by the fact we blog and get them painting together, fun things happen and hopefully networking takes place and a support system is started.  I was thankful to be invited to attend this workshop but I’m more thankful for the connections of real, live people behind the blogs, Facebook pages and Instagram accounts.  Sure it’s fun to get out and make something, but for me, it’s more fun to connect with people, especially over a painted project.

FAT Paint

So, a huge thank you to Michelle for hosting us today and to the fine folks behind East Coast Mom Media for putting the invitation out there!  It was well worth the drive down to the city!

To be continued,

Lori
In Adventures/ Make Something

Old Dog, New Tricks

I’m so excited to be venturing into something new!  For Christmas, the handsome Mr.Byrne gifted me Pottery Lessons with Danielle Sawada of Thrown Together Pottery. I start on Tuesday and I can hardly wait.

My pottery experience is very limited.  As in, a handful.  I’m sure I did clay projects in school, as a child, and I can’t say when my desire to learn and create with clay truly got started.  Some of you may remember back a few years ago when I took a Raku workshop in Cape Breton with the amazing Tim Issac. You can read posts on it HERE, HERE, HERE and HERE.  { As a side note, the people from that workshop are still among my favourite Cape Bretoners!!! Thankful for FB to stay connected! }

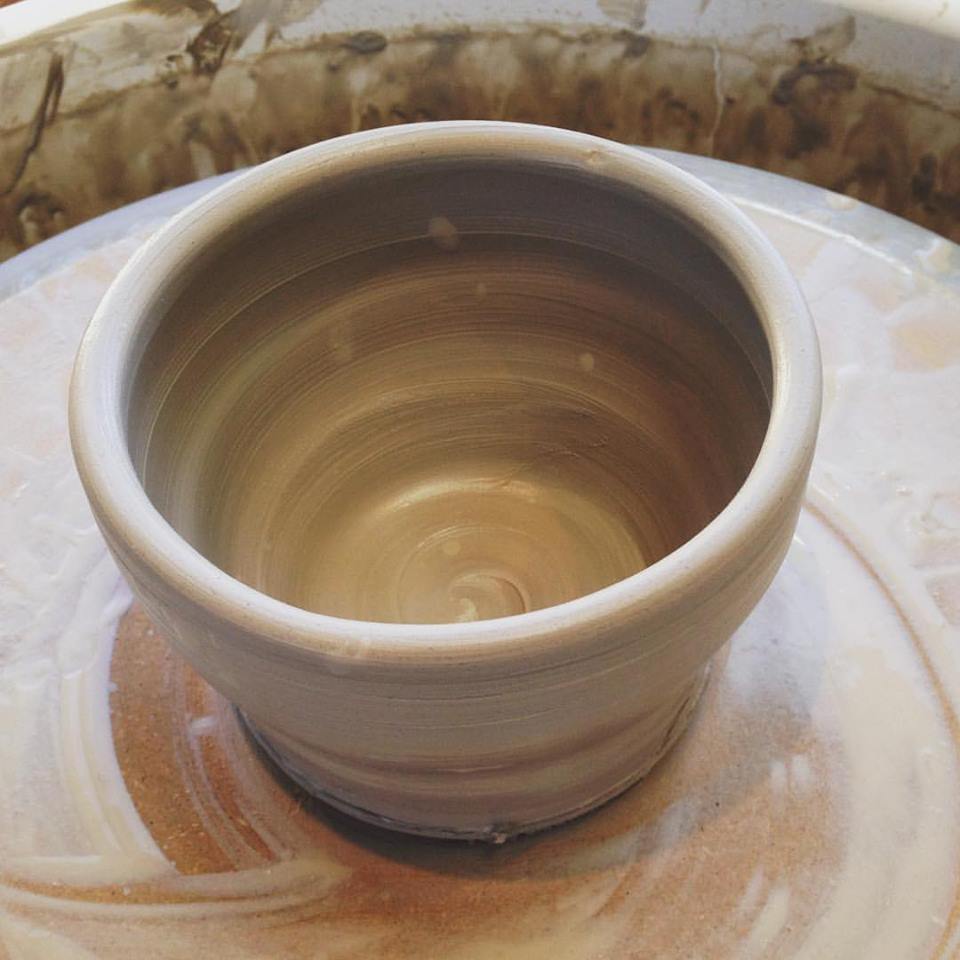
Then, my friend, Denise Lynch, built a pottery studio and invited me to come over and play for an afternoon.  She let me use the wheel…..I was in my glory.   pottery

This is the bowl I made.  Second attempt…..the first didn’t work so well…..but I’m still so excited!  I can’t wait to get back there and play again!

I had started a Pottery Board on Pinterest and have been adding to it regularly.  I want to go into the class with ideas of what I want to make.  And I love seeing what people can create with clay.  I think I’ll have to do lots of work to learn all I want to learn and make all I want to make!  But it is exciting to be learning something new, something I have wanted to learn for years.

I’m sure I’ll be taking some snapshots on my phone during class to share with you.  It’s all so exciting and inspiring!  To be learning a new creative skill, especially one that I never thought I’d get to learn, makes me get all wired and yes, I’ll over share purely due to my excitement!  I think I have officially overused the word excited, exciting and excitement in the post so far…. But, guys!!!  I GET TO LEARN POTTERY!!

Coasters, tiny houses, jewelry and probably lots of bowls and hopefully a mug….and and and – I want to make so much! Bring on the clay!  Bring on the messy!  Bring on the creativity and undoubtedly, the failures!  But if it is all chalked up to learning the processes and the ways of the clay, I’m game.

potterypottery

pottery

These are a few things that have caught my eye while perusing Pinterest.   { 1. Source 2. Source 3. Source } I’m noticing that I like clean lines and simple finishes.  Nothing too overdone or wild.  I like the form to be the main focus, not some fancy technique or elaborate design.  Simple may also be within my ability, too…. 😉

I’m off to do laundry and pin more things on Pinterest!  Enjoy your Saturday!

To be continued,

Lori
 

3 In Make Something

The Making of a Big Sign

I love projects that start with a pin sent over Pinterest and a message asking if I can make this.  I’m not one to back down from the challenge.  Especially when there’s also a message that says they’d rather barn board than a pallet.

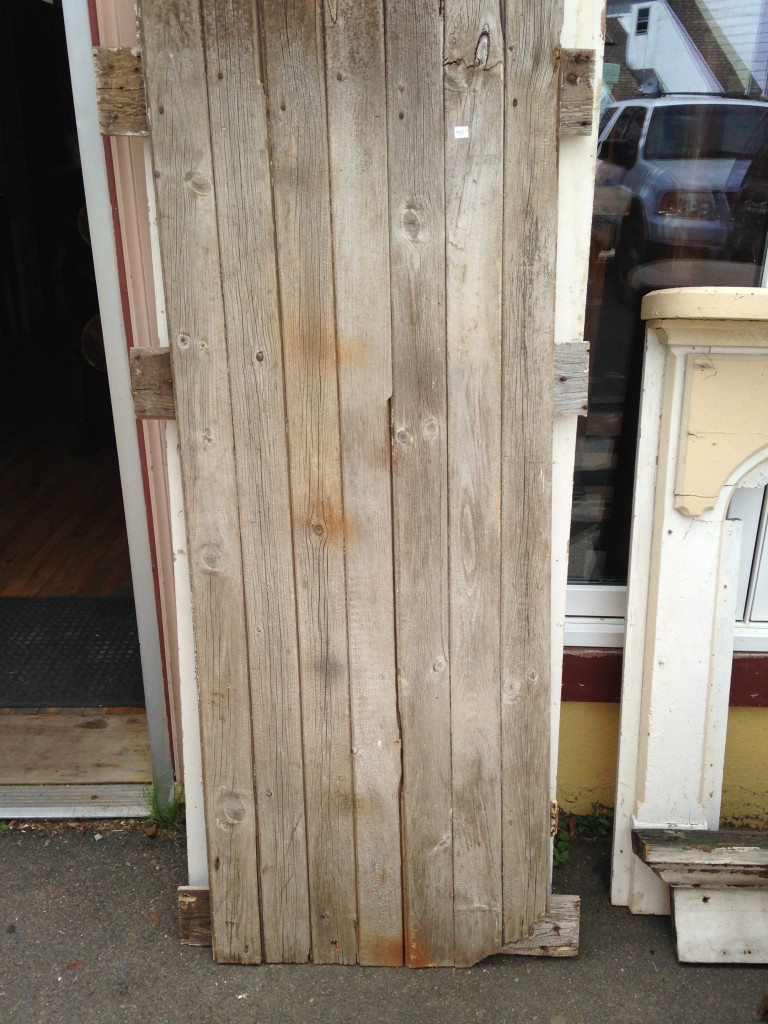
That gets the brain working!!  First stop – Onslow Historic Lumber, of course!  I had messaged Rose telling her that I was looking for barn board and told her the rough size the sign was going to be.  When I popped into the shop, there was this perfectly weathered barn door leaning outside the store.  It rattled around in my head while we chatted and then I went out to look again.  I sent this picture along to get approval.

barn door sign

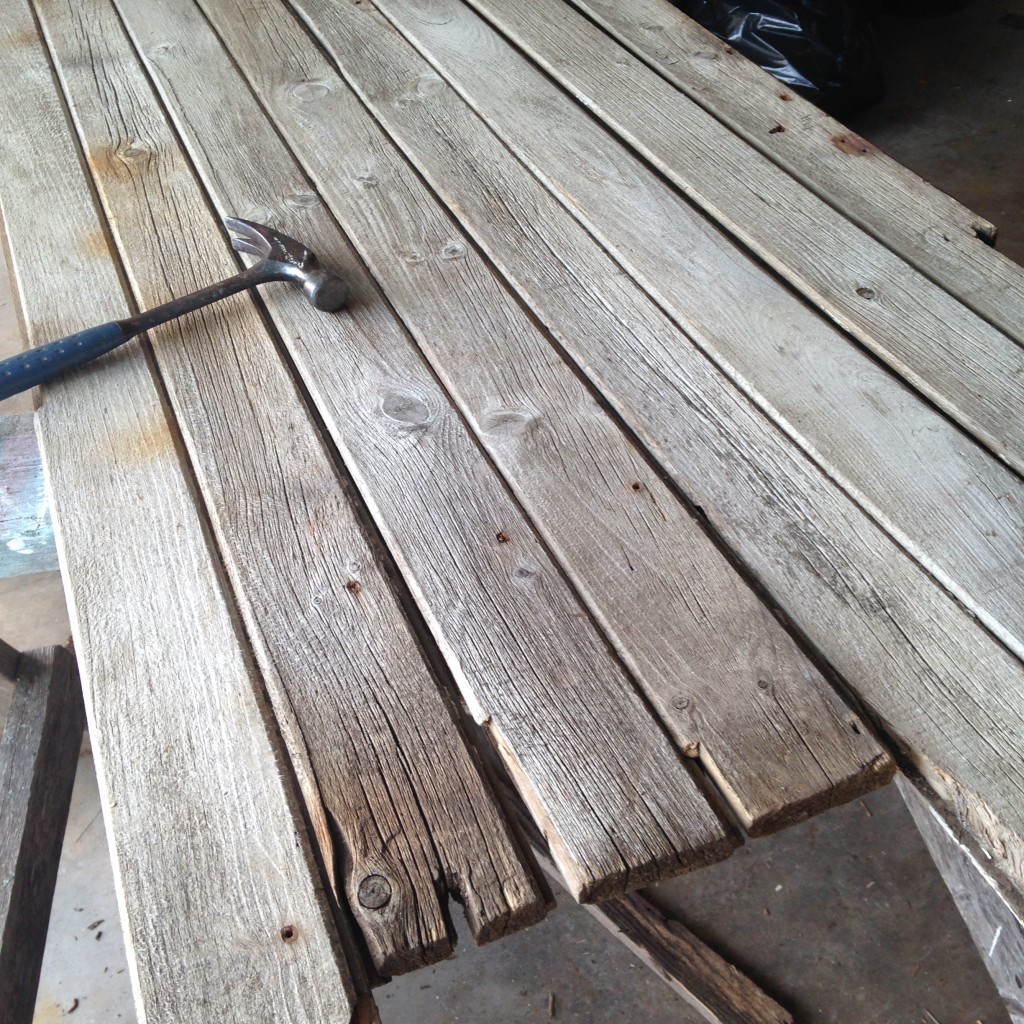
The response was an immediate YES!!!  Sold…..and put in my car and taken home.  I thought I would just do one cut across and then paint it up.  But….. { there always is one, right? } it had slightly skewed over time, hanging on its hinges.  So it was no longer square.  And that just wouldn’t do.  So, I knocked it apart and figured out where to make my cuts.

barn door sign

Now, you have to understand something.  I’m the youngest in my family and I have an older brother, thus I didn’t have to do things like use power tools.  I married a fella with carpentry skills.  My father-in-law is pretty handy, too.  So, I always just called on them.  But, I am also very independent and it drives me crazy to have to call someone to help me out.  I also would like my fingers to stay attached to my hands, right where they belong…..  The inner battle  – to call for help or to try it myself. I put on my ‘big-girl-panties’ and did it myself!  { I did double check with Lena that she’d call 911 and then my parents if anything happened, she told me to put the circular saw down!! }

barn door sign

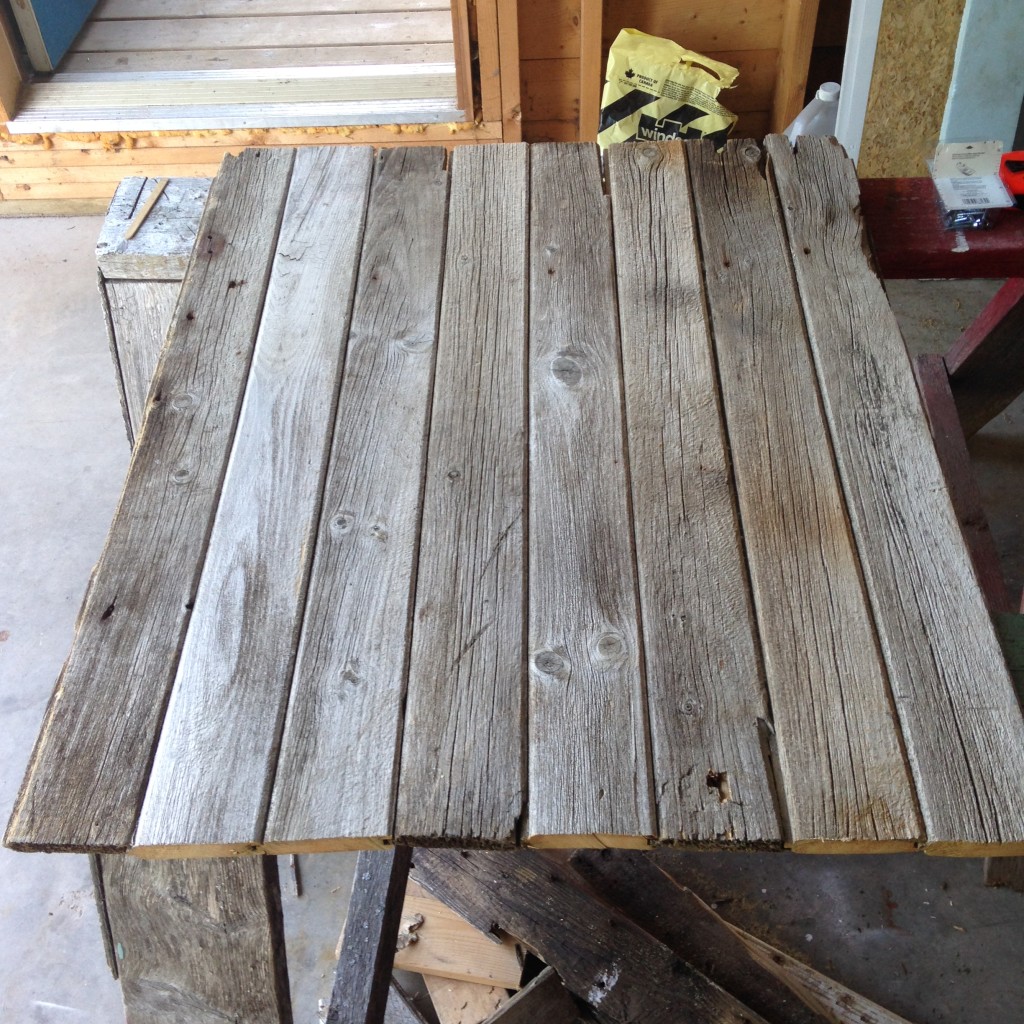
I pieced it back together, added boards across the back and screwed it together.  I have to say I was pretty proud of myself.  Not only did I still have all my digits, I had an awesome base for the sign, too!

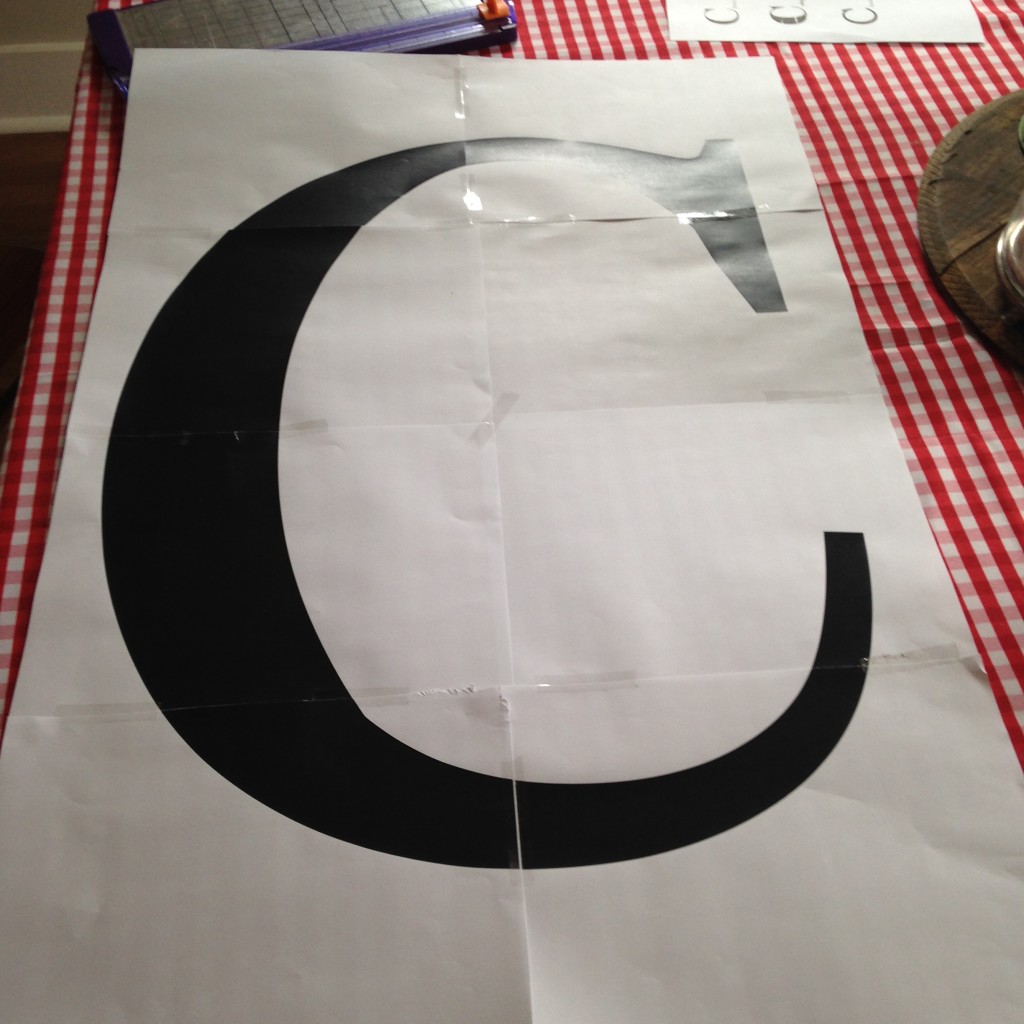
Then came time to paint.  I talked with Angela at Staples to figure out the best way to get a big ‘C’ printed.  I’m not very techie and maybe I could’ve figured it out in Word, but I left that to the professionals. 8 sheets of paper we had one giant ‘C’ ready to transfer onto the door.

barn door sign

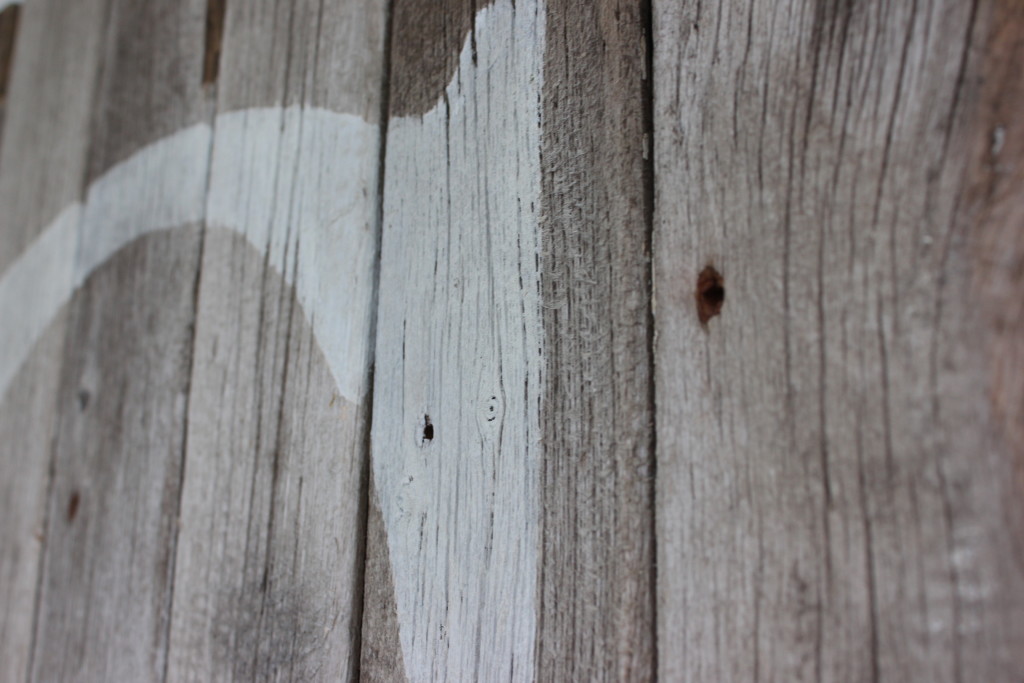
My transfer method is pretty low tech.  Colour on the back with chalk, flip it over and tape it to the door.  Then go around the outside with a pen or pencil.  You’ll get faint chalk marks and small grooves to follow when you fill it in with paint.  Once it’s painted, these marks aren’t even noticeable anymore.

barn door sign

See? You can’t even see the orange chalk marks!

barn door sign

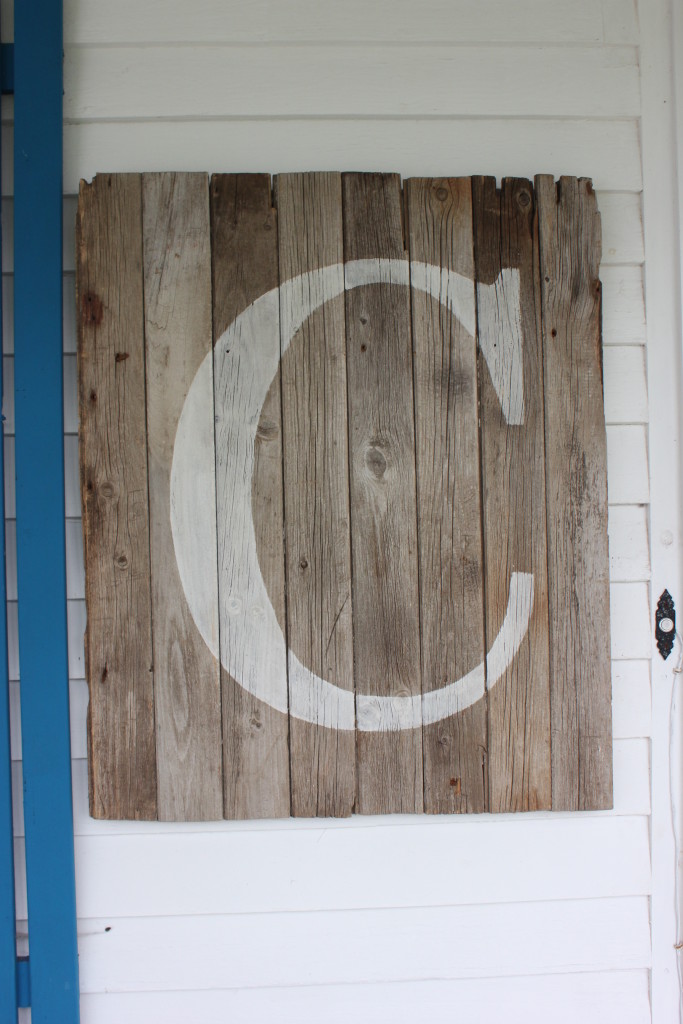
But you can see the awesome finished product!!!  I just hung it by my door to take the picture, but I can’t wait to see it hung on the bedroom wall that it was custom made for!

I delivered this piece today and am proud of what I made!!  And proud to show off all my fingers, too! 😉

To be continued,

Lori
PS – If you are interested in a sign like this, please let me know – I’d love an excuse to make another!!  This one was 28″ by 34″ and sells for $100.  I’ll even let you pick the initial!