Browsing Category

Make Something

3 In Adventures/ Make Something

DIY by the Sea – Part 1

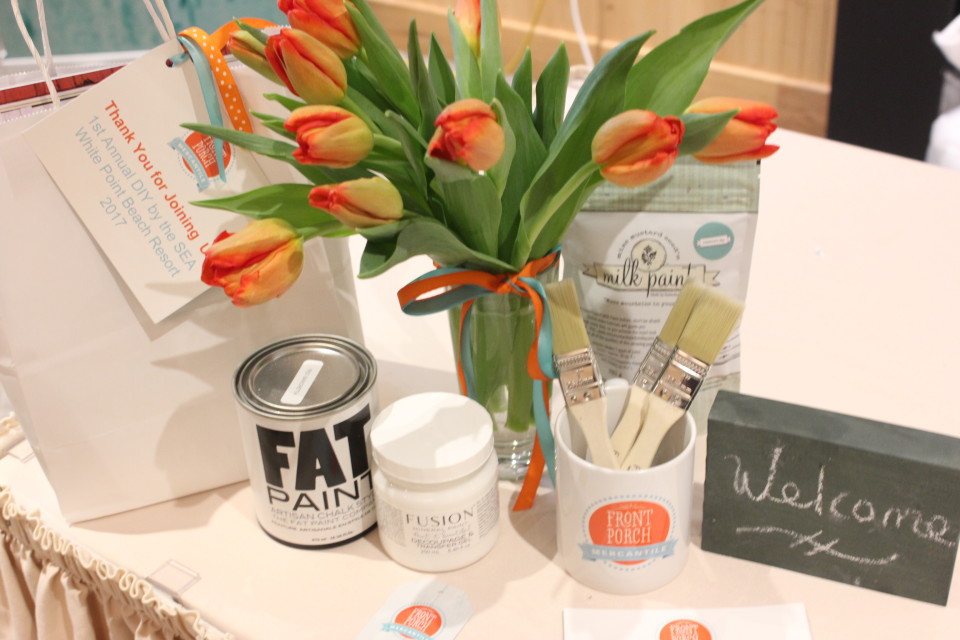
So, I just spent the most amazing weekend away from home, painting, making new friends and exploring a new-to-me part of Nova Scotia.  When Wendy from Front Porch Mercantile first started talking about DIY by the SEA at White Point Beach Resort back in October, I knew I wanted to be there.  And let me tell you, the weekend did not disappoint!

White Point - DIY by the Sea

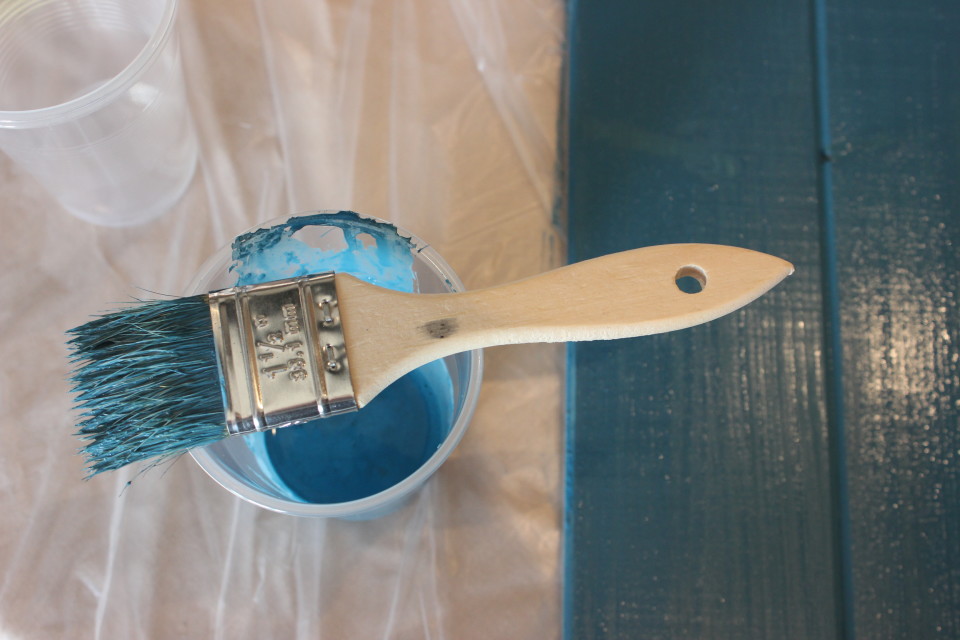
Our first night there, we went around the room and talked a little about ourselves and whether or not we had painted before.  Most people hadn’t, which surprised me, I had assumed that people who loved to paint would come to something like this, guess I was wrong…. 😉  But we got right into it, painting up our anchor that night, a nice, easy project to start with.
White Point - DIY by the Sea

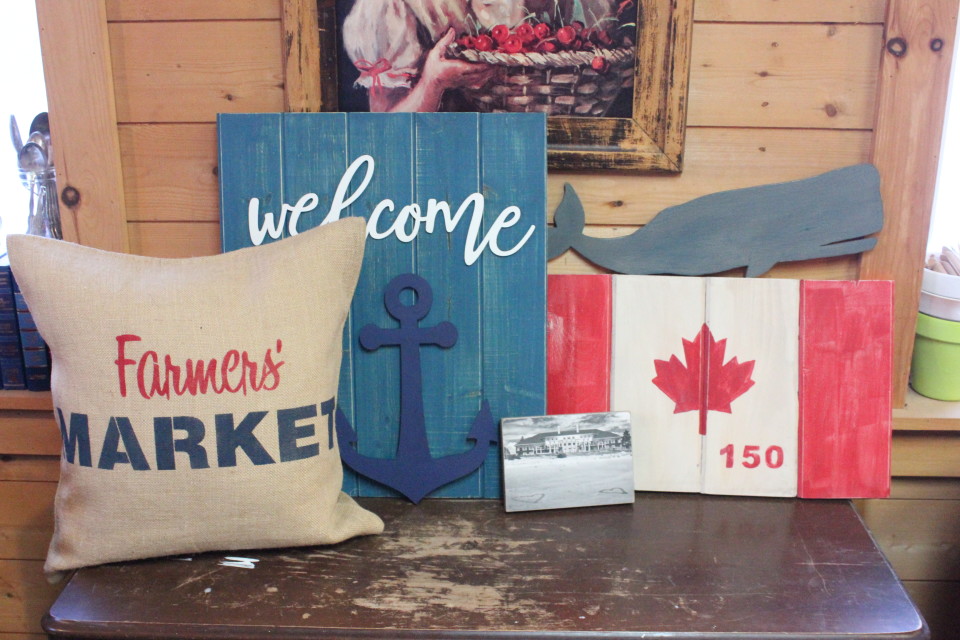
Now, I love all the thought that was put into the projects we did.  White Point Beach Resort is an ocean side, old school resort { by old school, I mean spending summers by the ocean, archery, sailing, swimming while living in little cabins along the shore } so our overall theme was nautical.  We painted whales, anchors, and the colours followed suit, lots of reds, blues and turquoises.
White Point - DIY by the Sea

The other thing is that White Point is HUGE on Canada 150 and I love that!  They even have a heart with a maple leaf inside lit up on the bank, very visible from all the ocean side windows in the main lodge.  So, doing a Canadian flag was awesome.  I’m thrilled with how it turned out, the knot on the upper left, and adding the 150 on the bottom.  It’ll be a great reminder of all the fun we’ll be having celebrating this big birthday.
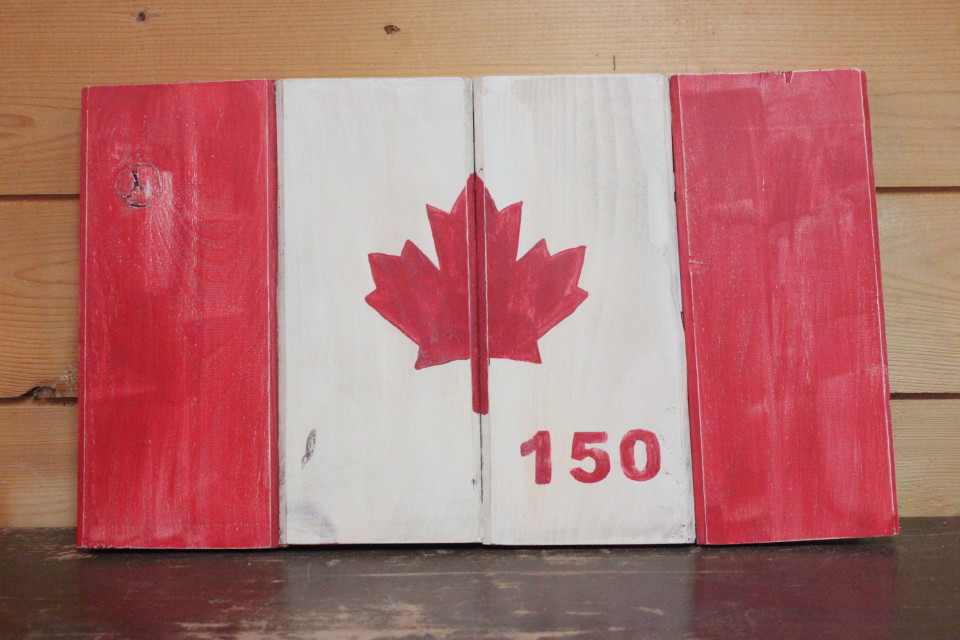
White Point - DIY by the Sea

Even though we were all working with the same supplies, everyone’s projects were so personal and varied.  It was neat to see the thought process everyone put into their work – where they were going to put it, what room, or if they were gifting it to someone, what colours they would like.  So, even though we started with something similar, they all ended up very unique! Here we all are with some of our finished products!
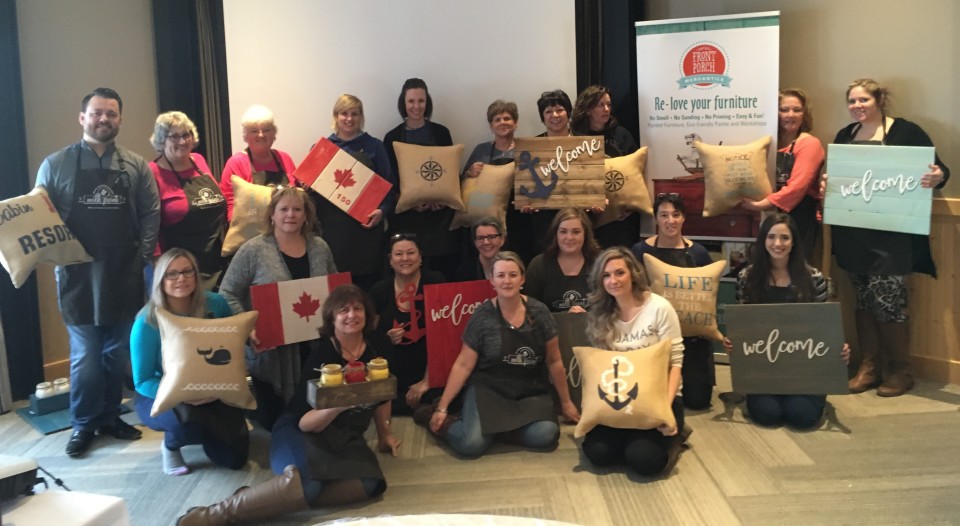
White Point - DIY by the Sea

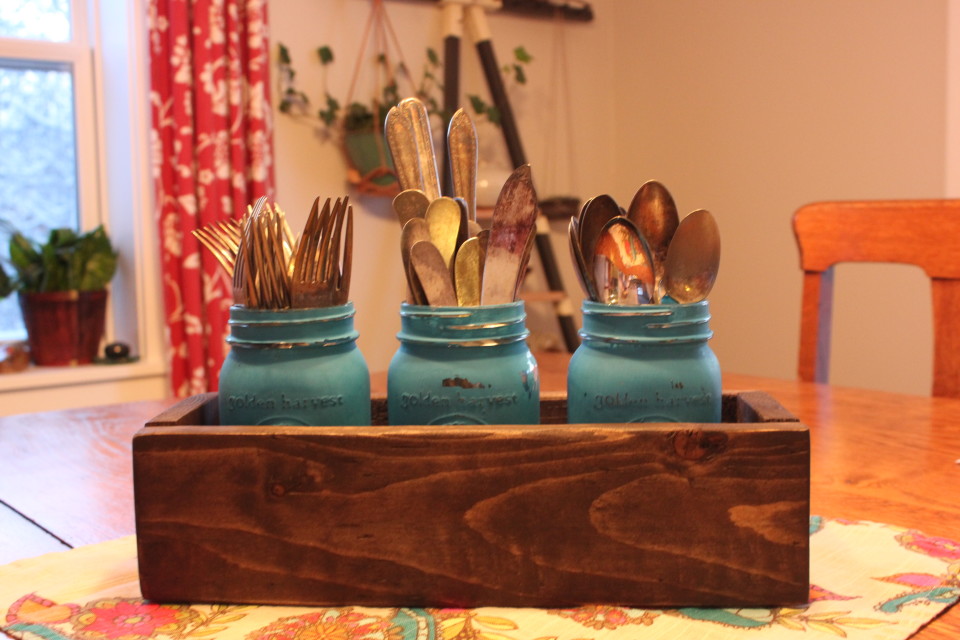
We did 8 projects in the course of the weekend.  Saturday was doing a lot of first steps on projects and not seeing the end results until later that day or even on Sunday after things completely dried.  Trying to think of how or where you’d use all the different projects made you really stop to think about what colour combination you wanted or where something might look best.  I love how my crate with the jars turned out, they are perfect for the dining room table, but would work equally as well in my living room or kitchen, too.  I guess that’s the benefit to using the colours you love throughout your whole home!
White Point - DIY by the Sea

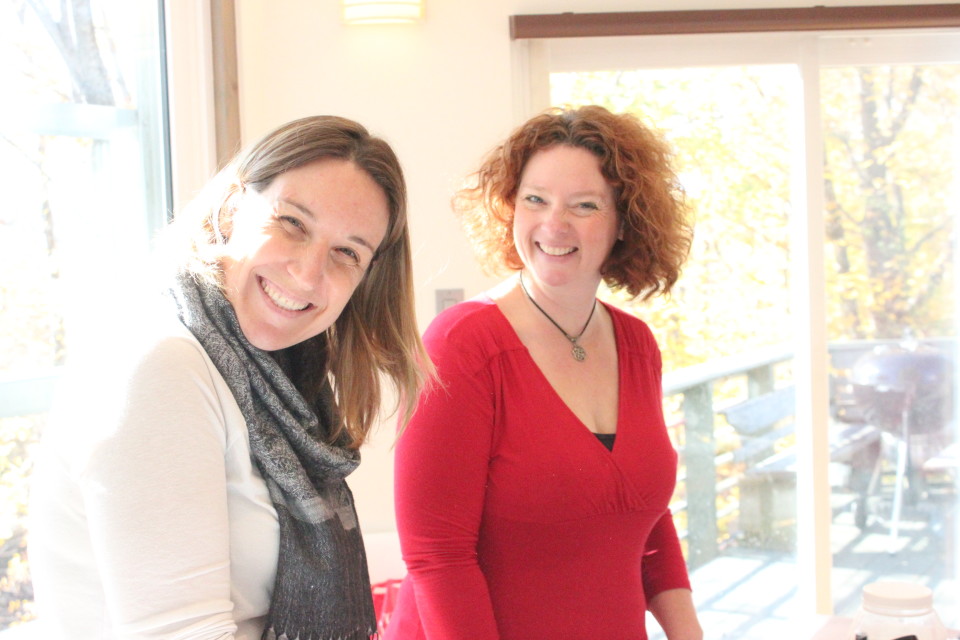
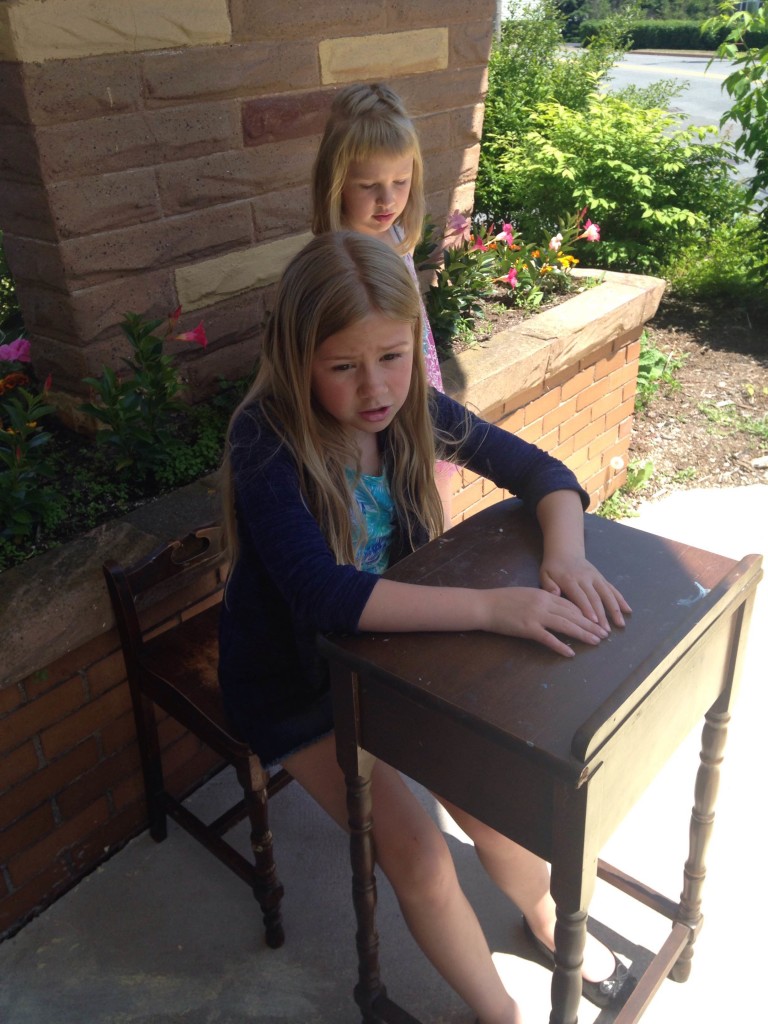
We certainly had a lot of laughs over the course of the weekend.  Donna Hatt, the Marketing & Product Development Manager, really broke the ice for us on Friday.  I think laughter is a language that unites people.  There was singing, dancing and that was just Pam and Wanda….  The projects were great, hanging out at White Point was amazing, but, again, for me it was the people, making new friends and finally getting to meet Wendy IRL!!  Here’s two of my new friends, Holly and Suzanne, painting a piece of furniture.  I spent a lot of time with these two and my roomie, Tracy, and I’m so thankful for new friends!!  White Point - DIY by the Sea
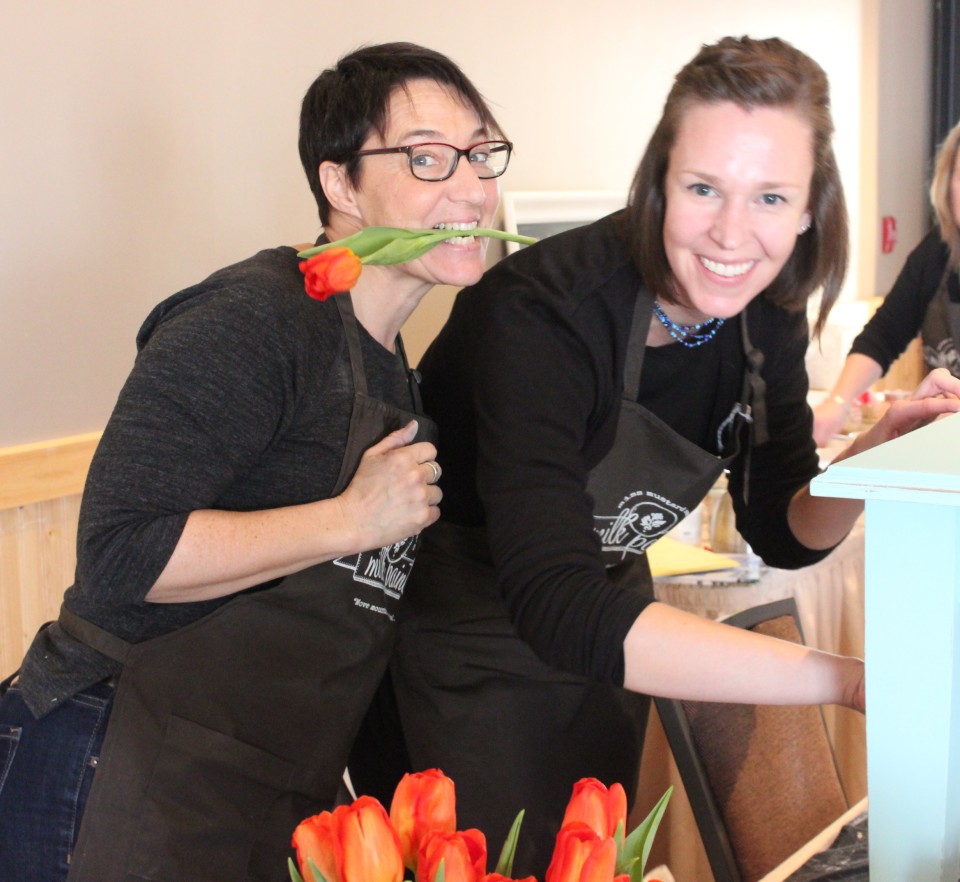
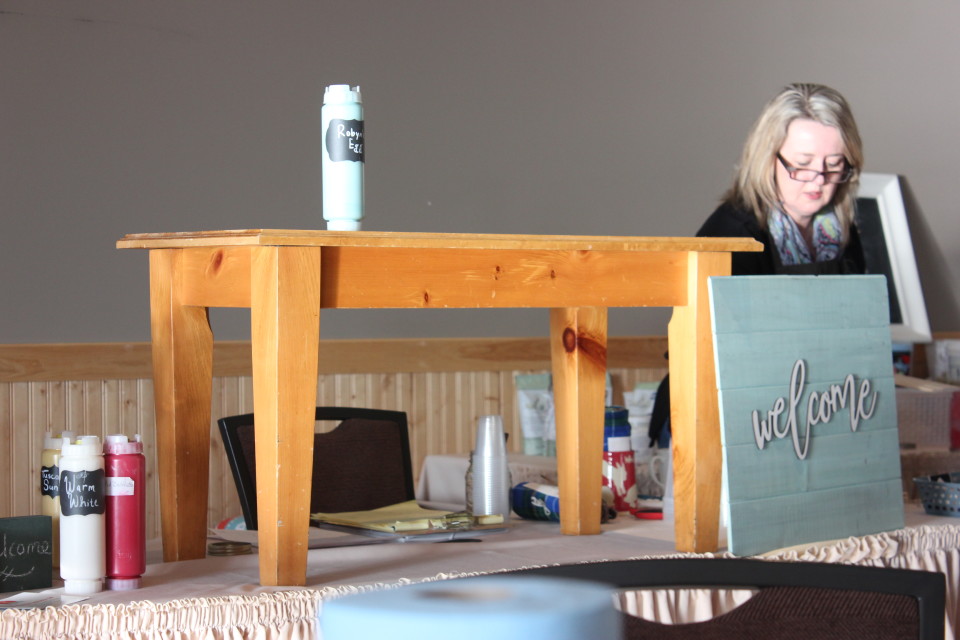
We may or may not of also ‘borrowed’ a table from the back room and gave it a bit of a makeover, too.  Of course, we didn’t tell Donna that until it was too late and we were packing up to roll out on Sunday. That’s what the girls are working on in the photo above….it give everyone the chance to see the prep work required, how easy it is and how incredible the transformation can be.  We loved doing small projects, but really, I think a lot of us want to paint furniture.  Like Wendy told us, don’t start on your grandmother’s chine cabinet!

Here’s the before:
White Point - DIY by the Sea

And here’s the after:

Ugh – due to technical difficulties, there is no After picture at the moment….maybe next post?

I can’t say enough wonderful things about the weekend.  It was a much needed get-away for me, to be creative, branch out and meet new people.  White Point was amazing, which I’ll talk more about in my next post, and I seriously can’t wait to go back.  This time, I’ll bring the family, I kind of think they’ll love it, too!

Thank you to Wendy and Lise for all your hard work doing the prep work, washing the brushes, trying to keep us in line.  Donna, thank you for all the work you did to make sure we had a fabulous time at White Point and making us feel so welcome!

I especially need to give a huge THANK YOU to At Home on the North Shore for sending me to this weekend retreat! It’s always exciting to get to scout out new ideas to share with our readers and to be freshly inspired by our amazing province and its people.  I feel very fortunate to be able to represent not only the magazine but also our area in this way.

To my new friends, you guys made the weekend for me, so thank you!! Tracy, thanks for not being an axe-murderer 😉

To be continued,

Lori


3 In Make Something

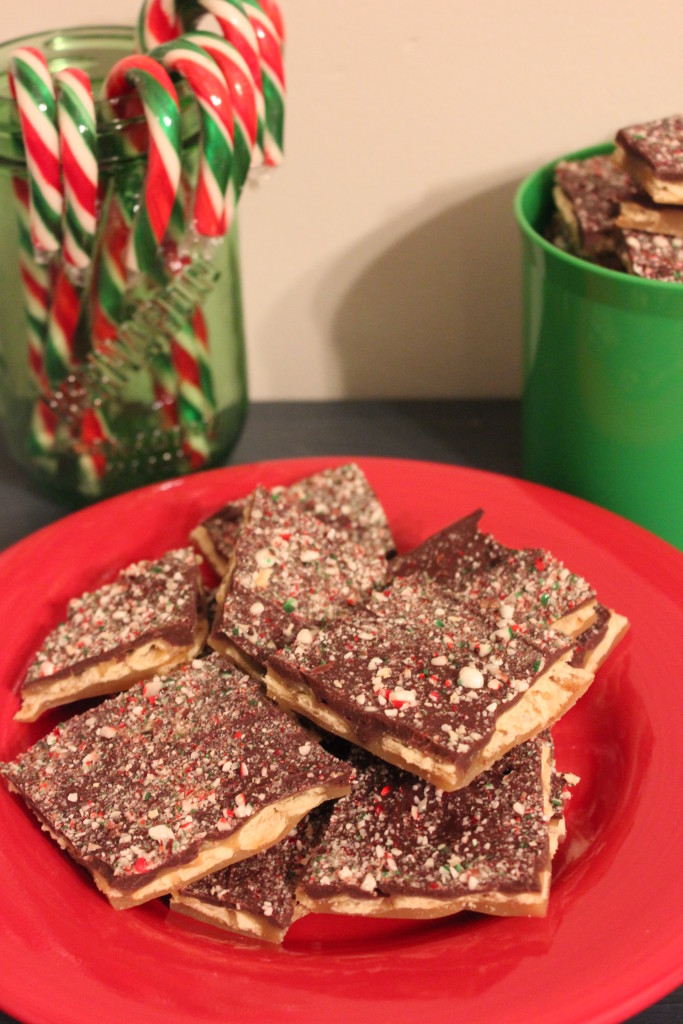
Christmas Crack – Tastiest Treat Ever

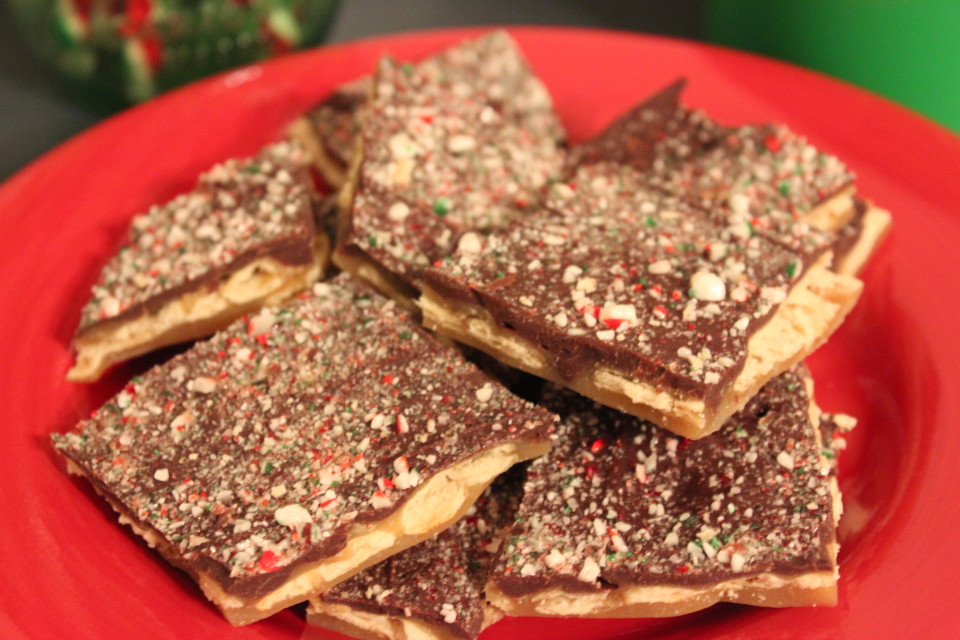
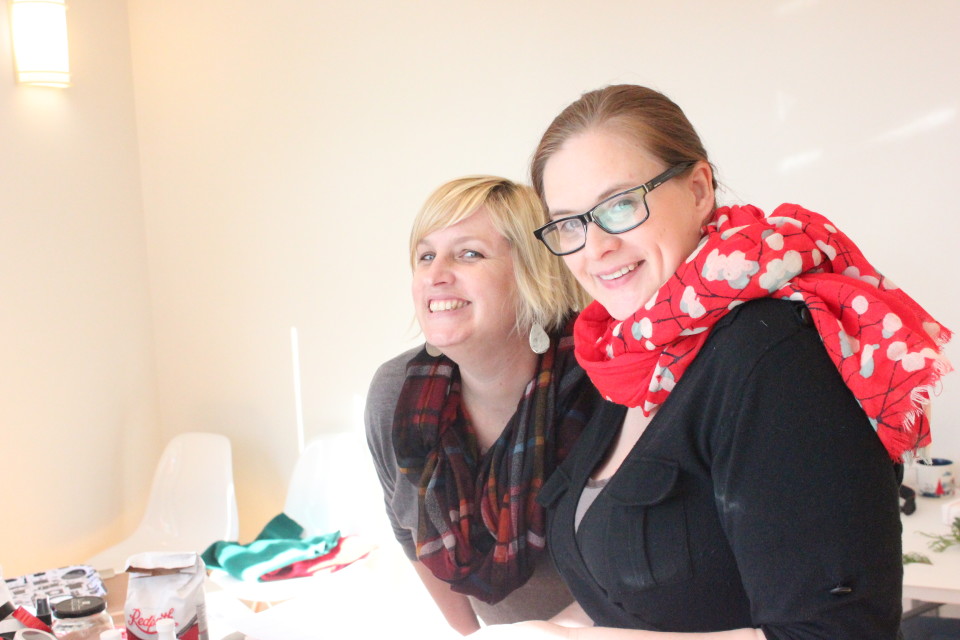
Christmas Crack

I love sweets, it’s no secret.  I’ll go for the sweets over salty any day.  So, when I find a tasty recipe that I can easily whip up with ingredients I typically have on hand, it gets dangerous. Enter Christmas Crack into my life and a few too many extra pounds.

This isn’t my recipe, I didn’t tweak it or do anything to it to be able to lay claim to it.  But it is my go-to for any Christmas events.  I talked about bringing some to my Solo Christmas Party, which you can read about HERE.  And those of you who did read that post, here’s the recipe you were asking for! And those of you who haven’t read it, you really need to and leave a comment for a chance to win a Warrior Spoon necklace made by moi.

Anyway, here’s what you need to do to enjoy some of the Christmas Crack!!

Ingredients:

1 cup brown sugar

1 cup butter

50 or so saltine crackers

2 cups chocolate chips

Toppings (nuts, crushed candy cane, M & M’s, etc.)

 Pre-heat the oven to 325*.  Lay out the cracker in one layer on a foil-lined cookie sheet. Bring butter and brown sugar to a boil on the stove and let boil for about 3 minutes.  Pour sugar/butter mixture over the crackers and stick in the oven to bake for 6-8 minutes.  Take it out and sprinkle the chocolate chips over the mixture and let them melt.  Once they are melted, spread them out.  Add your favourite topping and put in the fridge until it is hardened.  ‘Crack’ into pieces to serve. Store in the fridge. Share if you have to….

Christmas Crack

I love being able to have options for the toppings, based on my mood or the event I’m taking it to.  Some places are nut-free, so if you avoid nuts as toppings, then you’re all set!  I confess Candy Cane is my favourite.  Actually, you can put Candy Cane on just about anything, and I’m game….brownies, hot chocolate, fudge, donuts, cheesecake….do I need to go on or do you get the idea? Yeah, I thought so.

So there you have it.  Super simple to make, tasty to eat and people ask me everytime I take it some where for the recipe.  Just send them here, I’m happy to share! Well, the recipe anyway, hands off my Christmas Crack….

To be continued,

Lori
1 In Blogging/ Make Something

Skimbaco Projects

I promised you the low down on our projects during our morning at Katja’s and so I’ll deliver!!

skimbaco

Some of the projects are so simple and yet so awesome!  I have a hard time picking my favourites.  Katja was kind enough to provide us with all the supplies we needed to make at least one of each, if not multiples.  I tucked some away to use as gifts, but I did keep a few for myself, too.

skimbaco

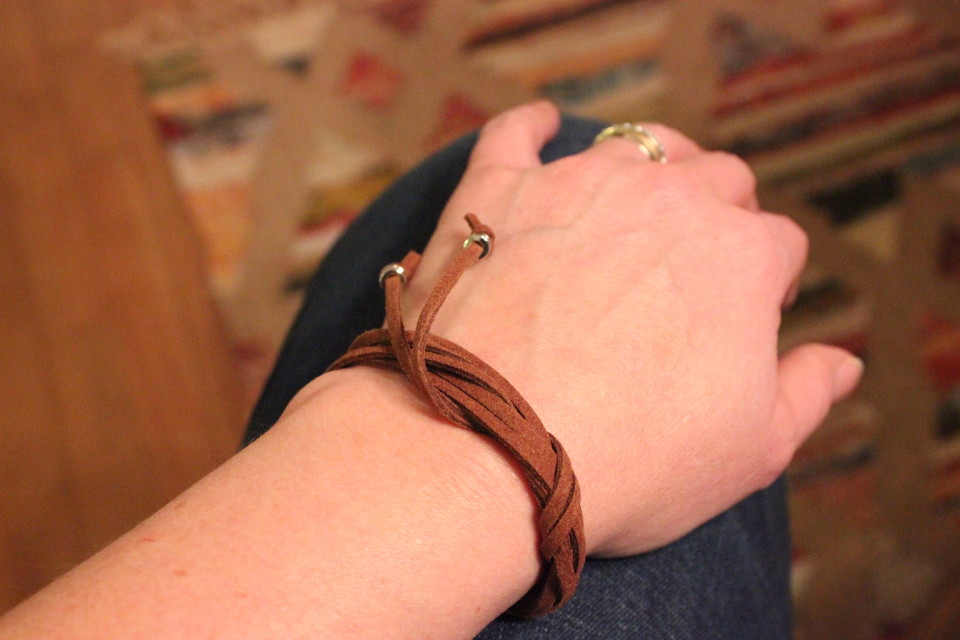
This very simple wrap bracelet is a cinch to make, easy to wear as either a bracelet or a necklace!  I made two but I’m thinking the girls would love to make these for their friends, too, they’d make a great gift for girls or girls at heart!

skimbaco

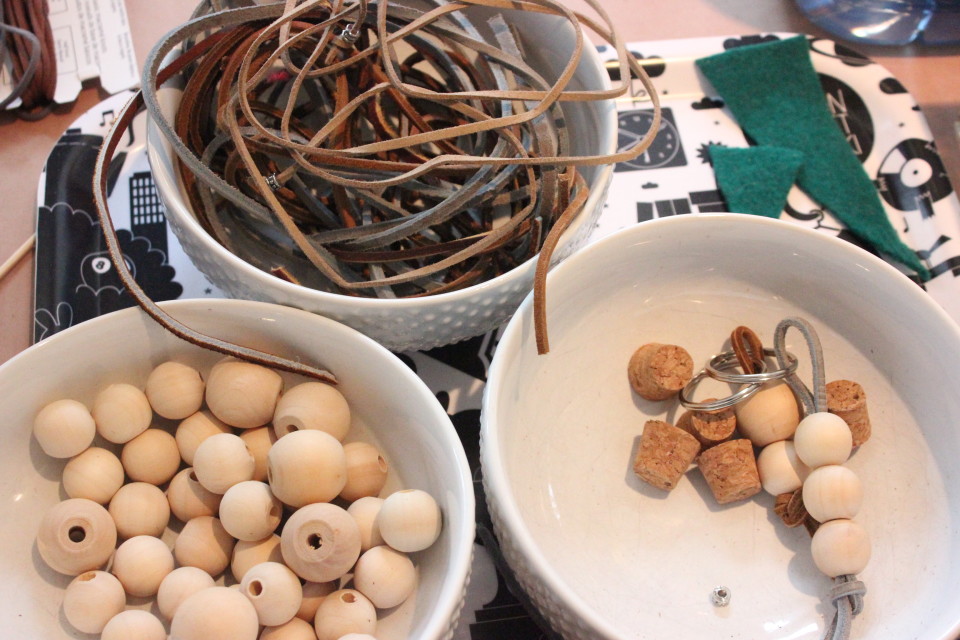
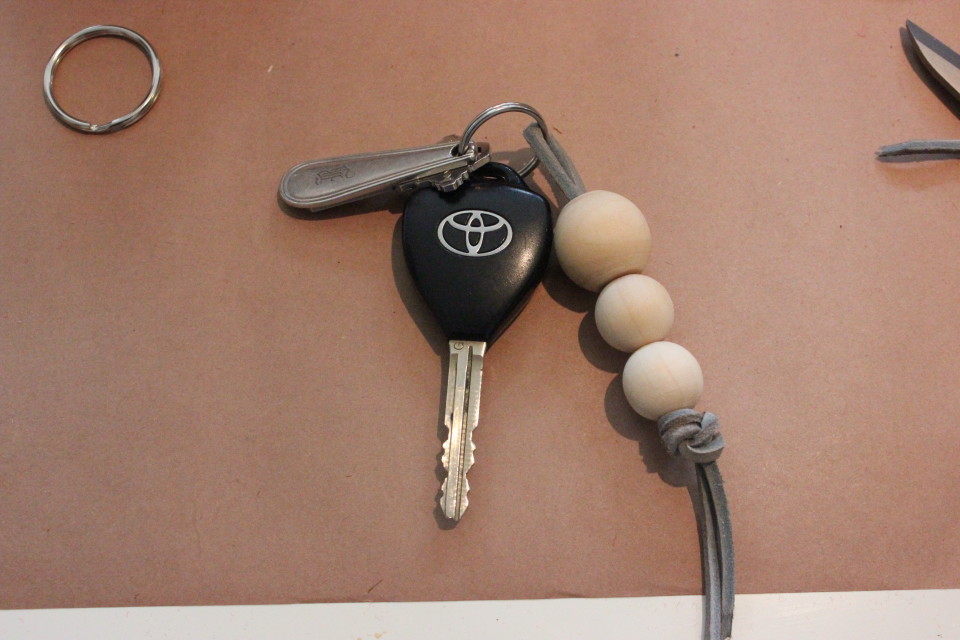
I’m loving my new keychain!!  Again, a simple project but it’s so fabulous!!  Change up the colour of beads, change the leather strap and you can make it a personal gift to give to someone.

skimbaco

The felted wool trees make a great little extra to tuck into a gift or to give someone who you want to do something for but are maybe at a loss as to what to give them.  You can make trees or ornaments with the felted wool, the nice thing is that they are no-sew once the wool has been felted!  Also, a great way to recycle wool sweaters that may have gone out of style or found their way into the dryer before you had intended them to! { You can see a green one in the top photo…apparently I didn’t take many pictures of them }

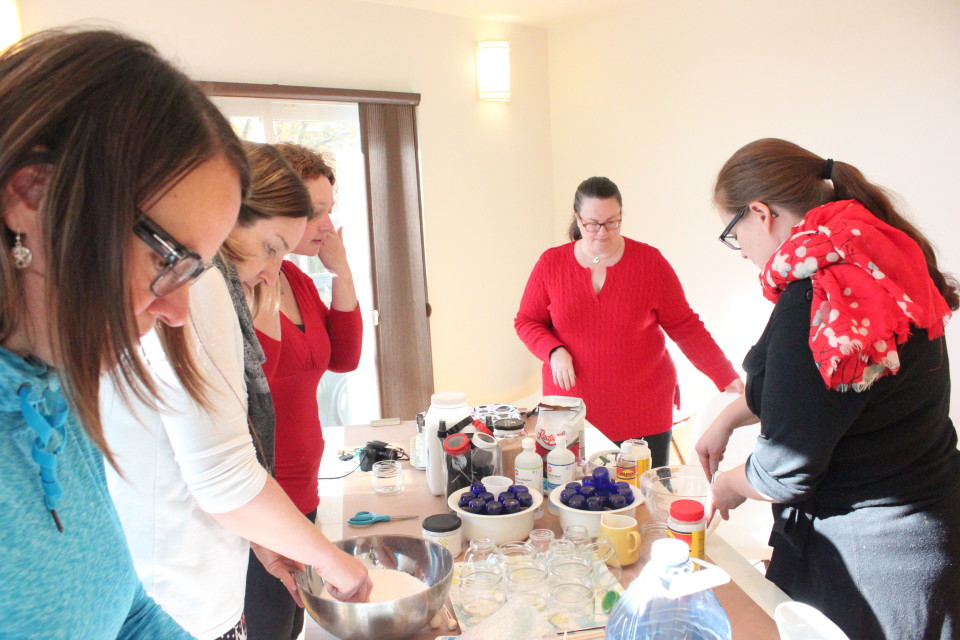
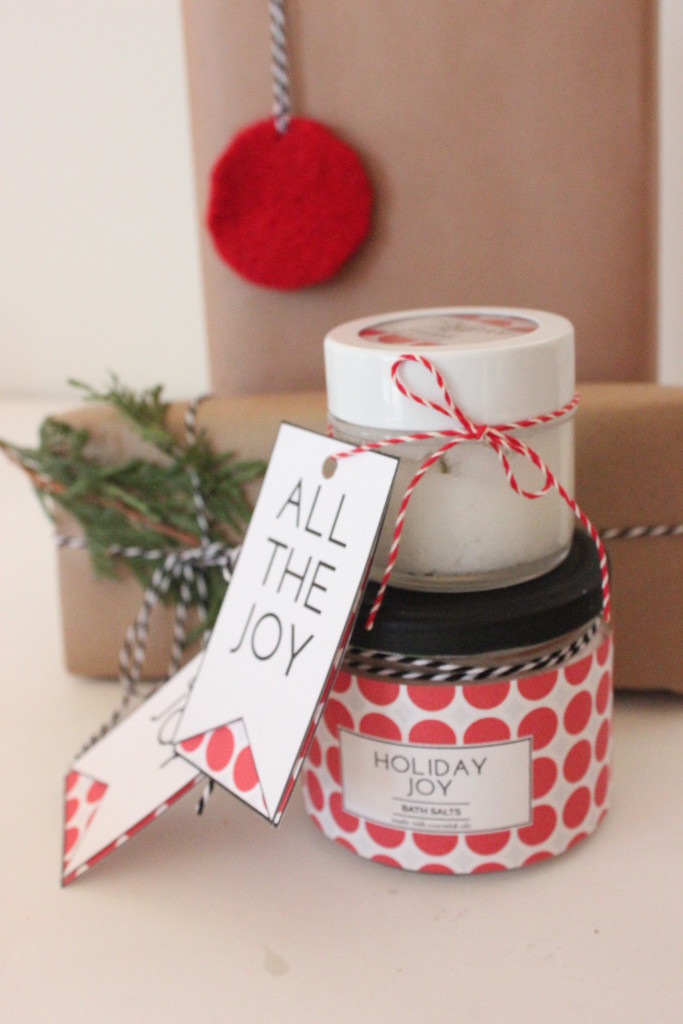
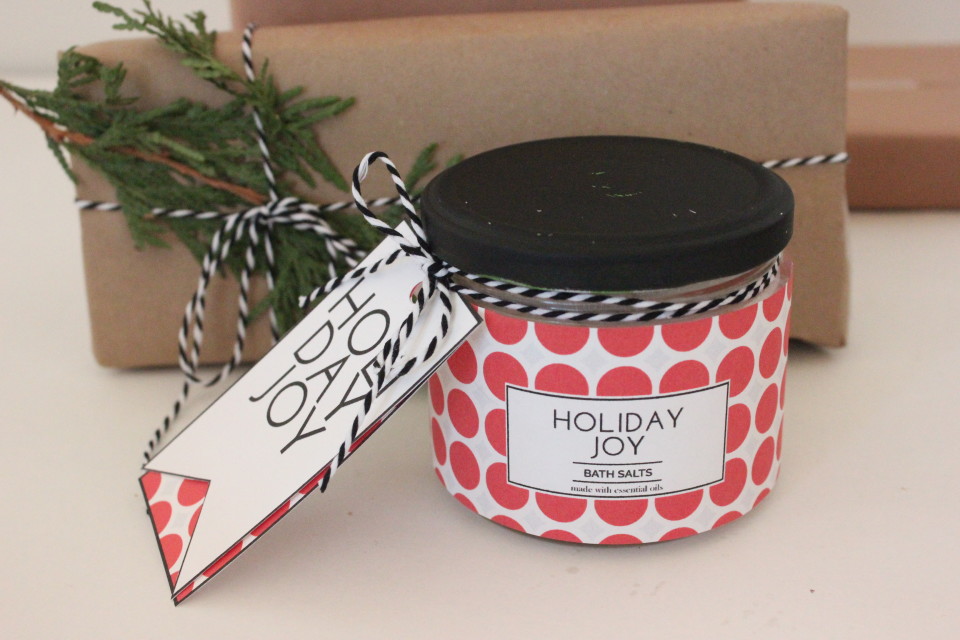
Now we get into the bath products!  I can’t even get over how simple these were to whip up!  Sugar scrub, bath salts and room spray…a few basic ingredients and you’re off to the races!  It was fun to learn about the essentials oils and the different combinations people used to make their festive scents.  I have used essential oils before, but without much thought as to the actual benefits and not just their smell.  Katja did a great job explaining it all out to those of us who didn’t have much experience with them. If you want to learn more about the oils we used, click HERE.

skimbaco

skimbacoskimbaco

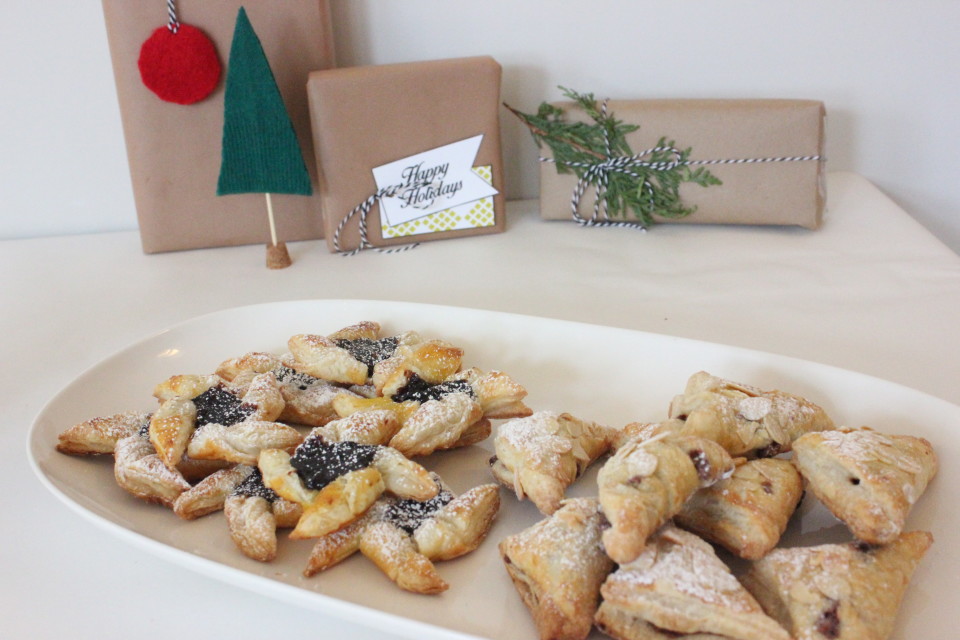
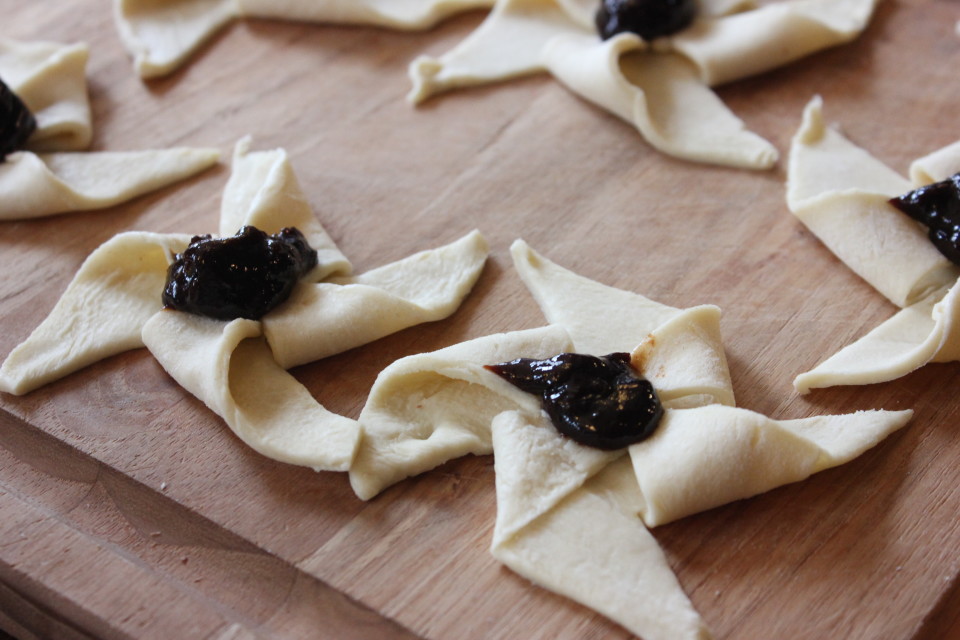
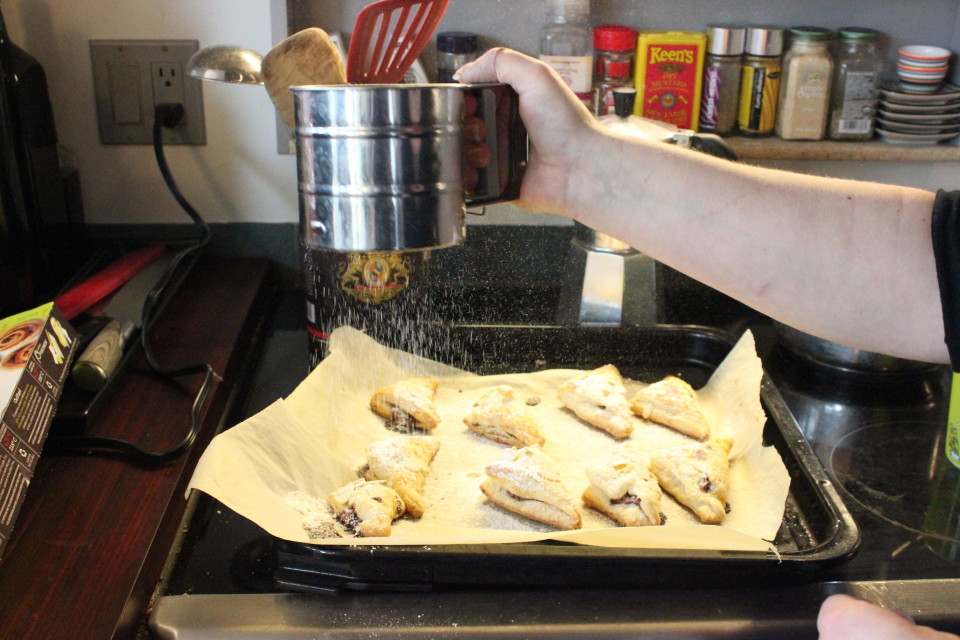
And the food…..oh the food!!!  Katja showed us the most simple treats to make with puff pastry and Toblerone bars or prune jelly.  They look like a million bucks with the sprinkling of icing sugar.  I think I need to do that more….oh, this cake looks like crap, I’ll just sprinkle some icing sugar on it. Oh, these cookies are boring, I’ll just sprinkle some icing sugar on it. Oh, this meatloaf looks horrid, I’ll just sprinkle some icing sugar on it!!

skimbacoskimbaco

skimbaco

Katja provided us with lots of things, including the tags and jar wraps plus a complete wrapping station to doll up our newly made gifts!  She even sent us home with a Tolberone of our very own to eat! Er, I mean share….

It was a wonderful morning, as I talked about HERE, but part of the reason she did it was to photograph it for her online magazine, us making it all and then the products themselves.  It was certainly fun but the icing on the cake is being part of this!  You can check out her online magazine HERE.

If you’d like more information on any of the projects we did, drop me a line under the CONTACT header, I’ll be happy to answer your questions!!

To be continued,

Lori
 

6 In Blogging/ Make Something

Skimbaco, Blogging Friends and Trump

One of the wonderful things about attending events such as Blogjam, is meeting up with people you know from the internet.  Sounds sketchy, eh? I know.  But, let me tell you about this amazing circle of supporters!

The year before last I attended Blogjam and meet up with some amazing people and learned about some great resources for bloggers, bloggers specifically from the East Coast.  Well, I’d be foolish not to tap into that.  So, for the last year or so, I’ve been interacting with and been inspired by this circle of women, with a guy or two thrown in for good measure.  Attending this round of Blogjam was like meeting old friends and expanding my circle of East Coast bloggers.

skimbaco

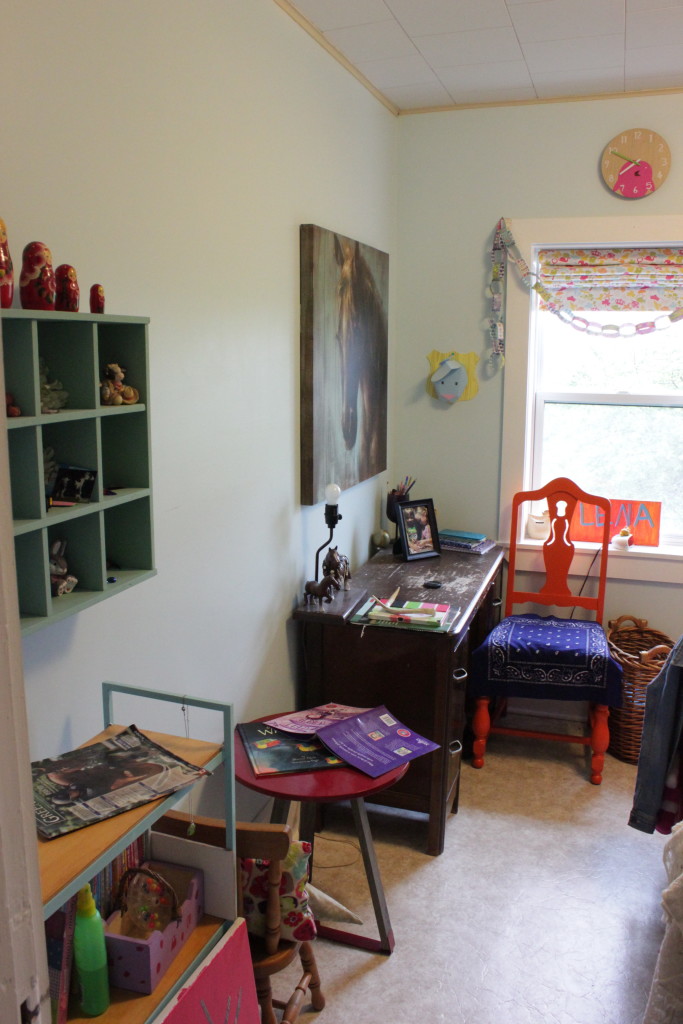
Right on the heels of Blogjam was an event hosted by one of these bloggers, Katja, who has the blog and online magazine, Skimbaco Lifestyle.  She extended the invitation to come to her home and work on some Christmas crafts and gifts so she could photograph it for the Christmas issue of Skimbaco and we could make some goodies and blog about it all ourselves.  I was quite happy that I was available to go before I even saw what we were doing or before I knew the hospitality that would be offered to us.

I was unfamiliar with the area of the city I was heading that Wednesday morning, so I did what any country folk would do before heading to the big city…I googled where I was going, of course!  One of the nice features of Google Maps is that you can have the street view, so I knew what colour and style the house was that I was looking for, and I couldn’t wait to see more after the tease Google provided.

Katja’s greeting was so warm and welcoming, and her home was just the same.  Katja’s accent made me want to listen to her talk all day!  Her house was very unique and bright, filled with many things with a story and a sense of history.  The south bank of windows, with the woodsy view in the middle of the city was completely enchanting.  It would be fabulous to watch the seasons change from that vantage point.

skimbaco

There were already a few other bloggers there and so we chatted and ohh’ed and aww’ed over this and that.  When everyone arrived, Katja put us to work in the kitchen, whipping up some tasty treats for later in the morning.  And then we started the crafting.  After crafting came making some special bath & beauty products, complete with pretty packaging.  I’ll show you more of all that wonderfulness in another post.

As much fun as we had and as wonderful as the projects were, for me it was connecting and getting to know these personalities that I only really knew from the world-wide web.  And it seemed like we all needed an extra boost on this particular Wednesday, as it was the Wednesday we all woke up to a world were Trump somehow got himself elected to be President.  So to be surrounded by strong, inspiring women who are making a difference in their worlds was exactly what we all needed that morning.  Being spoiled by Katja was the icing on the cake. Speaking of cake….

skimbaco

skimbaco

I’m glad I took the time to drive down to the city and hang out with these amazing people.  They are part of the reason why I plug away here on my blog.  You guys reading this are one of the other reasons, too.  Besides the fact I love to write and tell my stories.  If you love to read blogs, especially blogs with an East Coast spin, you should check out these:

Katja at Skimbaco

Colleen at Curtains Are Open

Laura at Valley Family Fun

Laureen at Tempered With Kindness

The other Laura at My Life in the Sun

Heather at Mmm… is for Mommy

I’m going to slip this little picture in right here:

skimbaco

Colleen and I have the same camera and she picked mine up, not knowing and snapped this picture of Katja and I.  I’m always the one behind the camera { honestly, quite happily, too } but it was a fabulous surprise to find this when I was scrolling through the pictures afterwards!

So, here is to fellow bloggers who are rocking it, to new friends IN REAL LIFE and to making time to create!!  Cheers!!

I’ll follow this post up with a post with some of the fun things we made…hopefully soon!

To be continued,

Lori


1 In Clear Day Farm/ Make Something

Lena’s Room Makeover – Part 1

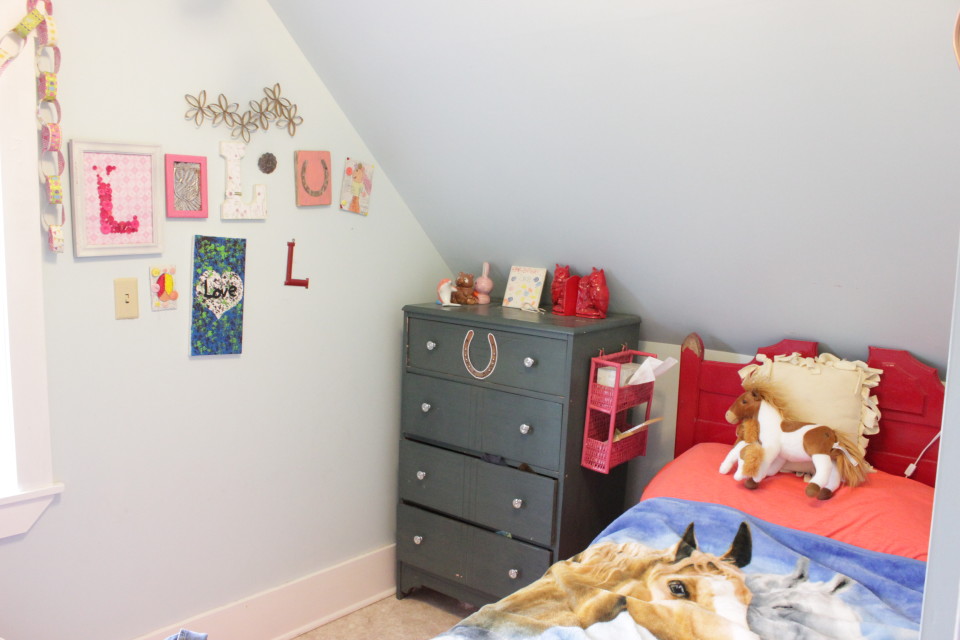
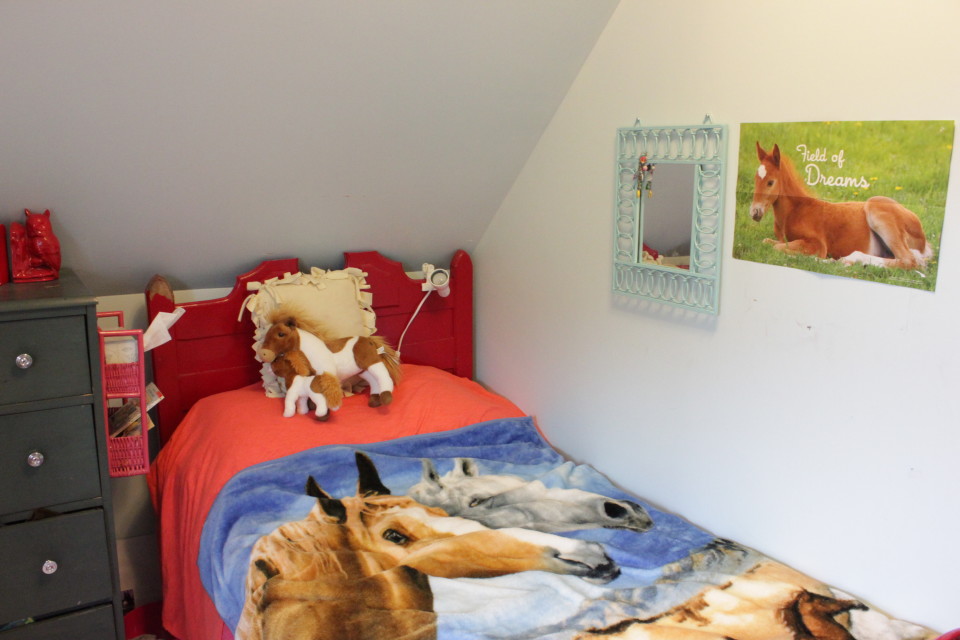
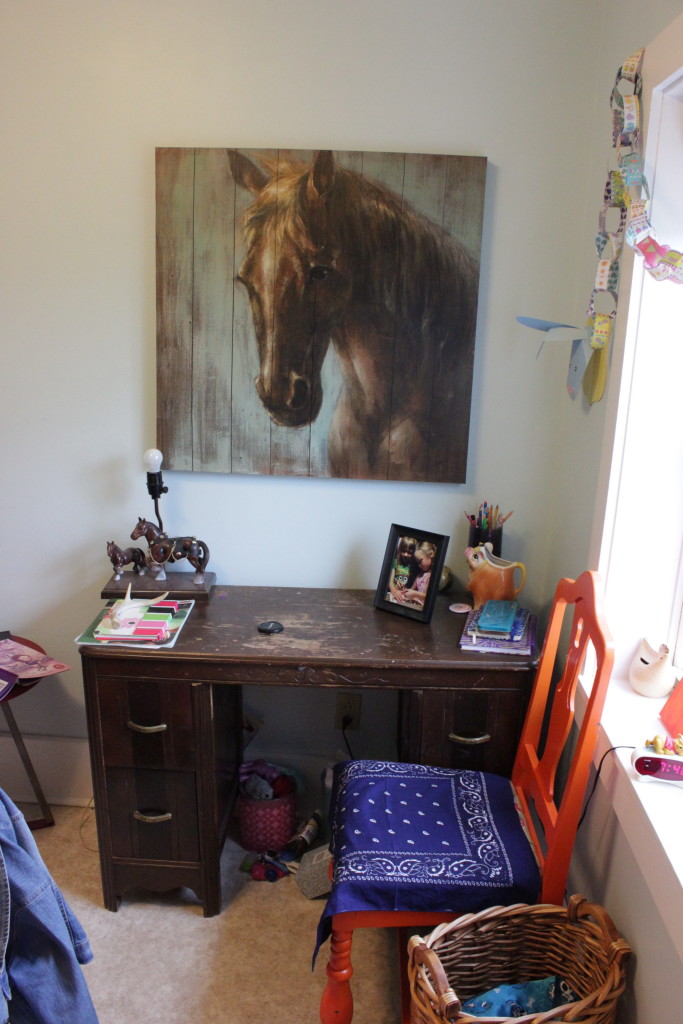
When we moved into our new house, we painted most every room….except Lena’s.  It had been painted not long before we moved in, so all we did was freshen up the trim and move her into her own room.  And for the last two years, it was fine.  But….it was time.  Can you tell she’s horse crazy??

Lena's Room - BeforeLena's Room - BeforeLena's Room - BeforeLena's Room - Before

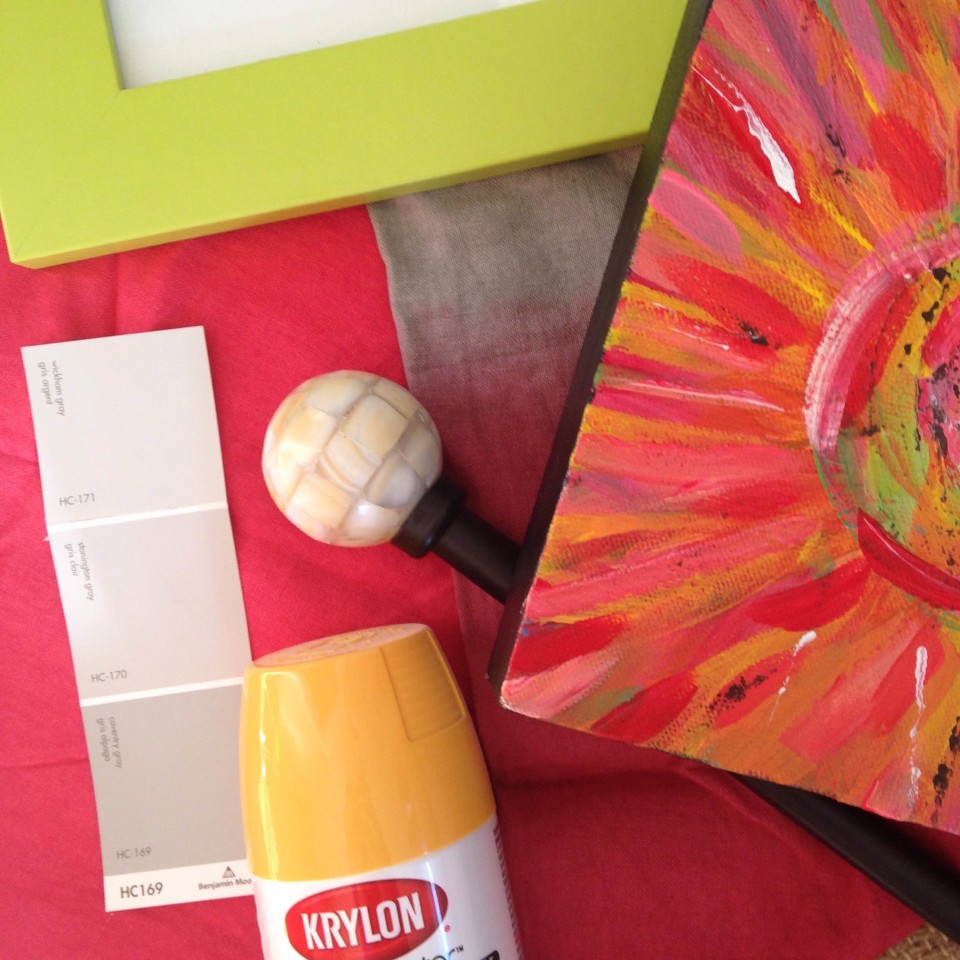
We talked and debated and looked at colours and hatched plans and went back and forth.  And this is why I love doing certain things with Lena….she’s a thinker, has great taste and fabulous style.  And she knows what she wants.  She decided on Wickham Gray by Benjamin Moore for the walls, a pale gray shade that works well with everything and is in keeping with the rest of the wall colours throughout the house.

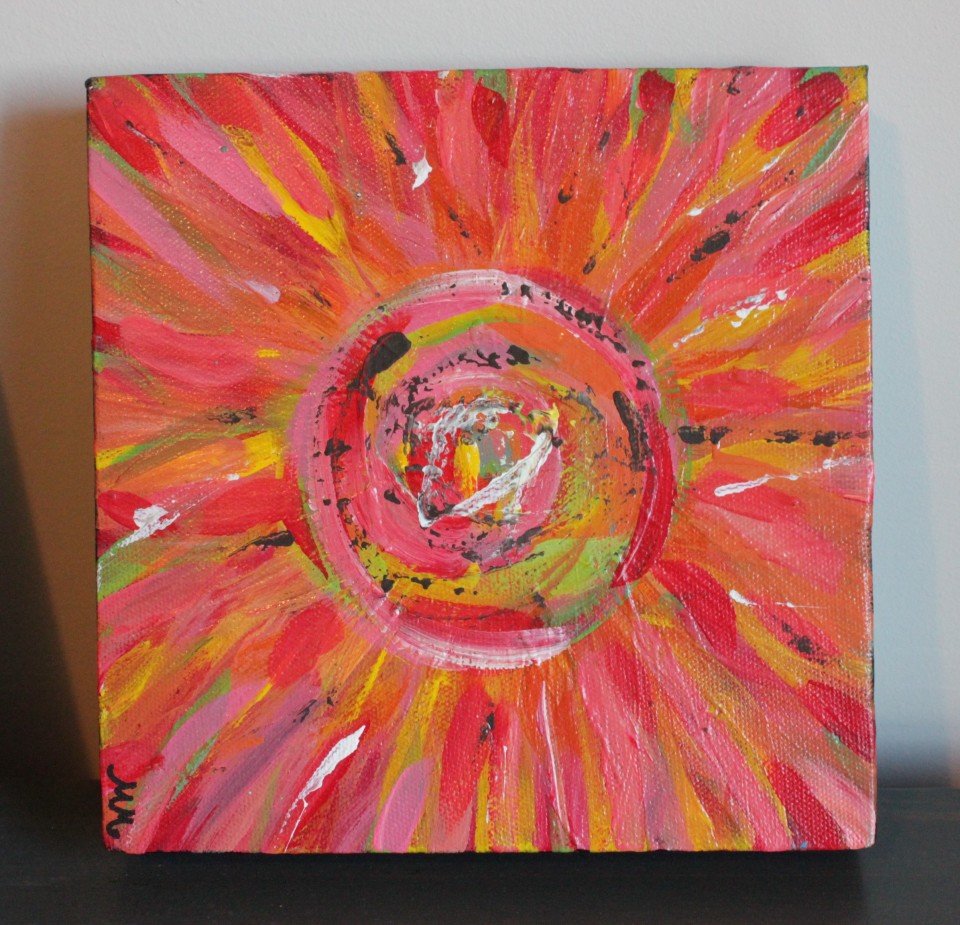
One day, while out hitting the local yard sales, we stopped at a little local shop { I’m hoping to photograph it to share it with you soon! } and we were both drawn to a sweet painting and thus the colour scheme was born!  Reds, corals, bright green, orangey-yellow….all swirled together in sunshiney wonder!  I’m so in love with this painting, it’s done by Mary Maureen Designs.

Lena's Room - Before

Lena's Room - Before

The big thing with this re-do is the bed.  She has an sloped ceiling that creates an alcove that ALMOST fits her bed.  We toyed with the idea of doing a built-in bed but I think we have come up with a solution…which I’ll save for a future post.  But, I think…..I need to measure twice…..you know the saying….we can cut down the top bunk a bit in length and slide that sucker into that alcove!!  I will miss the red bed, though….

Lena's Room - Before

We have been shopping around for a bedspread or something but once we found that painting, I think the quilt that she’s had since before she was born will work.  Well, actually, it was a quilt that we received as a wedding present, so it’s been around for quite awhile.  It was made by a special lady named Willow, who Hannah’s lamb is named after.  It’s the perfect combination of pink, yellow and red.  And the under side is the perfect pink that’s in the painting, so we have options.

The curtains were on sale at Wicker Emporium for $14.99 a panel.  Grey/coral ombre which adds such a warmth to the space.  They make her room glow the most delicious pink when the sun is shining through them.  They may be one of my favourite elements to room!


We’ve been trying to figure out a way to get a small desk in there for her, she loves to sit and write or draw.  But space is an issue, the room is tiny.  But I think we may have found a solution…if we work the pricing out.   I spotted this little telephone stand at Forbes New To You, and Lena does like it.  Of course, we’d paint it….what don’t I want to paint?

Lena's Room - Before

Doesn’t she look thrilled? What a kid!  🙂

Anyway, we’ve been working away at it, painting walls and furniture and planning what will go back into this little space.  I’m hoping to share the results with you soon!

To be continued,

Lori