Browsing Category

Make Something

In Make Something

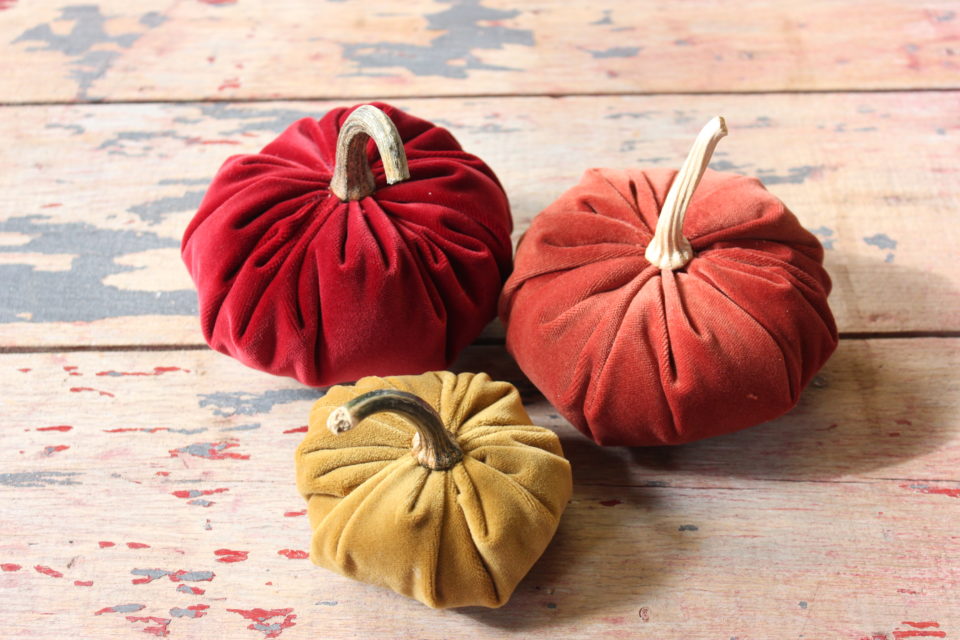
Velvet Pumpkin Bandwagon

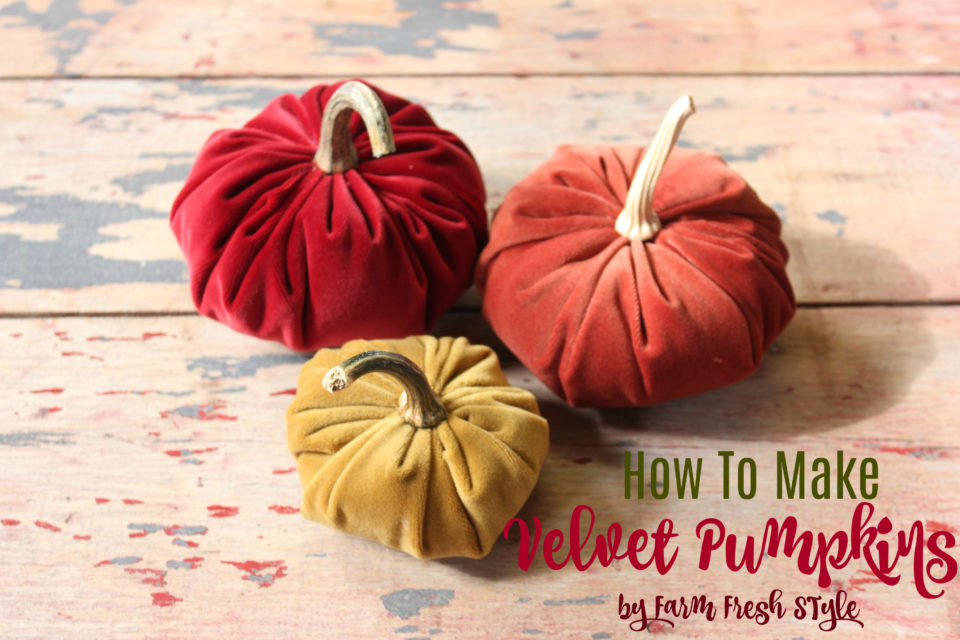
I’m sure you’ve seen them, those gorgeous, rich velvet pumpkins that are all over Instagram and Pinterest! Well, I decided I’d jump on the bandwagon to see just how easy they are to make!


Fall is definitely in the air around these parts.  The calendar may say it’s only the start of September, but the weather and the fact that the furnace kicked in tells me that fall is most certainly on its way.  Which means I can start decorating for fall!  I love fall decorating, I love the colours, the earthy textures and the coziness.  And pumpkins are the perfect thing, right?  But I like pumpkins that last from year to year.  So, I thought I’d give those velvet pumpkins I’ve been seeing every where a try.  In fact, I knew I wanted to do this so last fall I saved a few pumpkin stems for this year’s project.

Guys, these are so easy to make.  Probably 10 minutes or less per pumpkin. And how adorable are they??

Here’s a list of supplies:

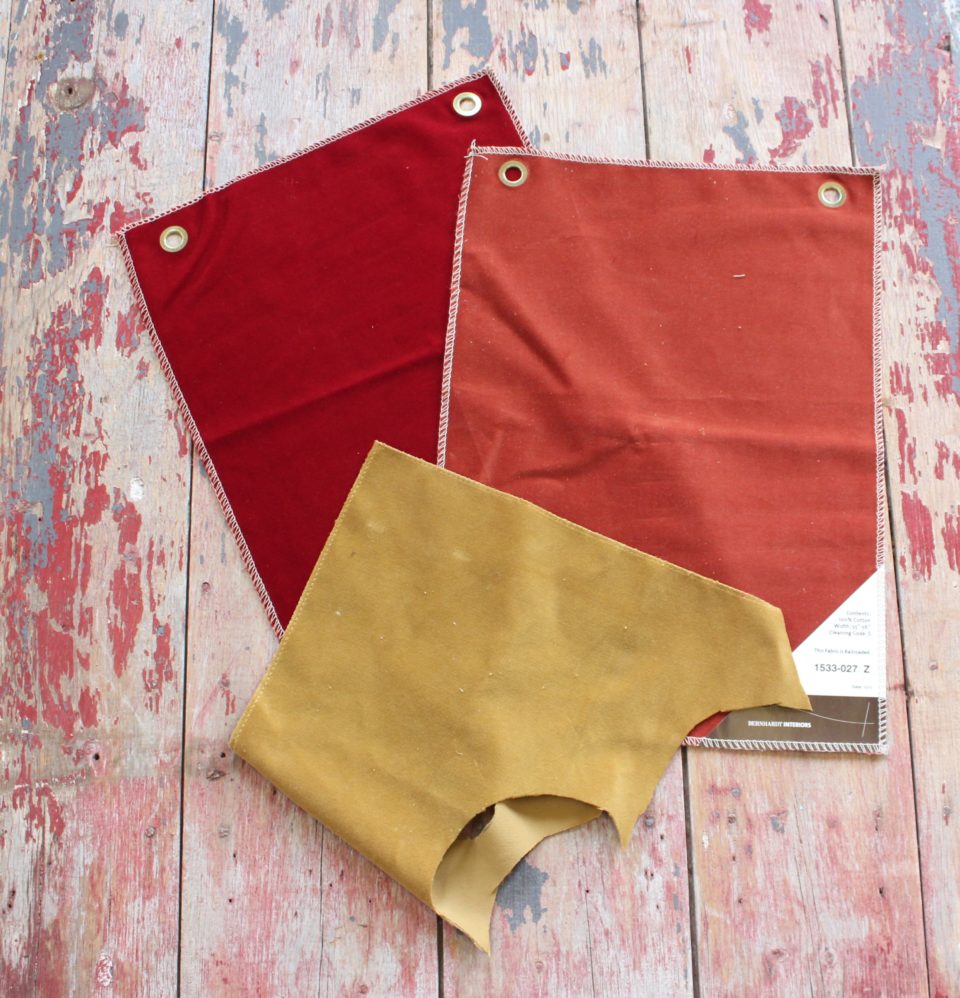
Velvet { I used discontinued fabric samples from work }

Pumpkin stems, driftwood or sticks

Stuffing

Needle and thread

Scissors

Hot glue

Chalk or pencil

Something round to trace { I used the lid of my Tupperware Pie Keeper and a bowl }

Step 1. Gather supplies

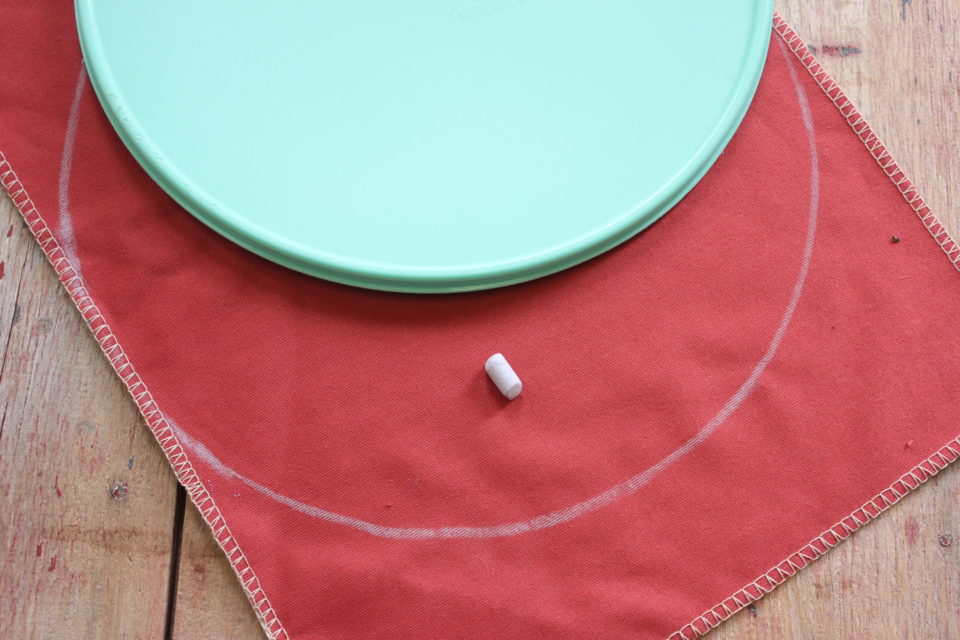
Step 2. Trace your circle onto the velvet.  I did it on the back so the chalk lines didn’t matter.

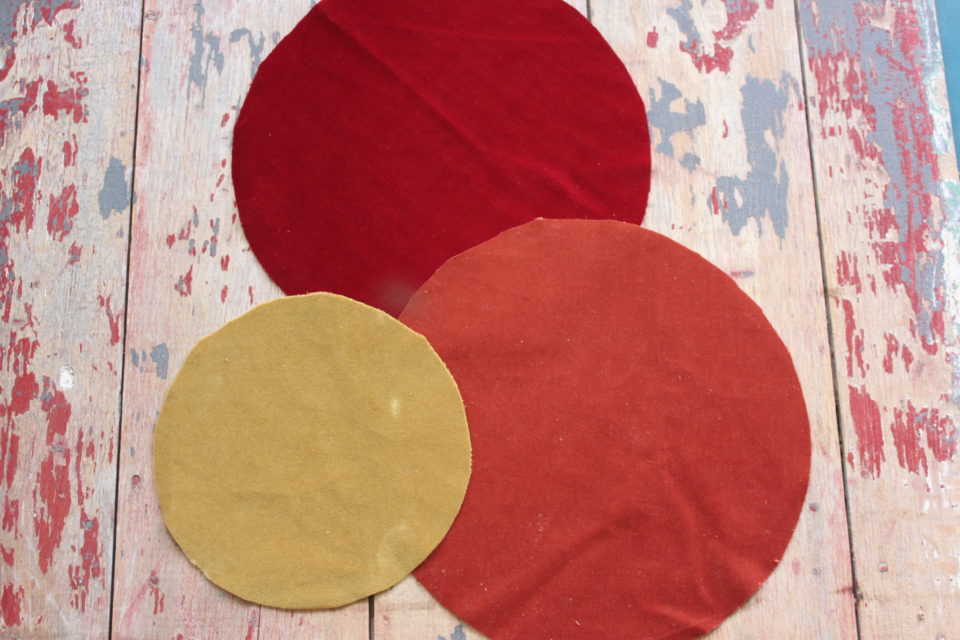
Step 3.  Cut out your circles.

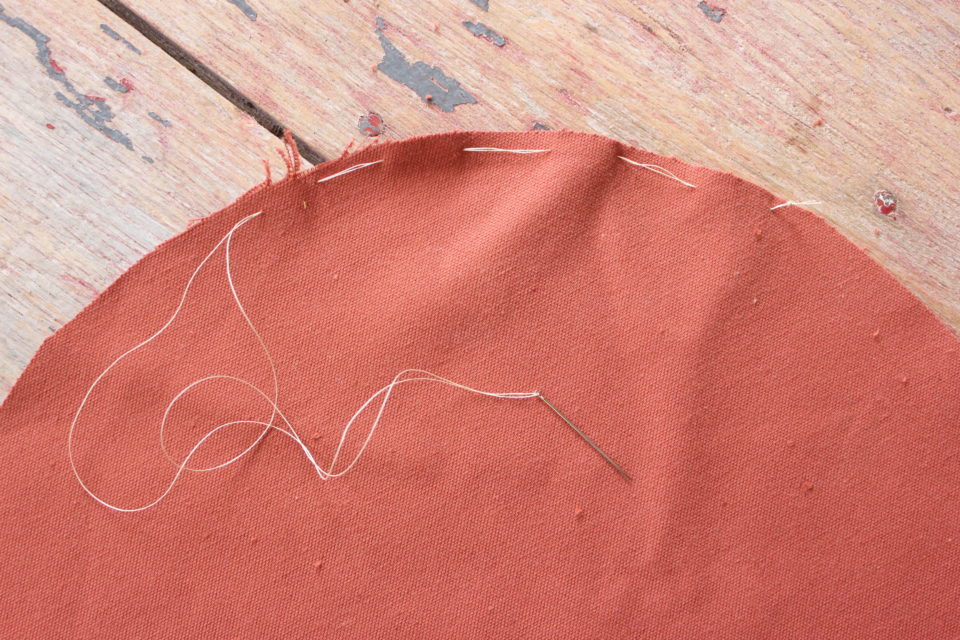
Step 4. Using a long running stitch, stitch around the outside of your circles.  { I learned the hard way, so keep your stitches spaced about an inch or so apart and double up your thread, I used quilting thread for extra strength. }

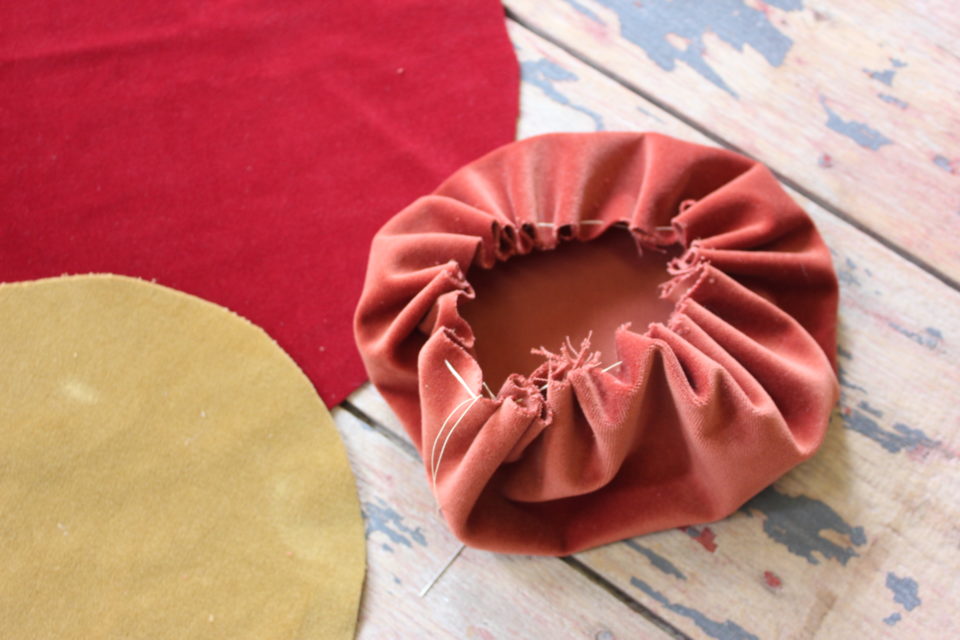
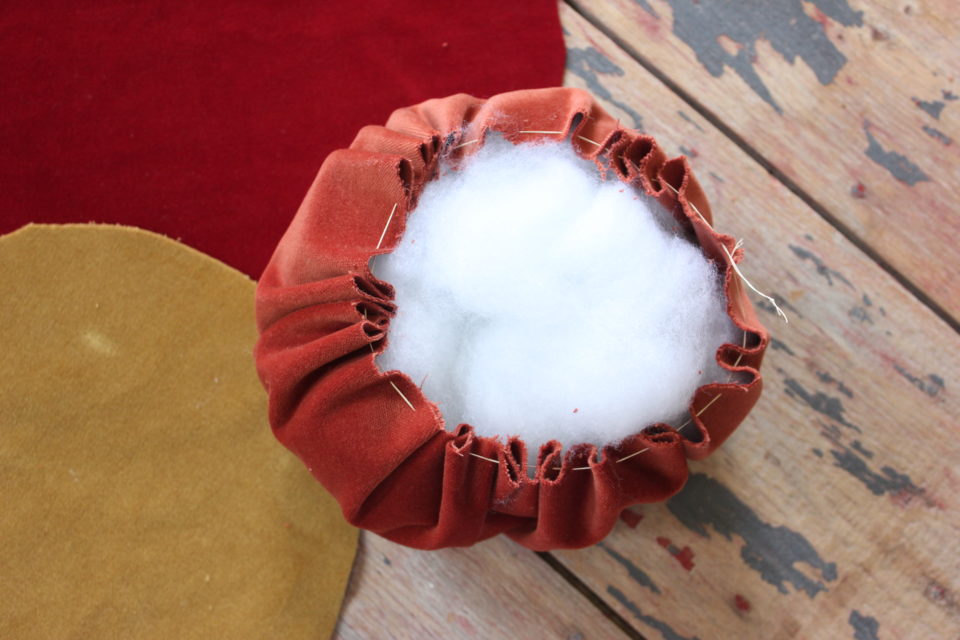
Step 5.  Pull the threads to gather it.  Pull as tight as you can, ideally without breaking your thread { See previous note and insert eye roll }

Step 6. Stuff it.

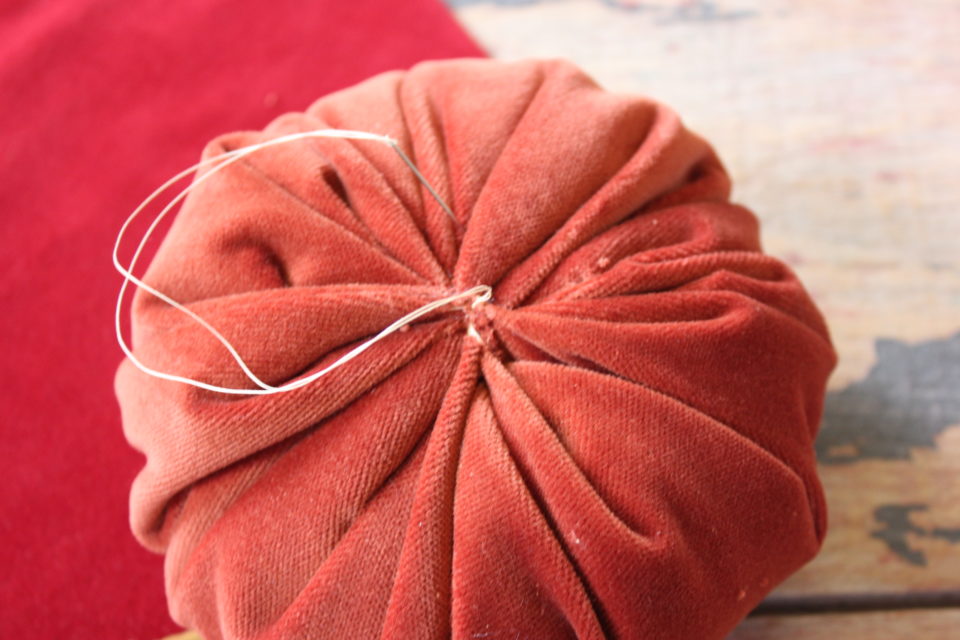
Step 7. Pull the strings tight and knot it off.  I also did some stitching back and forth to close the hole over even more.

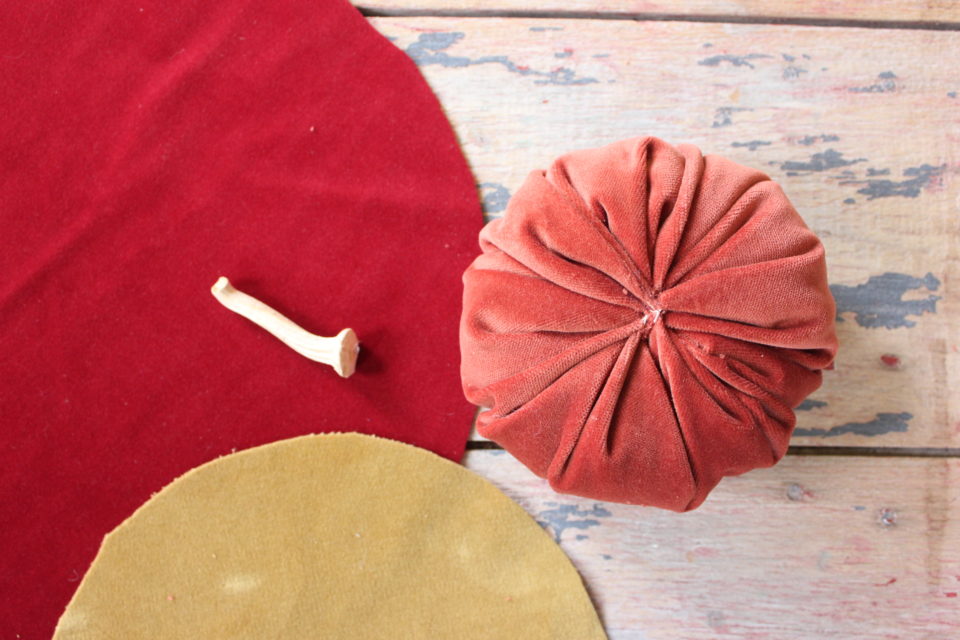
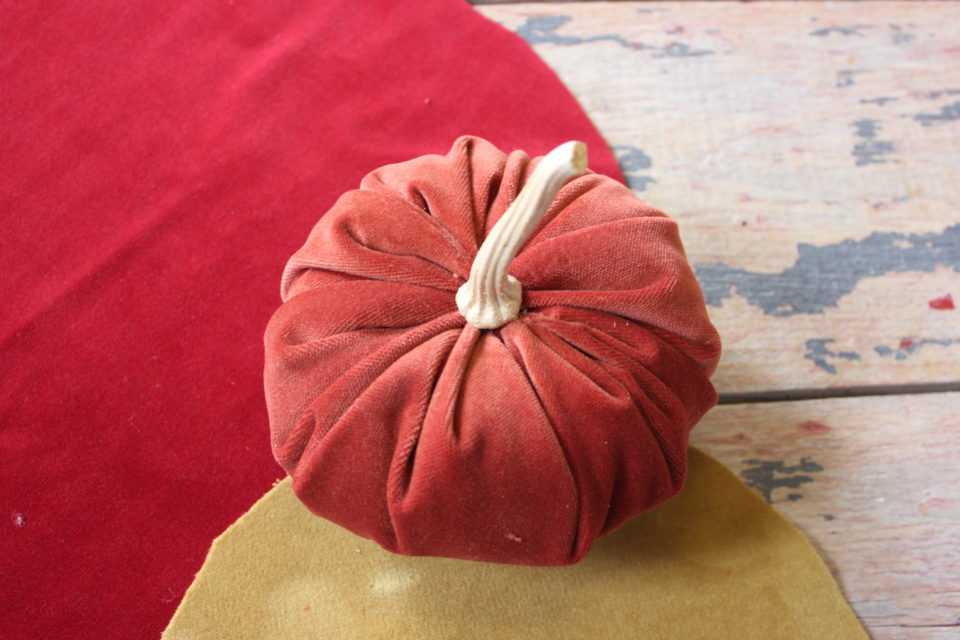
Step 8. Hot glue the stem in place.

Step 9. Decorate your home with your pretty Velvet Pumpkins!

Aren’t these adorable??  I love them.  And the colours I had worked really well for fall, too.  But you could do them in any colour to suit your decor.  I’ve seen creams, whites and aquas that are so soft and pretty!

Hope you enjoy them!  Now I’m off do take some pictures and do a little fall decorating!

To be continued,

Lori

If you are looking for another fun pumpkin decoration, you can check out this one….it’s from those first posts I did so don’t judge!

4 In Country Life/ Make Something

Post Market Review

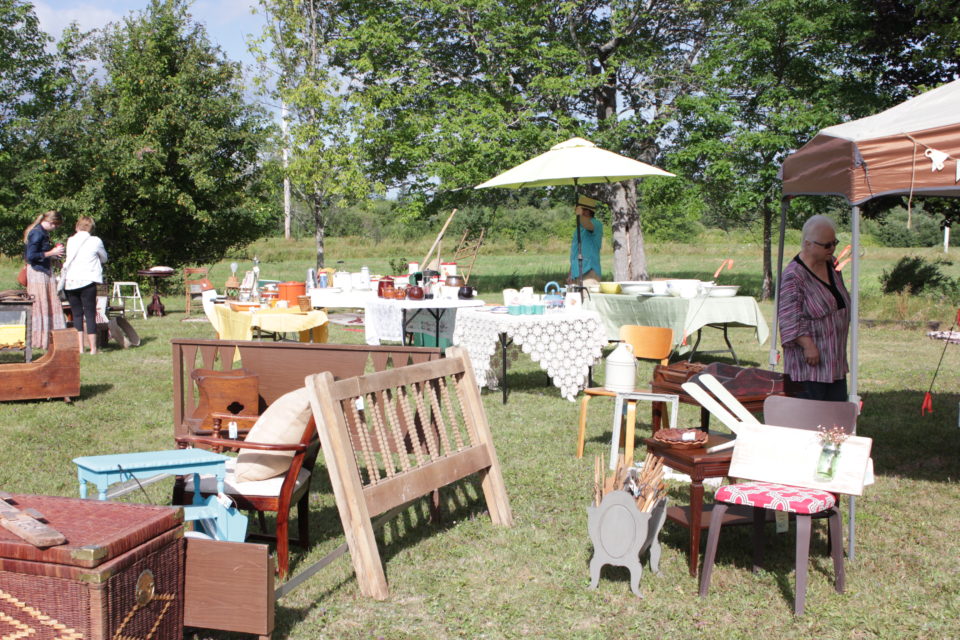
Another Homegrown Vintage Market under my belt, another day that we couldn’t have asked for better weather, another one for the books…or blog, as the case might be! 

Here I sit, body parts aching from moving furniture, coffee close by in my new chicken mug, listening to the rain.  But it’s perfect.  Third season of Homegrown Vintage Market is behind me now and I couldn’t be more thankful.  I feel as though I didn’t have any huge moments of panic { well, except maybe when there was the issue of finding a plug that worked for the food truck…. } and that things ran fairly smoothly.

There were no crazy ditch/flip flops stories like previous years.  The signs were up early and in daylight so that was a huge help.   😉   I am learning the skills I need to make things run a little more seamlessly.  This year I was set up in the hall, so that allowed me to set up the night before and not have to move everything out the morning of.  Plus, I had a great team of helpers this year.  My girls are getting so much older and able to do some much more for me, plus the handsome Mr. Byrne wasn’t working so he helped a whole bunch, too.  And I had Emma with me and she was a great help, too.  { Sidenote: if you find a teen you can lend a hand in their career path, do it, mentoring is such a good thing!! }

Here are things I contribute the success of HGVM to:

  1. Two previous years experience of this market and about 5 years of market experience all together
  2. Support from my family – they helped with the lifting, moving, and the messy house and lack of meals…
  3. Support from my on-line community – you guys shared the crap outta my posts, watched the videos and spread the word like champs and then on market day, you showed up!
  4. Curiosity of the people – this isn’t your typical market and that’s a draw
  5. Amazing Vendors – without the top-notch vendors and their willingness to put themselves and their products out there this would never work!
  6. Support of my local community – my neighbours stopped by, chatted with me and browsed around and offered their words of encouragement
  7. It wasn’t raining – when I started watching the ling range forecast, it was calling for thunder showers….not good market weather – but we had gloriously sunny day!
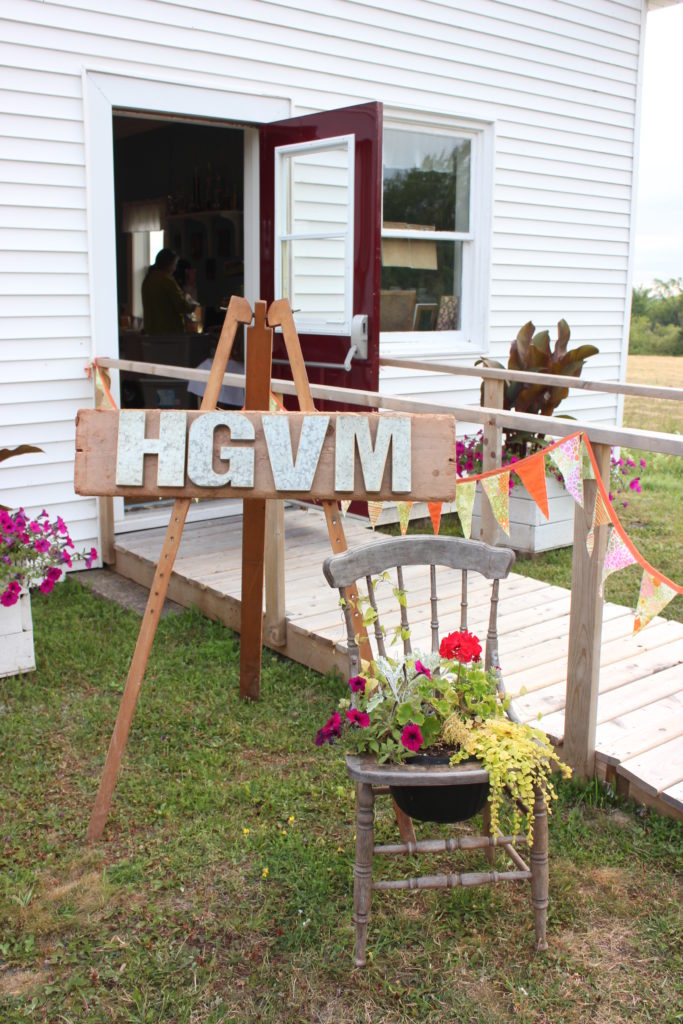
  8. Use a unique location – could this old community hall be any cuter!?!?
  9. When you use your God-given gifts – there is reward in it.

Guys, seriously – without all you and the bits you did to promote and support this market, it wouldn’t be possible.  I would be me sitting with my stuff in the corner of a little community hall in rural Nova Scotia, all alone.  But instead, I was surrounded with friends, makers and collectors {we won’t say hoarders 😉 } and strangers and I couldn’t be more thankful.

There are two groups of people that I would like to call special attention to.  There was some of you who couldn’t make it to the market and yet throughout the day and days leading up to HGVM, I was receiving notes of support and encouragement from you.  You will have no idea how much that meant to me.  One dear friend even went as far as attending a local  market were she was since she wasn’t around to be at mine – how sweet, right?

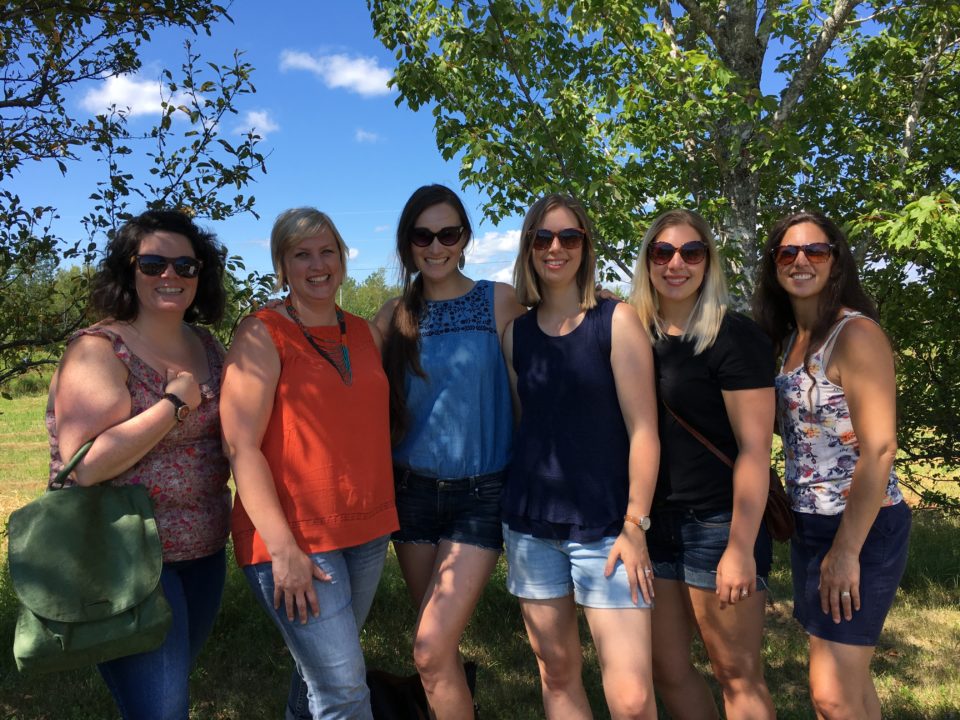
The other group of people, got up early, piled themselves in a mini van and drove all the way here from Margaree.  Janice, my dear, sweet girl, I know you were instrumental in that roadtrip, and I thank you from the bottom of my heart for that.  Girls – you made my day. I hope there was room for everyone on the way home….you piled that van pretty high with treasures! And apparently I didn’t get the memo about wearing sunglasses….

Well, off to send some thank you emails to my wonderful vendors!  If you were at the market – thank you!  If you purchased something from one of the vendors – thank you.  If you spread the word – thank you!  You are appreciated!

To be continued,

Lori

In Country Life/ Make Something

Homegrown Vintage Market Season 3

Looking for something to do this weekend? How about a market in a quaint country setting but filled with loads of treasures? You need to check out the Homegrown Vintage Market!

Guys!!!  Third Season is happening this coming weekend! I’m so excited!  And I have to say, pretty relaxed…  We have a great line up of vendors, some old, some new plus the ever popular food truck!

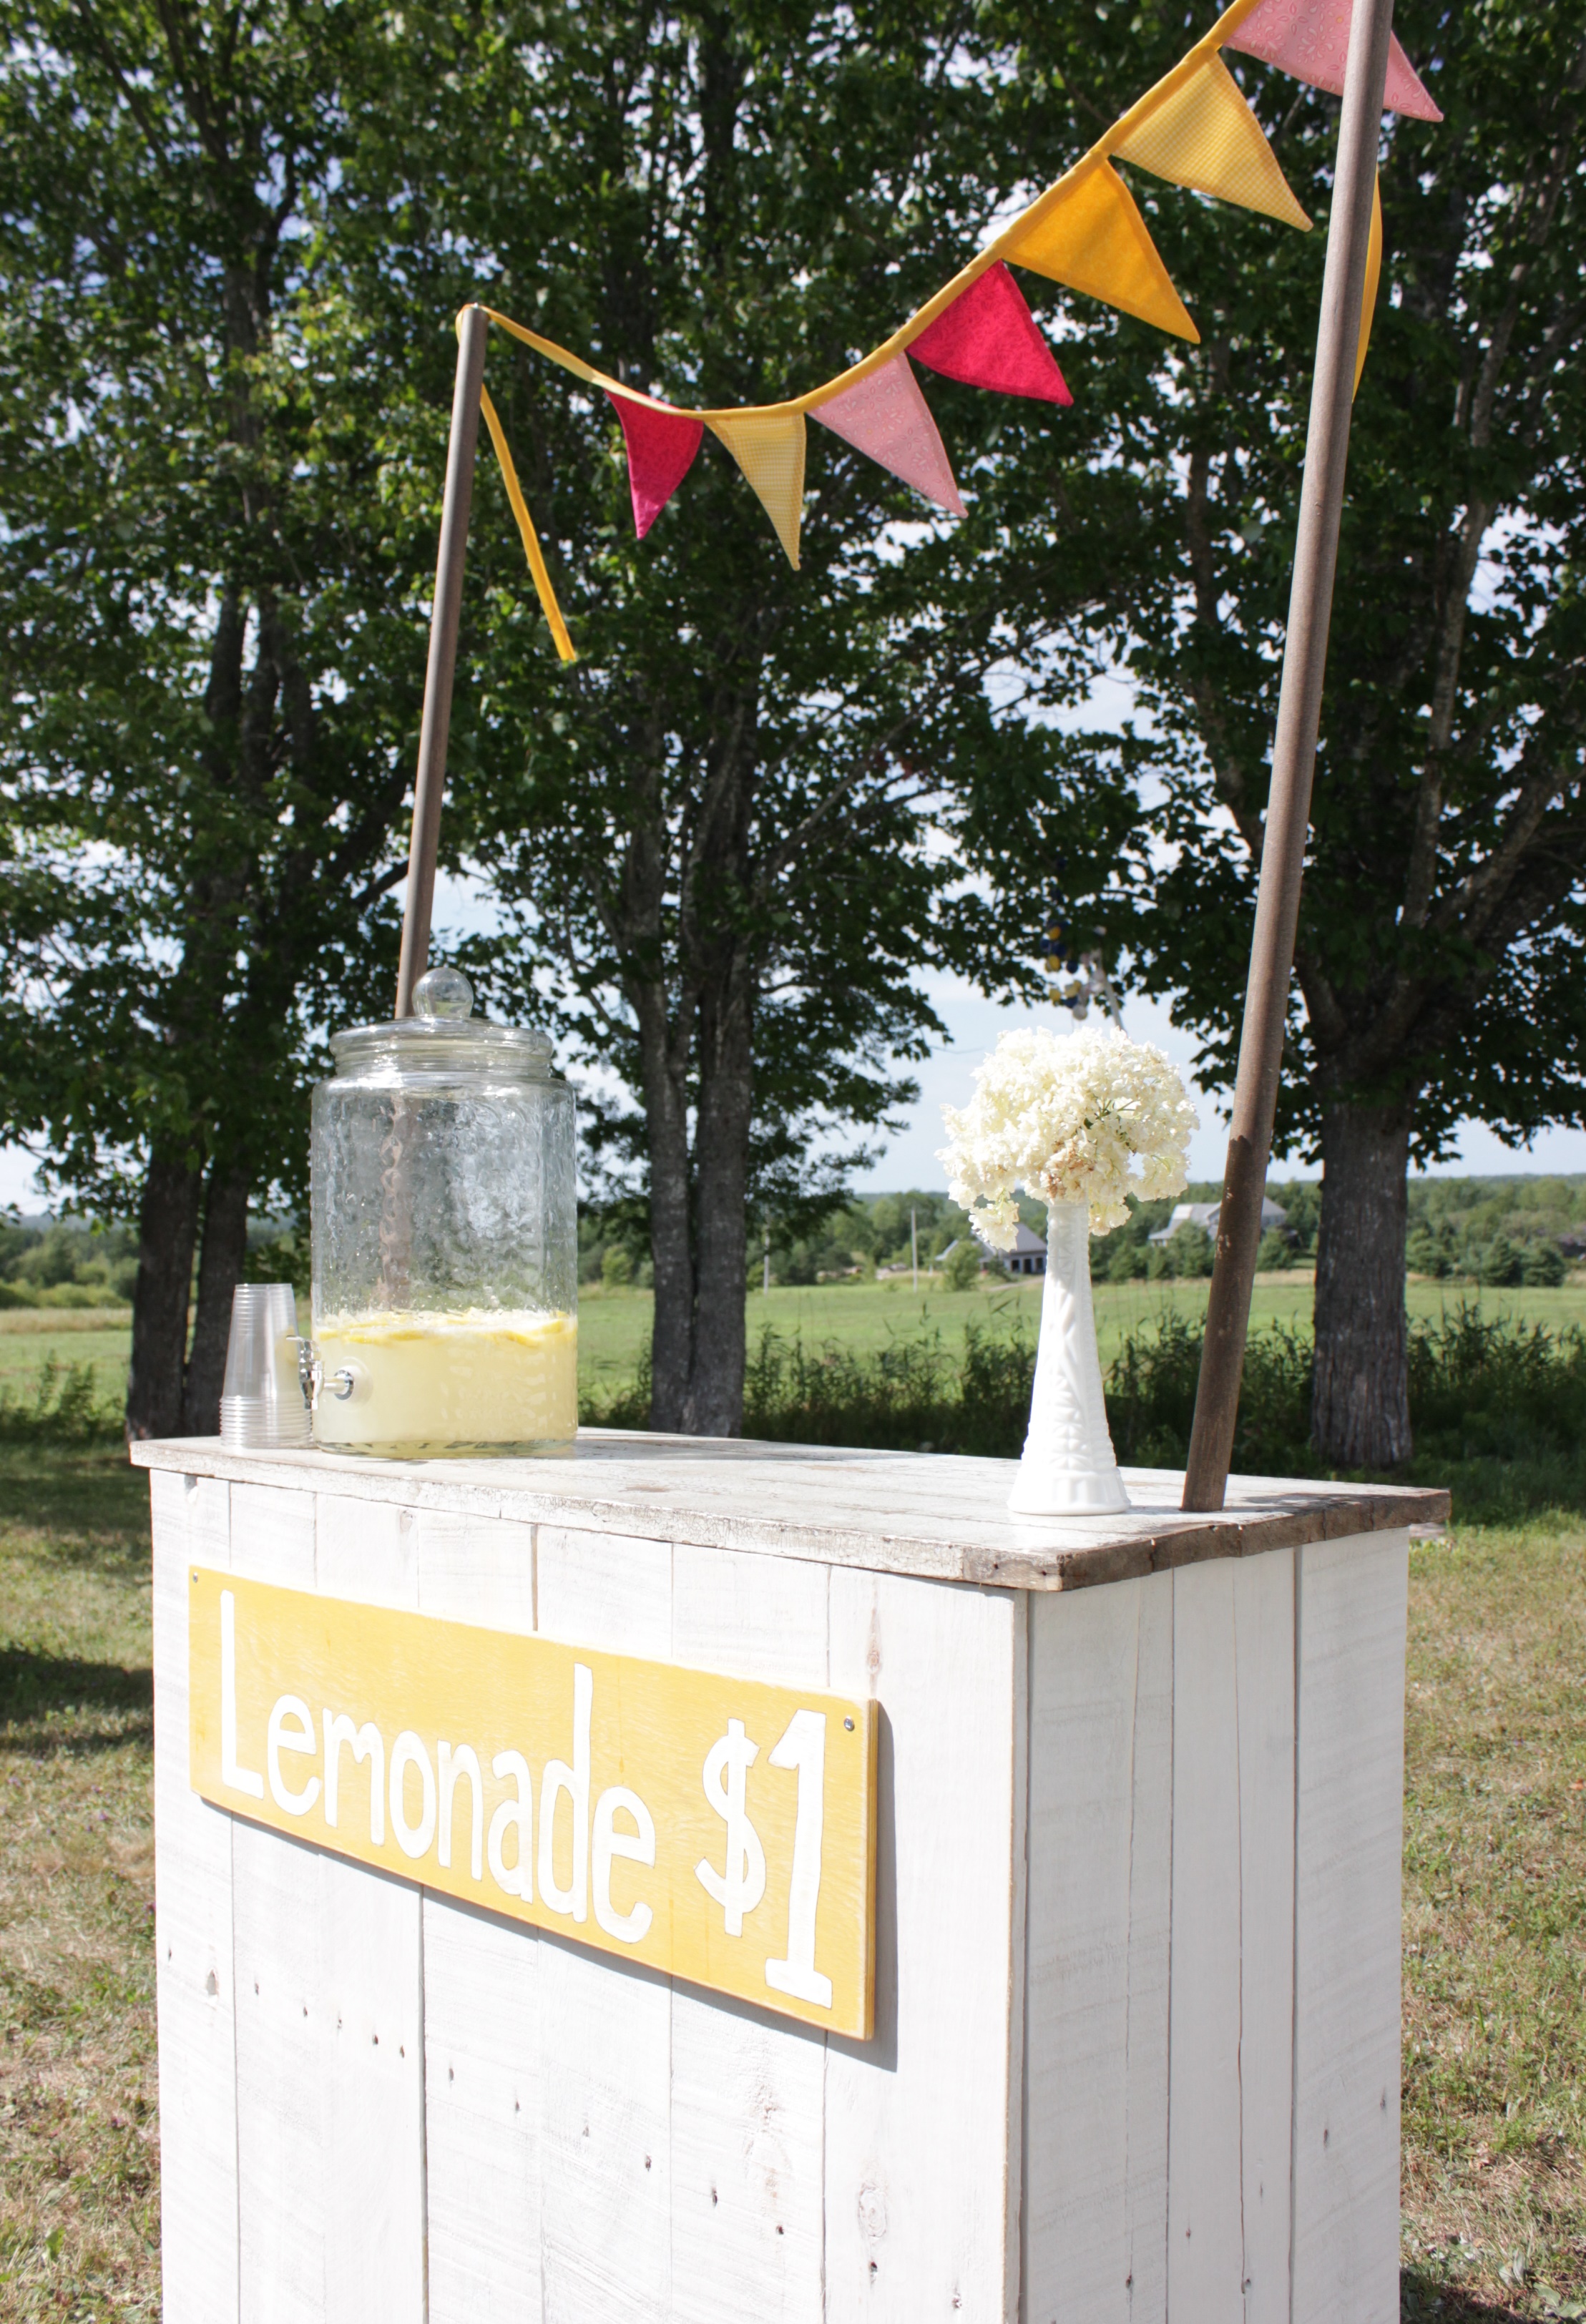
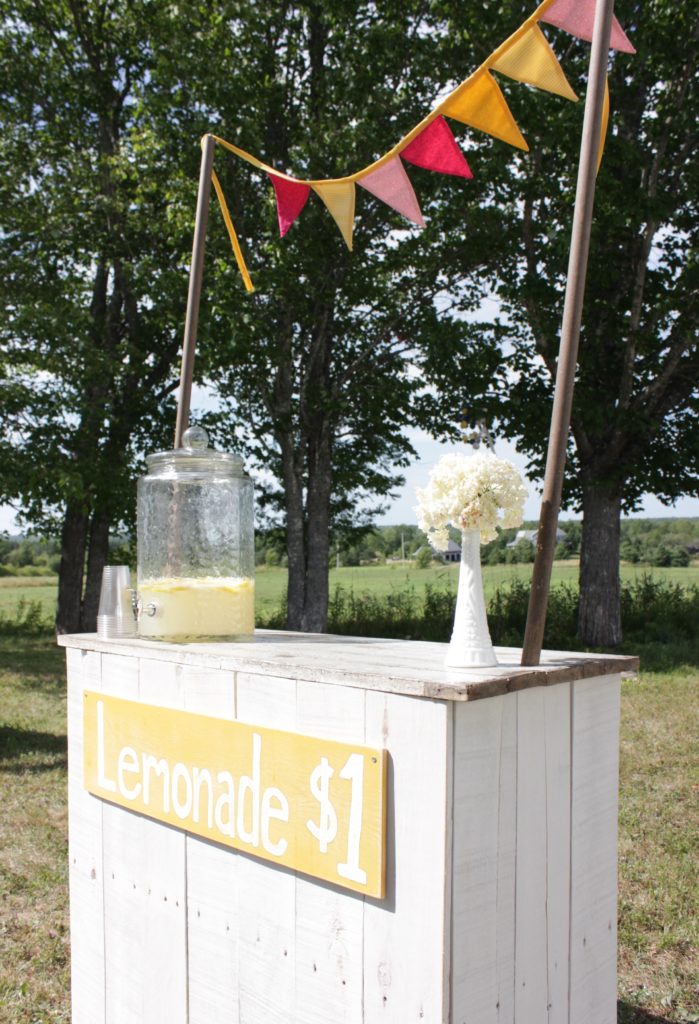
Here’s the low down on this year’s vendors – ‘Flora’s Finds‘ and ‘Angela’s Attics‘ are both back and are certainly crowd favourites.  Shane will be as entertaining as ever and Angela will be doing some FAT Paint demos throughout the day, too.  We also have Norene returning with her vintage goodies.  Of course, I’ll be set up with some vintage and handmade Farm Fresh treasures.  The girls will be doing the Lemonade Stand and the sucker pull, too.

But this year, we have some new friends joining us!  The Pictou County food truck, ‘WANNA LICK MY PLATE‘, will be there serving up some tasty food for the day.  I’m also excited that my Instagram friend, Chris Bennett, of ‘Christine Bennett Design’ and ‘Lucky Me Lifestyle‘, is coming with her hand-painted designs….chicken mugs, guys!  Rachel will be there with ‘Vintage Treasures’ as will Beth Cole with her goodies from ‘Summer Friends’….I can’t wait to see what they’ve got!  Laura of ‘Lumpylu’s Treasures’ will also have even more vintage goodness!  I can’t even believe all the awesome vendors we have this year with vintage finds for you!

Lodestone Soap Company‘ will have us all smelling good after shopping their booth come market day.  Plus, Joyful Gardens will be there with fresh-cut blooms and rumour has it she has some pottery vases as well.  It’ll smell good on Saturday at the Hall!

This year we also have ‘2 Paws Up‘ and ‘Paws in the Park HFX Society‘ will be there with treats for your four-legged friends.  Such a neat addition to the market!

If you need directions, click HERE to see the location on Google Maps.  I have put signs up along the way that simply say ‘MARKET’ so that you know what you’re looking for.  Either Highway 6 or Highway 256 will take you to the Meadowville Station Road and then Black River Road is off that.  The market is at the cutest community hall in Meadowville.

I get asked often why I started this market.  And really, what I want to create, what I want to happen, is to draw people out into a country setting and create a sense of community and comradery as people connect with other people of similar interests.  I want people to linger, spend some time and chat with their neighbours, and strangers.  There’s a huge market in Roundtop, Texas that is HUGE and Roundtop has a population of barely anyone.  Now, I realize I’m no Roundtop but I love what this event has become.  I love the buzz it’s creating, I love the people who want to be a part of it, whether it’s setting up a booth or coming and spending some time looking at the booths and sitting on the grass enjoying the atmosphere.  So, when you pull up to this year’s market, take a deep breath of country air and prepare to slow down and just enjoy.

See you Saturday!

To be continued,

Lori

1 In Blogging/ Make Something

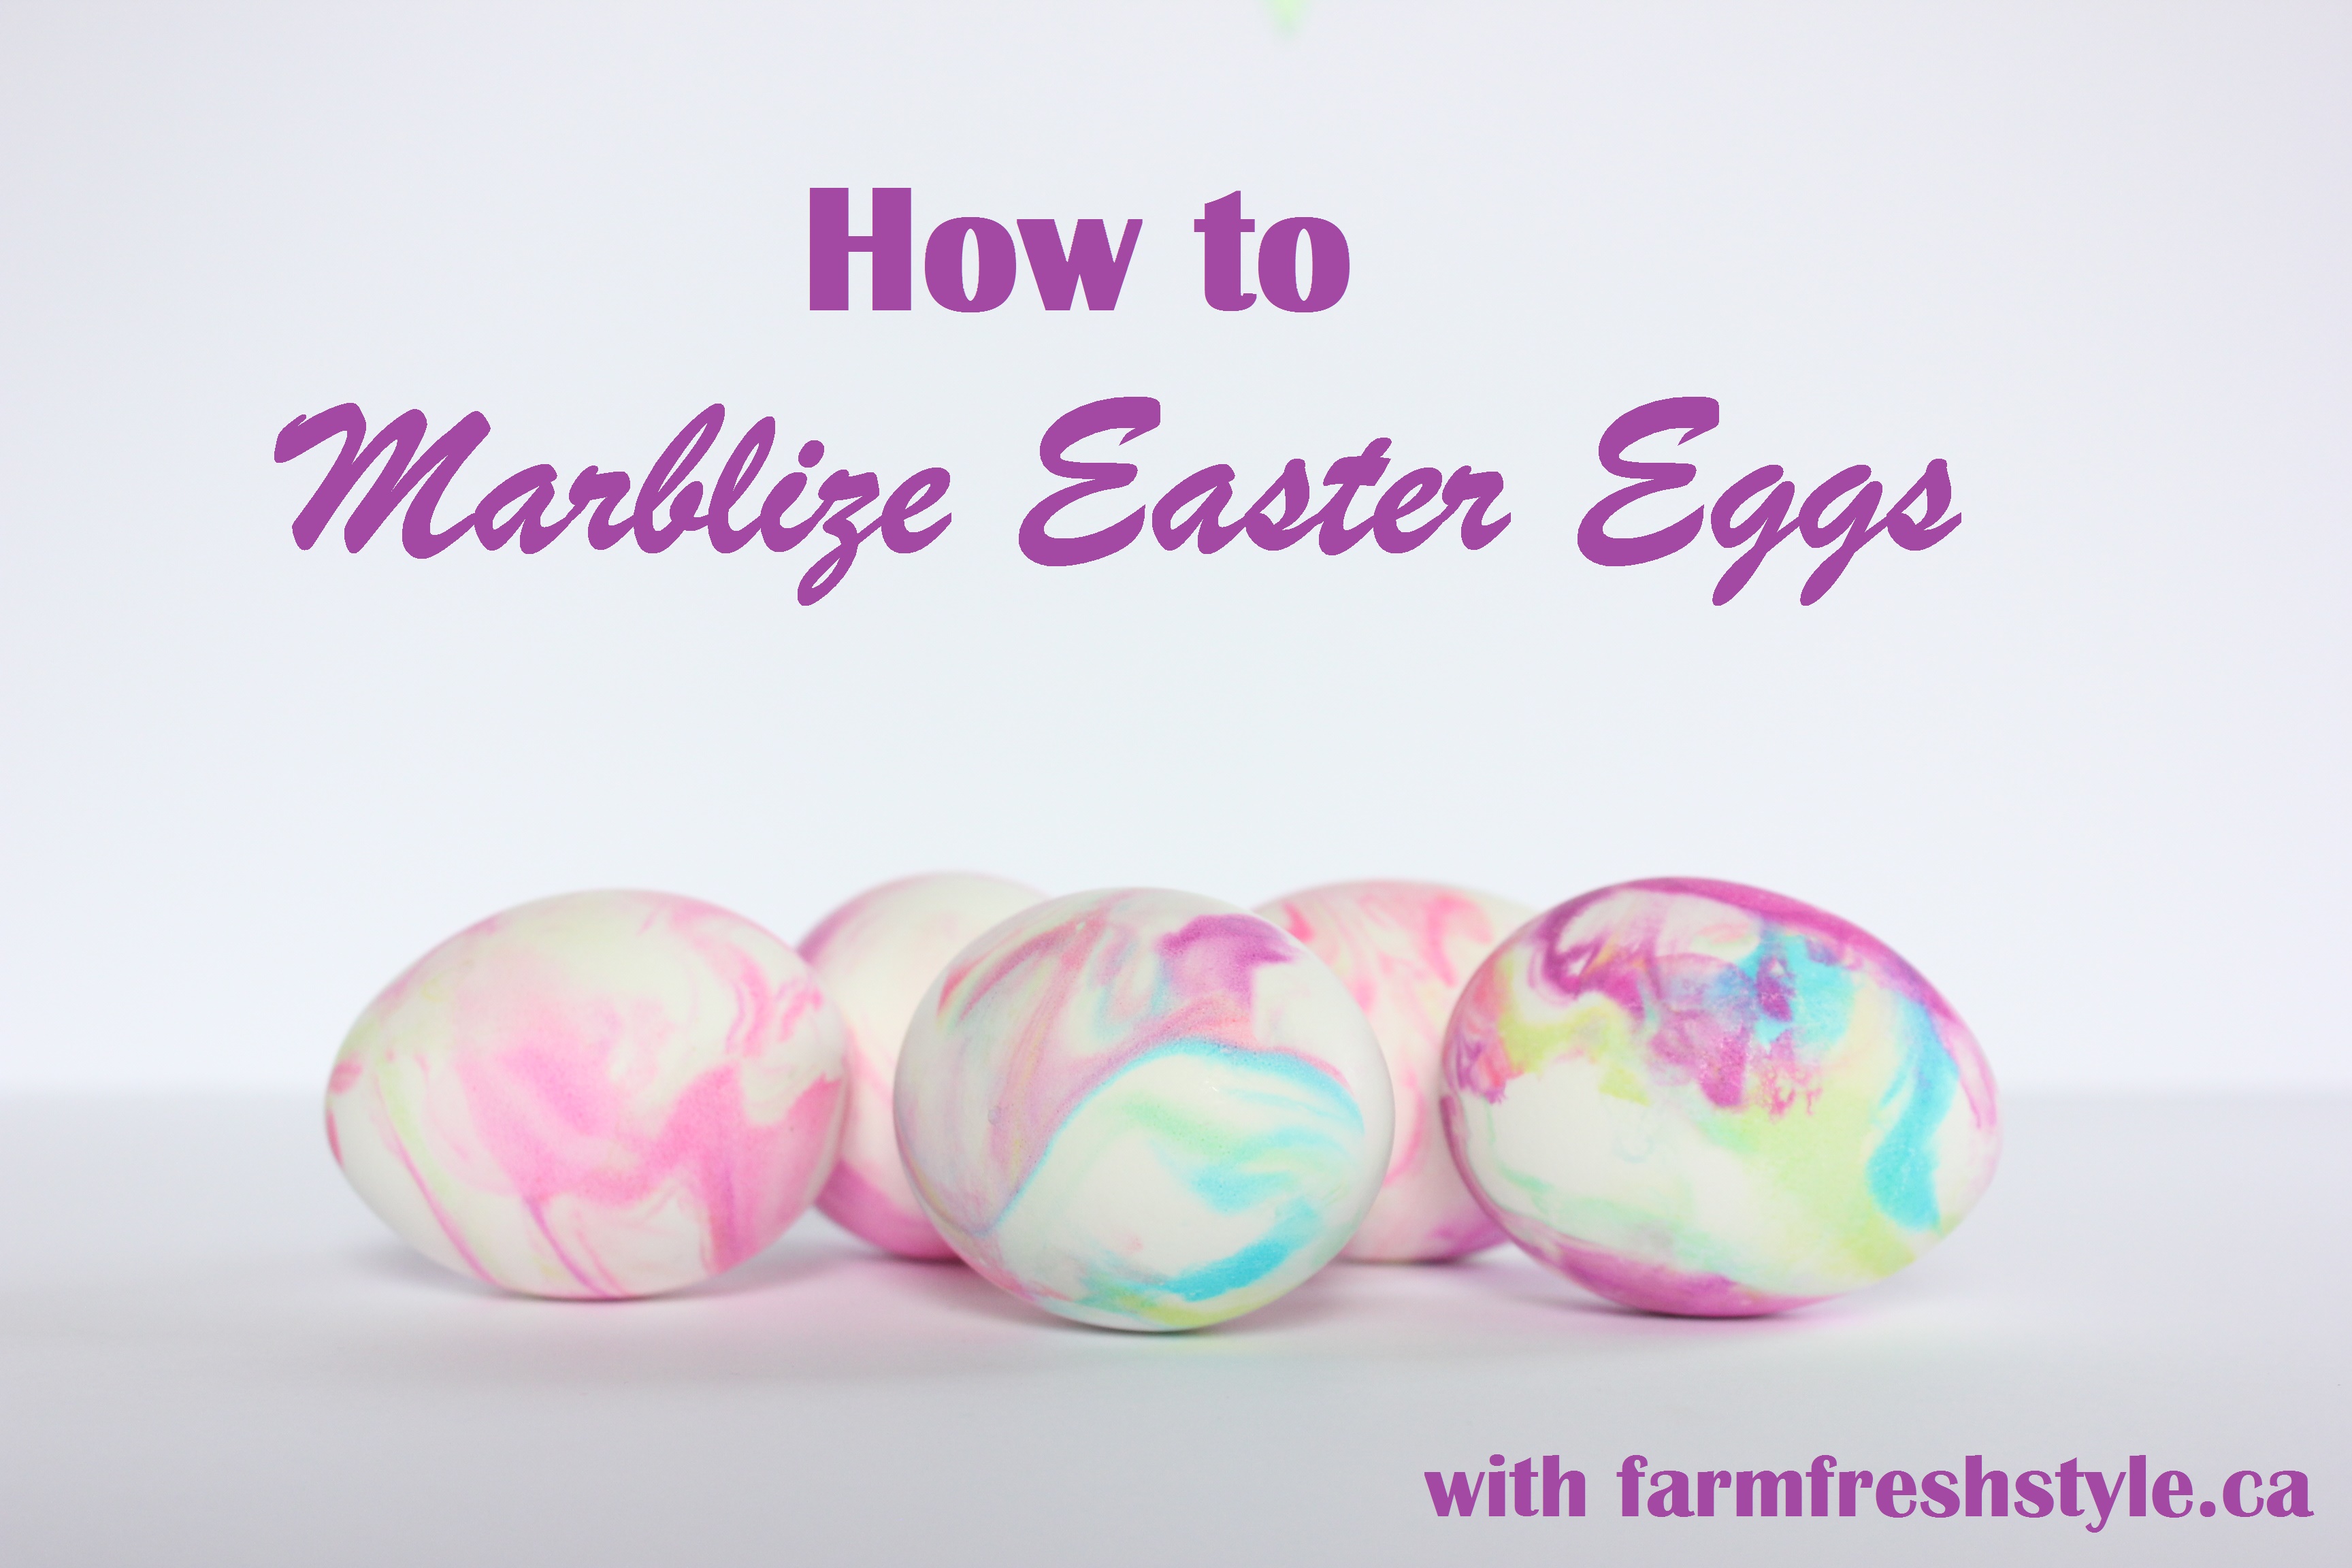
Marblized Easter Eggs

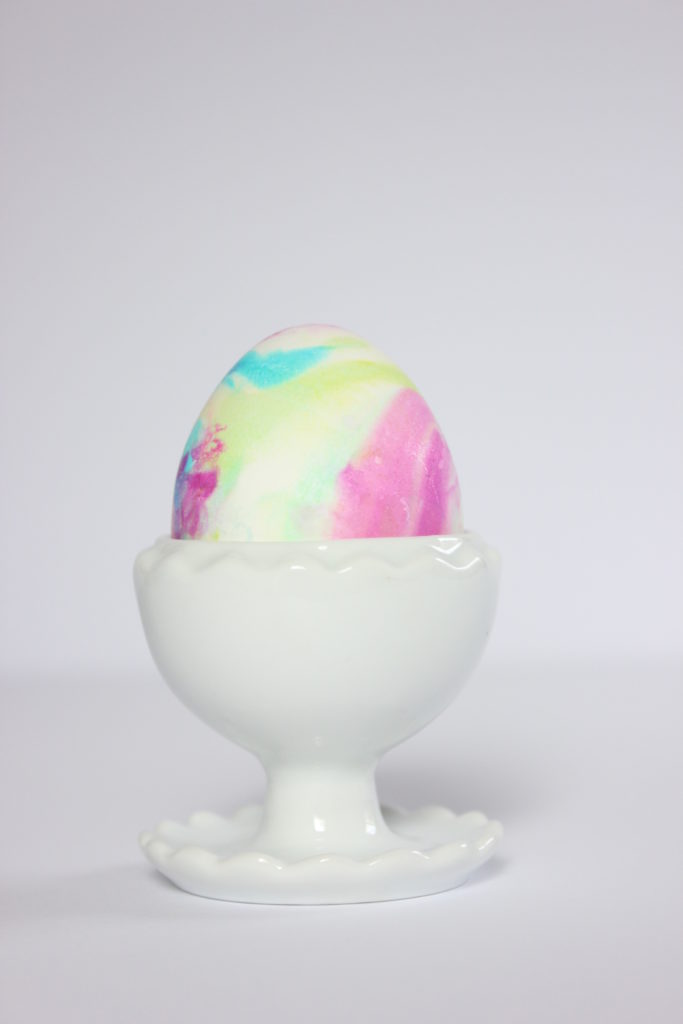
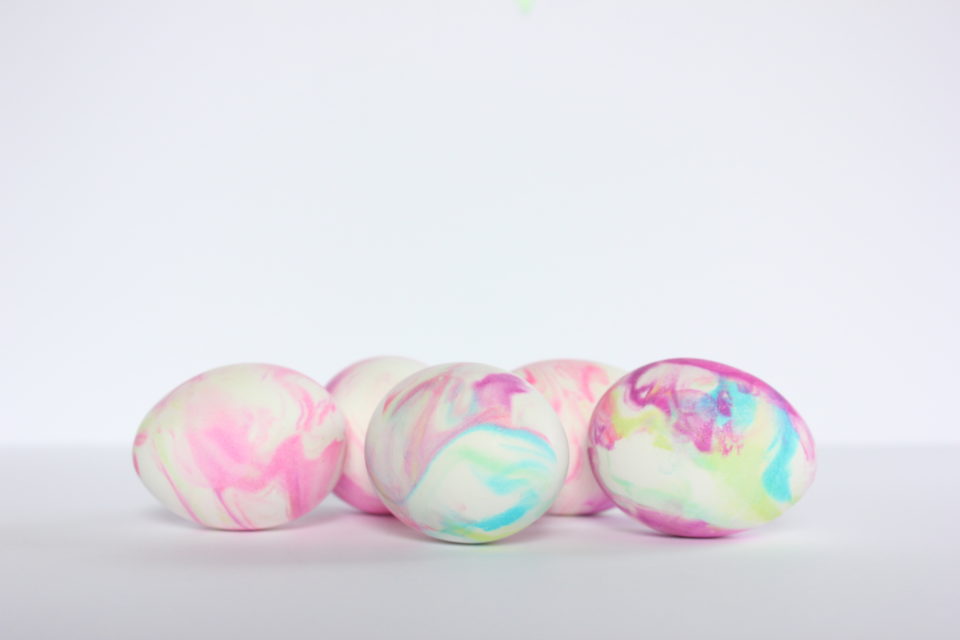
I’ve marblized paper but never have I marblized an egg!!  But oh man, what fun!  And such a basic supply list, too – we grabbed everything at the local grocery store.  Easy set-up, easy clean-up and no dry time plus your home will smell like a handsome dude! 😉

We were having friends over and we love doing quick and easy craft projects with our four girls so I thought something Easter related might be fun.  Now, I’m not one to decorate for Easter, Spring maybe but not Easter, so I wasn’t looking for a gaudy Easter craft.  Softly coloured eggs seemed like the perfect project. And cake – cake is always a good idea! But that’s a whole other blog post…

So, anyway, let’s get started!

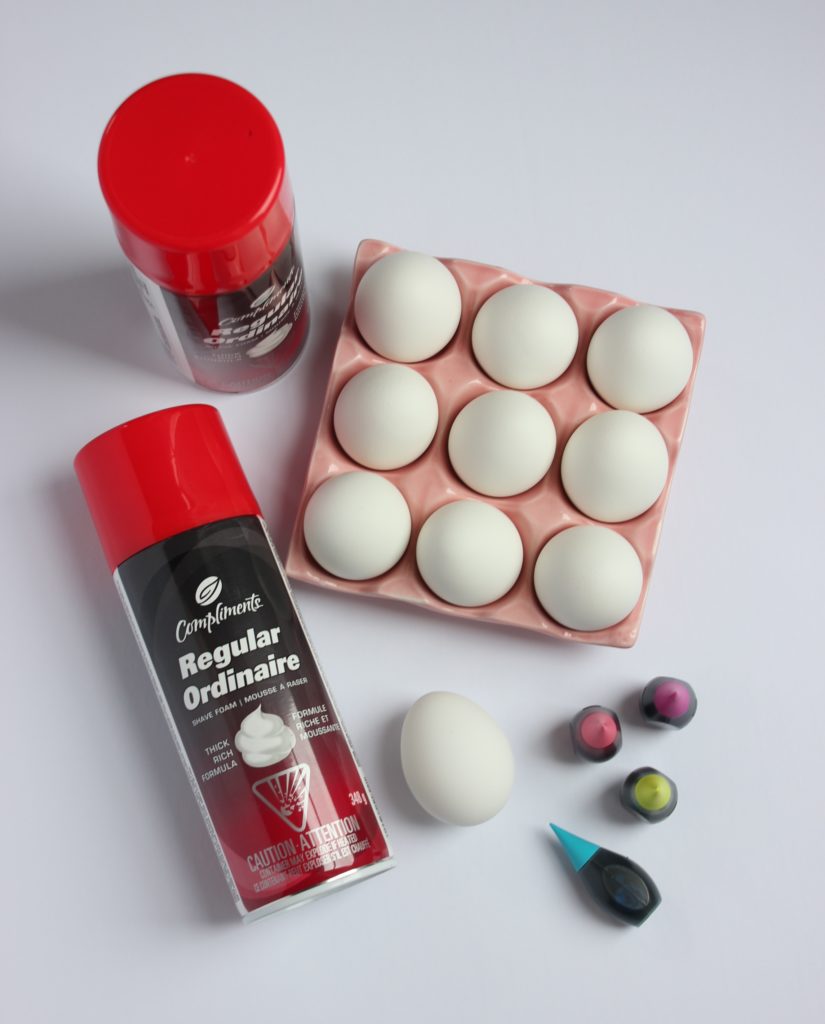
Here’s your basic supplies:

Eggs

Foam Shaving Cream

Food Colouring

I boiled our eggs, but if you have better lung capacity than me, go ahead and blow those suckers out.  I didn’t feel like blowing out 2 dozen eggs!  We won’t eat these, I’m not about to find out what a shaving cream flavoured egg tastes like, I prefer cream eggs of the Cadbury variety!  With Easter quickly approching, I know they’ll be fine until then and we’ll toss them out or have some fun throwing them at something 😉

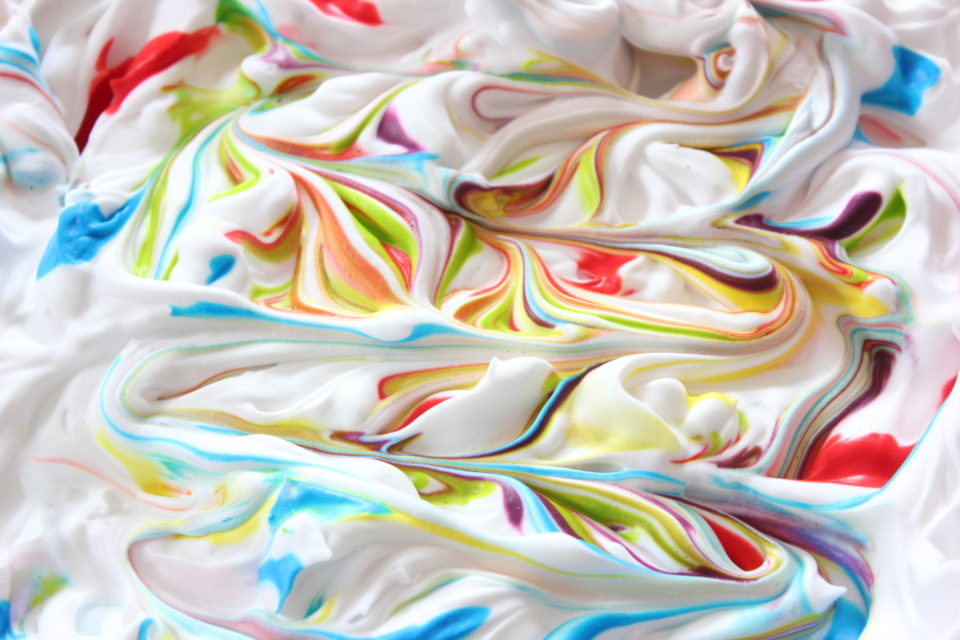
We filled paper plates with shaving cream and then dropped food colouring all over and swirled it through with popsicle sticks to create the marblized shaving cream.

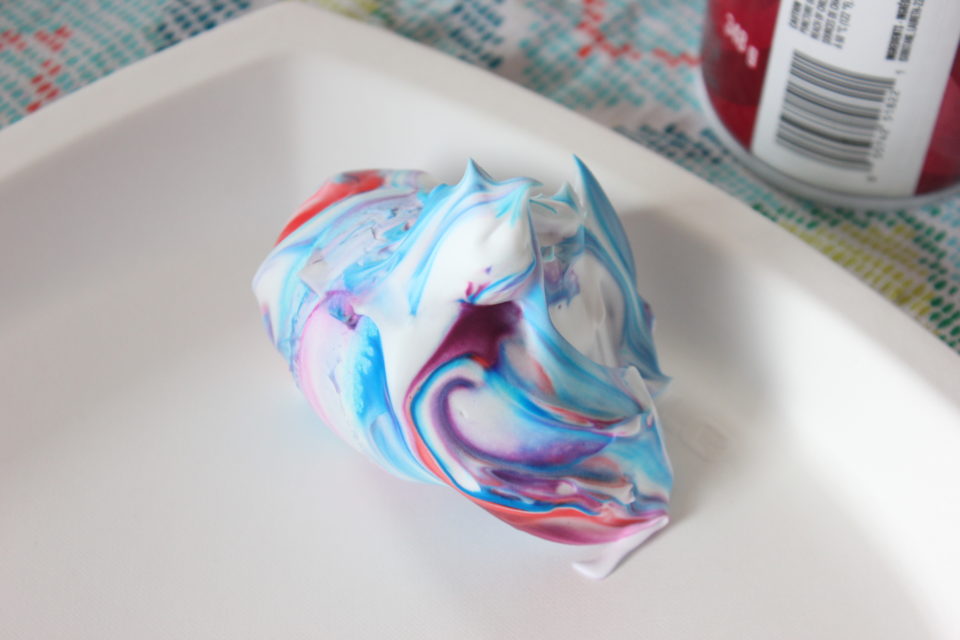
And then we got messy! Set your egg in the shaving cream and roll it around until the egg is all covered.  Then we plopped them on another plate to be rinsed off in the kitchen, under the tap.

It was fun to uncover the magic under the shaving cream! The girls would exclaim over the pattern on this one or the colouring of that one, meanwhile us moms were trying to contain some of the shaving cream….we didn’t suceed in that!  It was on clothes, in hair, swiped across foreheads and squished by the handful between fingers.  But, boy, did we smell good!

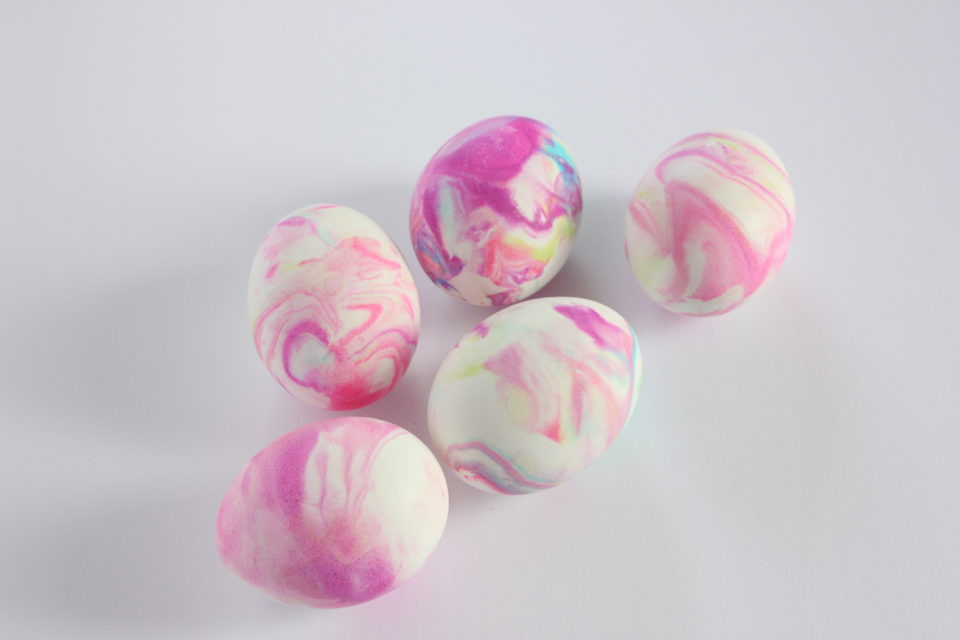
Here are some of the more patterned beauties!

Now, here are some of my ‘Live and Learn’ tips!  Because no craft is without a learning curve!

  • Cover your surfaces with something waterproof – nothing worse than food colouring staining your table or counter!
  • Make the kids wear old clothes, it gets EVERYWHERE!
  • If you are a hand-model, I would wear gloves. If you don’t mind getting a little stained, don’t bother.  By the end of the day, most of the food colouring was worn off my hands.
  • Re-load the shaving cream with more food colouring between eggs and use lots of it!
  • Don’t bother trying to re-dye eggs that are too pale, for some reason, it won’t work.

Well, I ‘hop’ you have fun doing this project – I think the softly coloured eggs are quite stunning!  If you want to see more Hoppy Easter related posts by others East Coast Bloggers, click the little blue froggy button below!!


To be continued,

Lori


1 In Adventures/ Make Something

DIY by the Sea – Part 2

I’m not done going on about White Point Beach!!  How is it I lived here for 41 years and am just finally realizing this treasure!?!?!  In my last post, I talked about the projects we did during the DIY by the Sea, you can read it HERE.  So, now I’m going to talk about White Point Beach Resort and show you some of my highlights around the resort.  It is an amazing place, truly, it is.  I said on Friday night, shortly after arriving at White Point, that I couldn’t wait to come back, and I hadn’t even left yet!
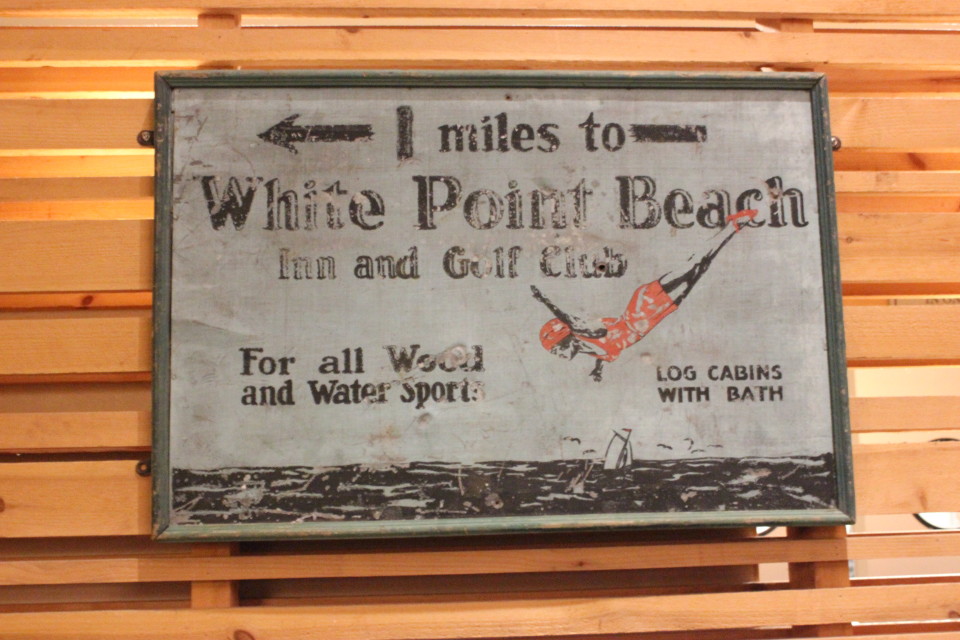
White Point - DIY by the Sea

White Point Beach Resort opened back in 1928, with its start as a hunting and fishing lodge.  It’s the type of resort that I can envision the old cars rolling in, dropping off families and suitcases at the beginning of the season, and people summering there.  They would spend their days catching up with their resort friends and families over fine dining or along the beach, under a big beach umbrella.  The kids would be running around, boys chasing girls, summer romances blooming.  There would be sailing  and bonfires.  At the end of the day, everyone would tuck into their cabin but I suspect there would be a few teens who would sneak out and get up to no good, too.  I’m sure that was part of the charm of it all for them, too.  In 1980, they switched to being a year-round and became a great destination for conferences and business meetings, too.

Back in 2011, the main lodge caught fire and burned to the ground.  All that history, gone in one night.  The pictures are heartbreaking.  Flames surrounding the beach rock fireplace, a Adirondack chair with a wall of fire behind it…but they began rebuilding right away and within a year, the new lodge was up and in operation.  It boasts of the skills and materials of our province.  But also the belief that White Point has something unique to offer and that with hard work and determination, great things can be accomplished.
I, for one, am very thankful that they rebuilt and continued on part of our province’s legacy.  The history, the memories and the future are all tied to this place.  I feel like Nova Scotia has so much to offer and it is places like White Point Beach Resort that make this place memorable and make our mark in the tourism industry.

One of the things I love about being an interior decorator and working with At Home, is exploring this province, meeting its people and seeing the places we call home or enjoy visiting.  Like I said in my last post, I feel very fortunate getting to go on this DIY retreat, thanks to At Home.  Being freshly inspired changes everything, you see things in a new way.  And sometimes, a get away is exactly what you need to do that.

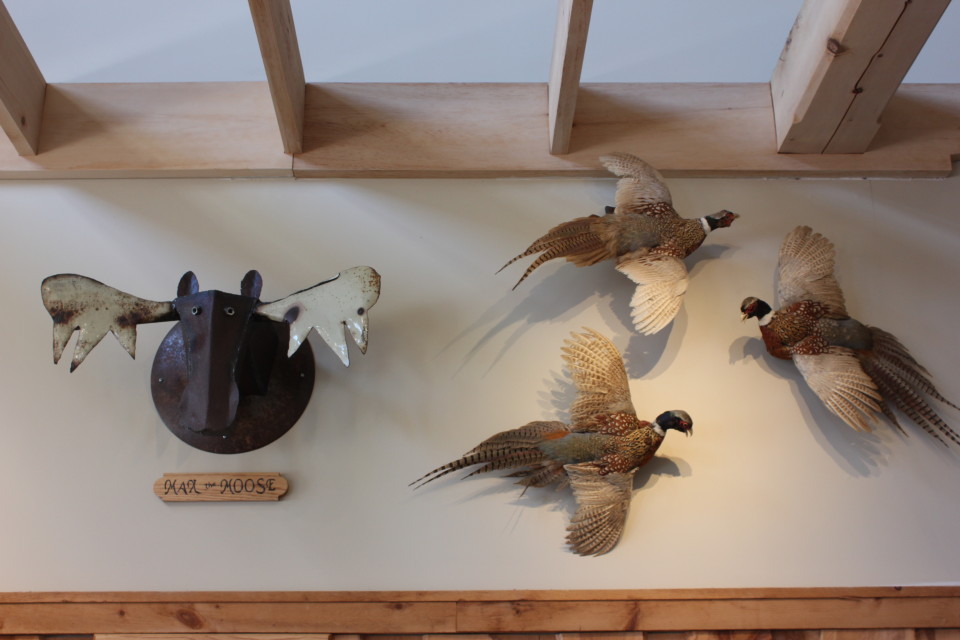
And I think that the owners of White Point understand that.  Not only did they create a place where folks can get away and connect and relax, but I think when they traveled and sourced some of the amazing artwork and artifacts throughout the resort, they experienced that and brought it back for us to enjoy and experience.  The artwork is so varied, a tin moose head beside stuffed pheasants, folk art beside Aboriginal artwork, carved antlers beside antiques.  Not only is it unique, it will speak to so many from such a wide range of walks of life.  There truly is something for everyone.
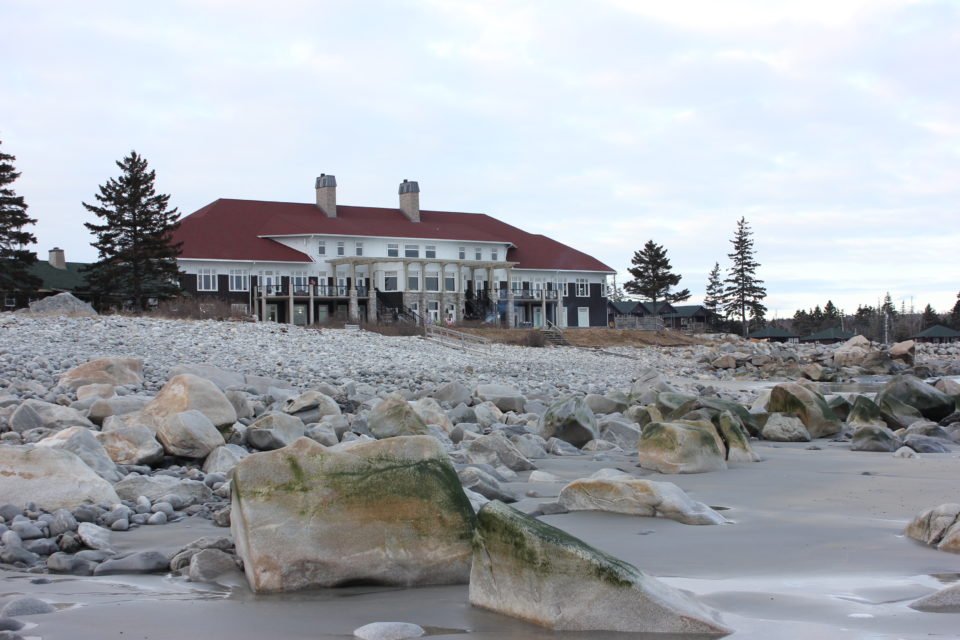
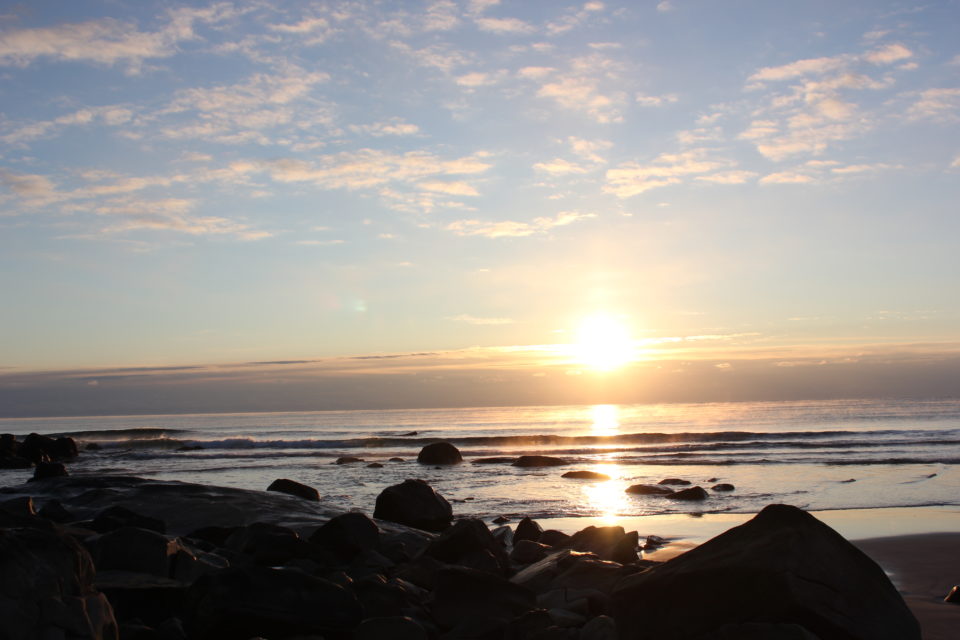
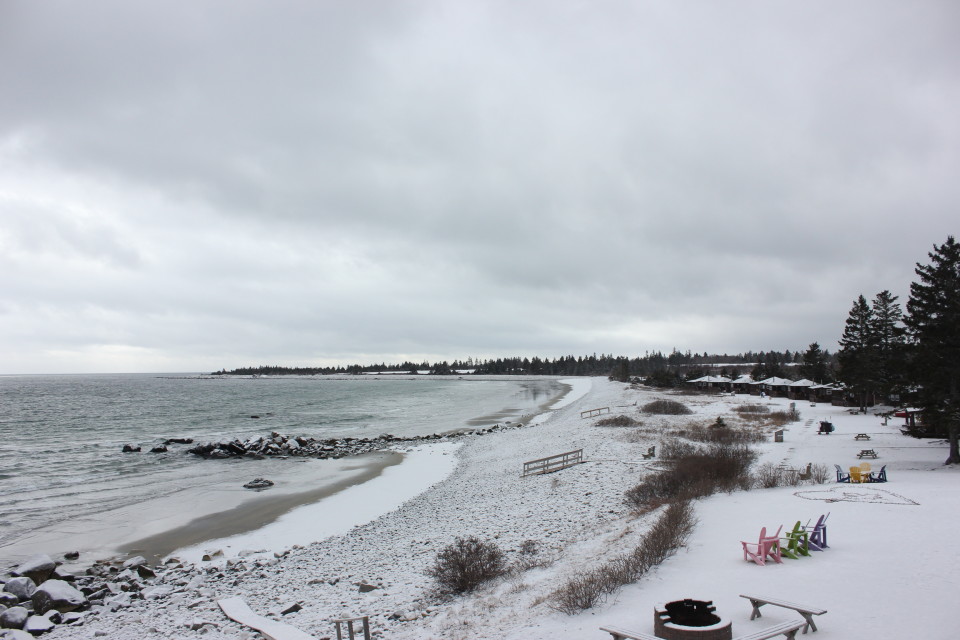
Now, of course the main attraction is the beach.  And while I was there in February, the beach was still a huge draw.  Anytime of day, there were people strolling the beach.  I can only imagine how incredible it would be in the summer! The beach at White Point is not like our beaches along the north shore.  The sand is different, the rocks are different, just the way the sand meets the shore is different.  It was so wonderful, chilly perhaps, but wonderful none the less.  Of course I had to check it out….on Friday, Saturday morning and then again Saturday afternoon.  All the in between times we enjoyed it from the main lodge, which is perfectly situated so you can see it from the dining hall, lounge, conference rooms, pool, hot tub…pretty much everywhere!

Friday afternoon on the beach…
Saturday morning on the beach….
Saturday afternoon on the beach….you just never know what you might find….

Sunday morning…..
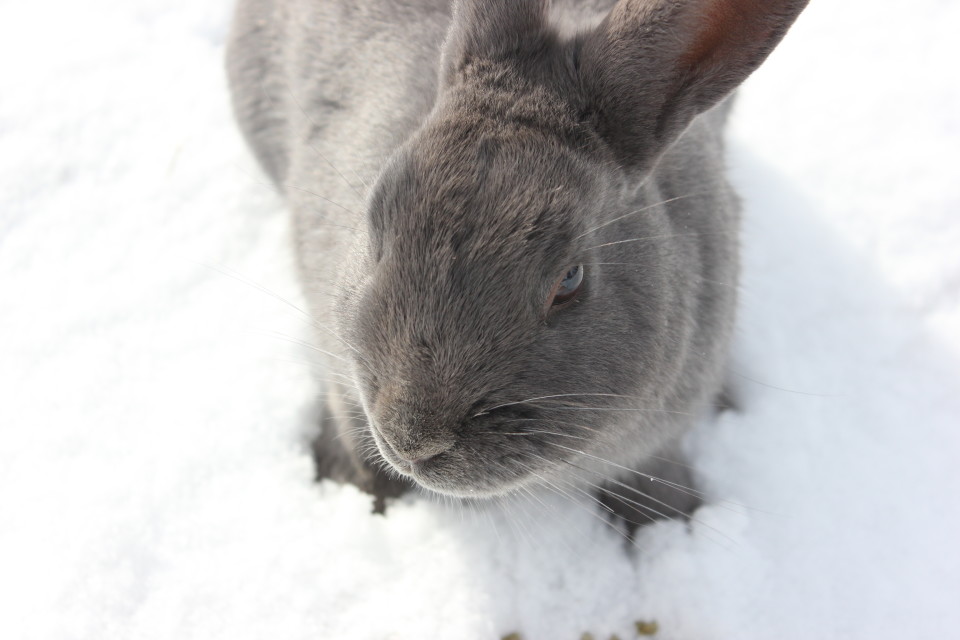
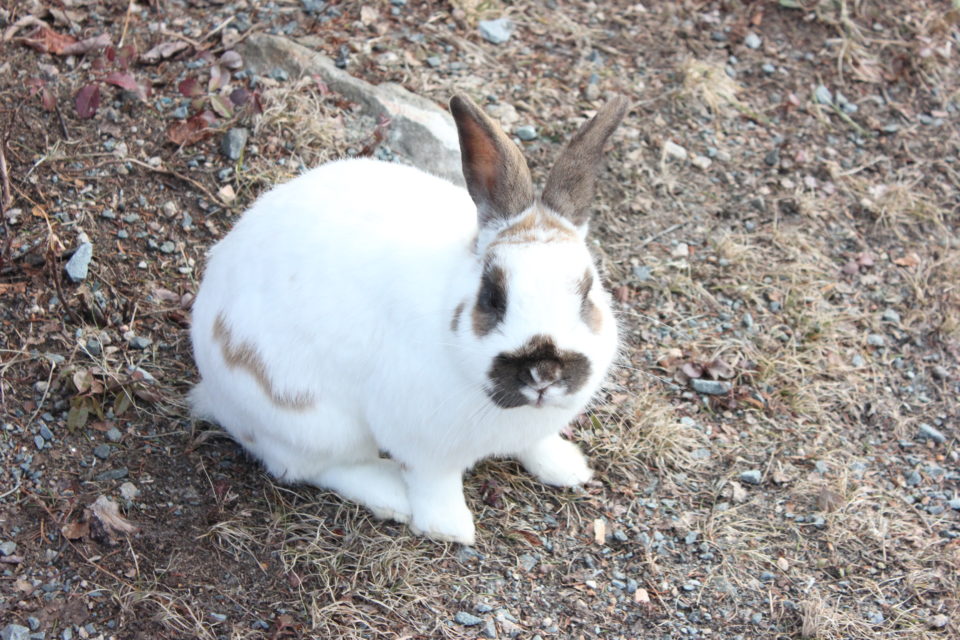
The other fun thing about White Point is the bunnies.  If you’ve been, you know what I mean!  There are bunnies everywhere!!  And they love people { because they expect you to have treats! }  There are little brown bags of treats by the front door and we always made sure to have some in our pockets as we made our way back and forth from our room to the main lodge.
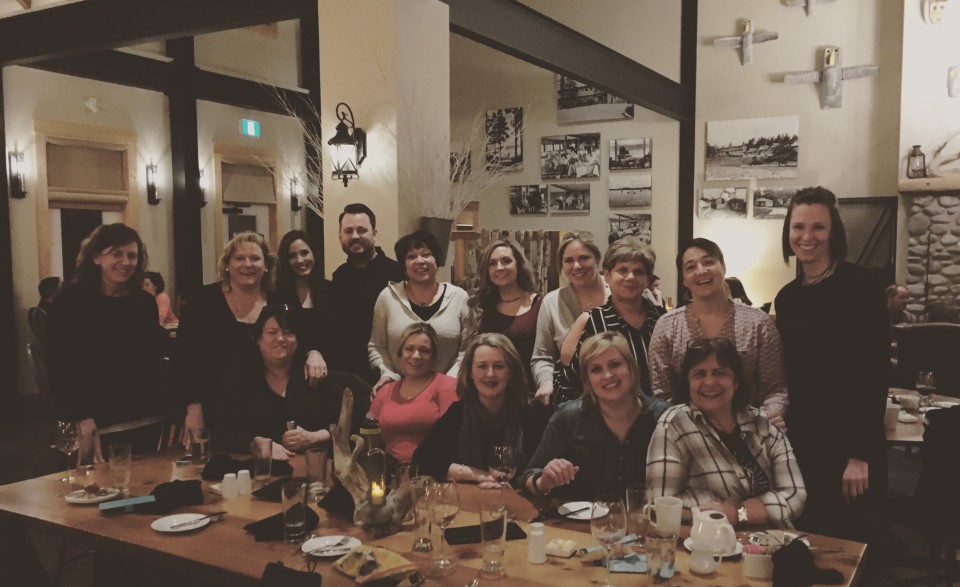
And the food….oh, the food!!!  Everything was so good and each meal it was hard to decide which to try out first!  The buffets for breakfast and dinner were amazing, so much variety and it was all very tasty.  I did snap a few pictures but it certainly didn’t do the food justice so you’ll just have to trust me and go out for supper, lunch or even breakfast there!  I love that the locals do that, Saturday night that place was  packed!  Lots of families, couples, groups of friends gathered to enjoy a nice evening out.  Chef Alan Crosby’s food is certainly something to rave about! And he even popped in to check out our DIYing 😉  Here’s part of our group, post-dinner on Saturday evening.  We lingered in the dining room for quite a while after the last bite was enjoyed.
All in all, it is an incredible place to spend some time, being creative, making new friends and exploring!  I’m looking forward to finding some excuse to go back with my family this time, I know they would love it here, too.  If you get the chance, I would highly recommend booking at stay at White Point.  You won’t regret it!

To be continued,

Lori