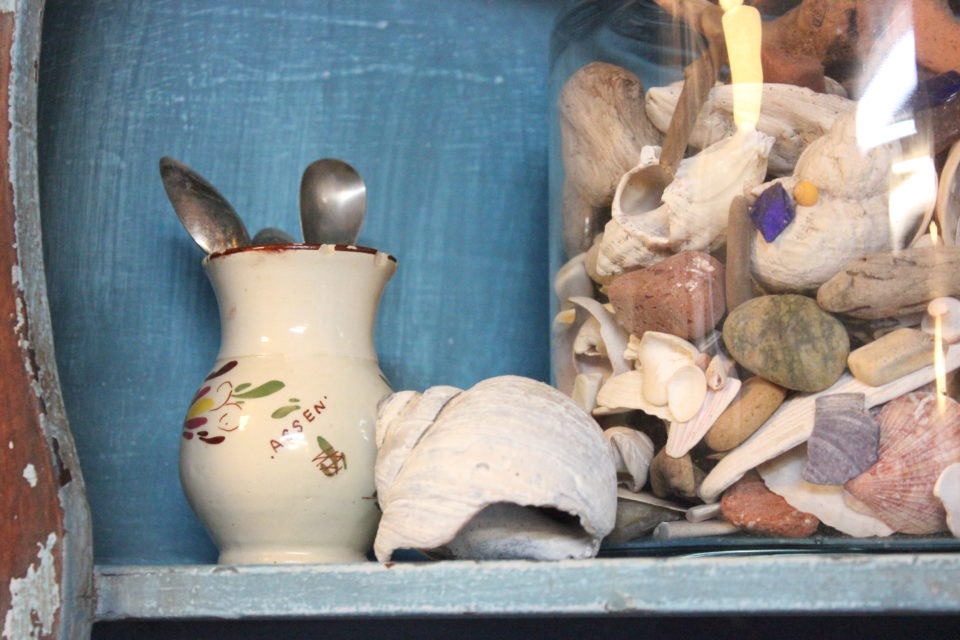
Browsing Category

Clear Day Farm

1 In Clear Day Farm/ Decorating

A Thing for House Plants

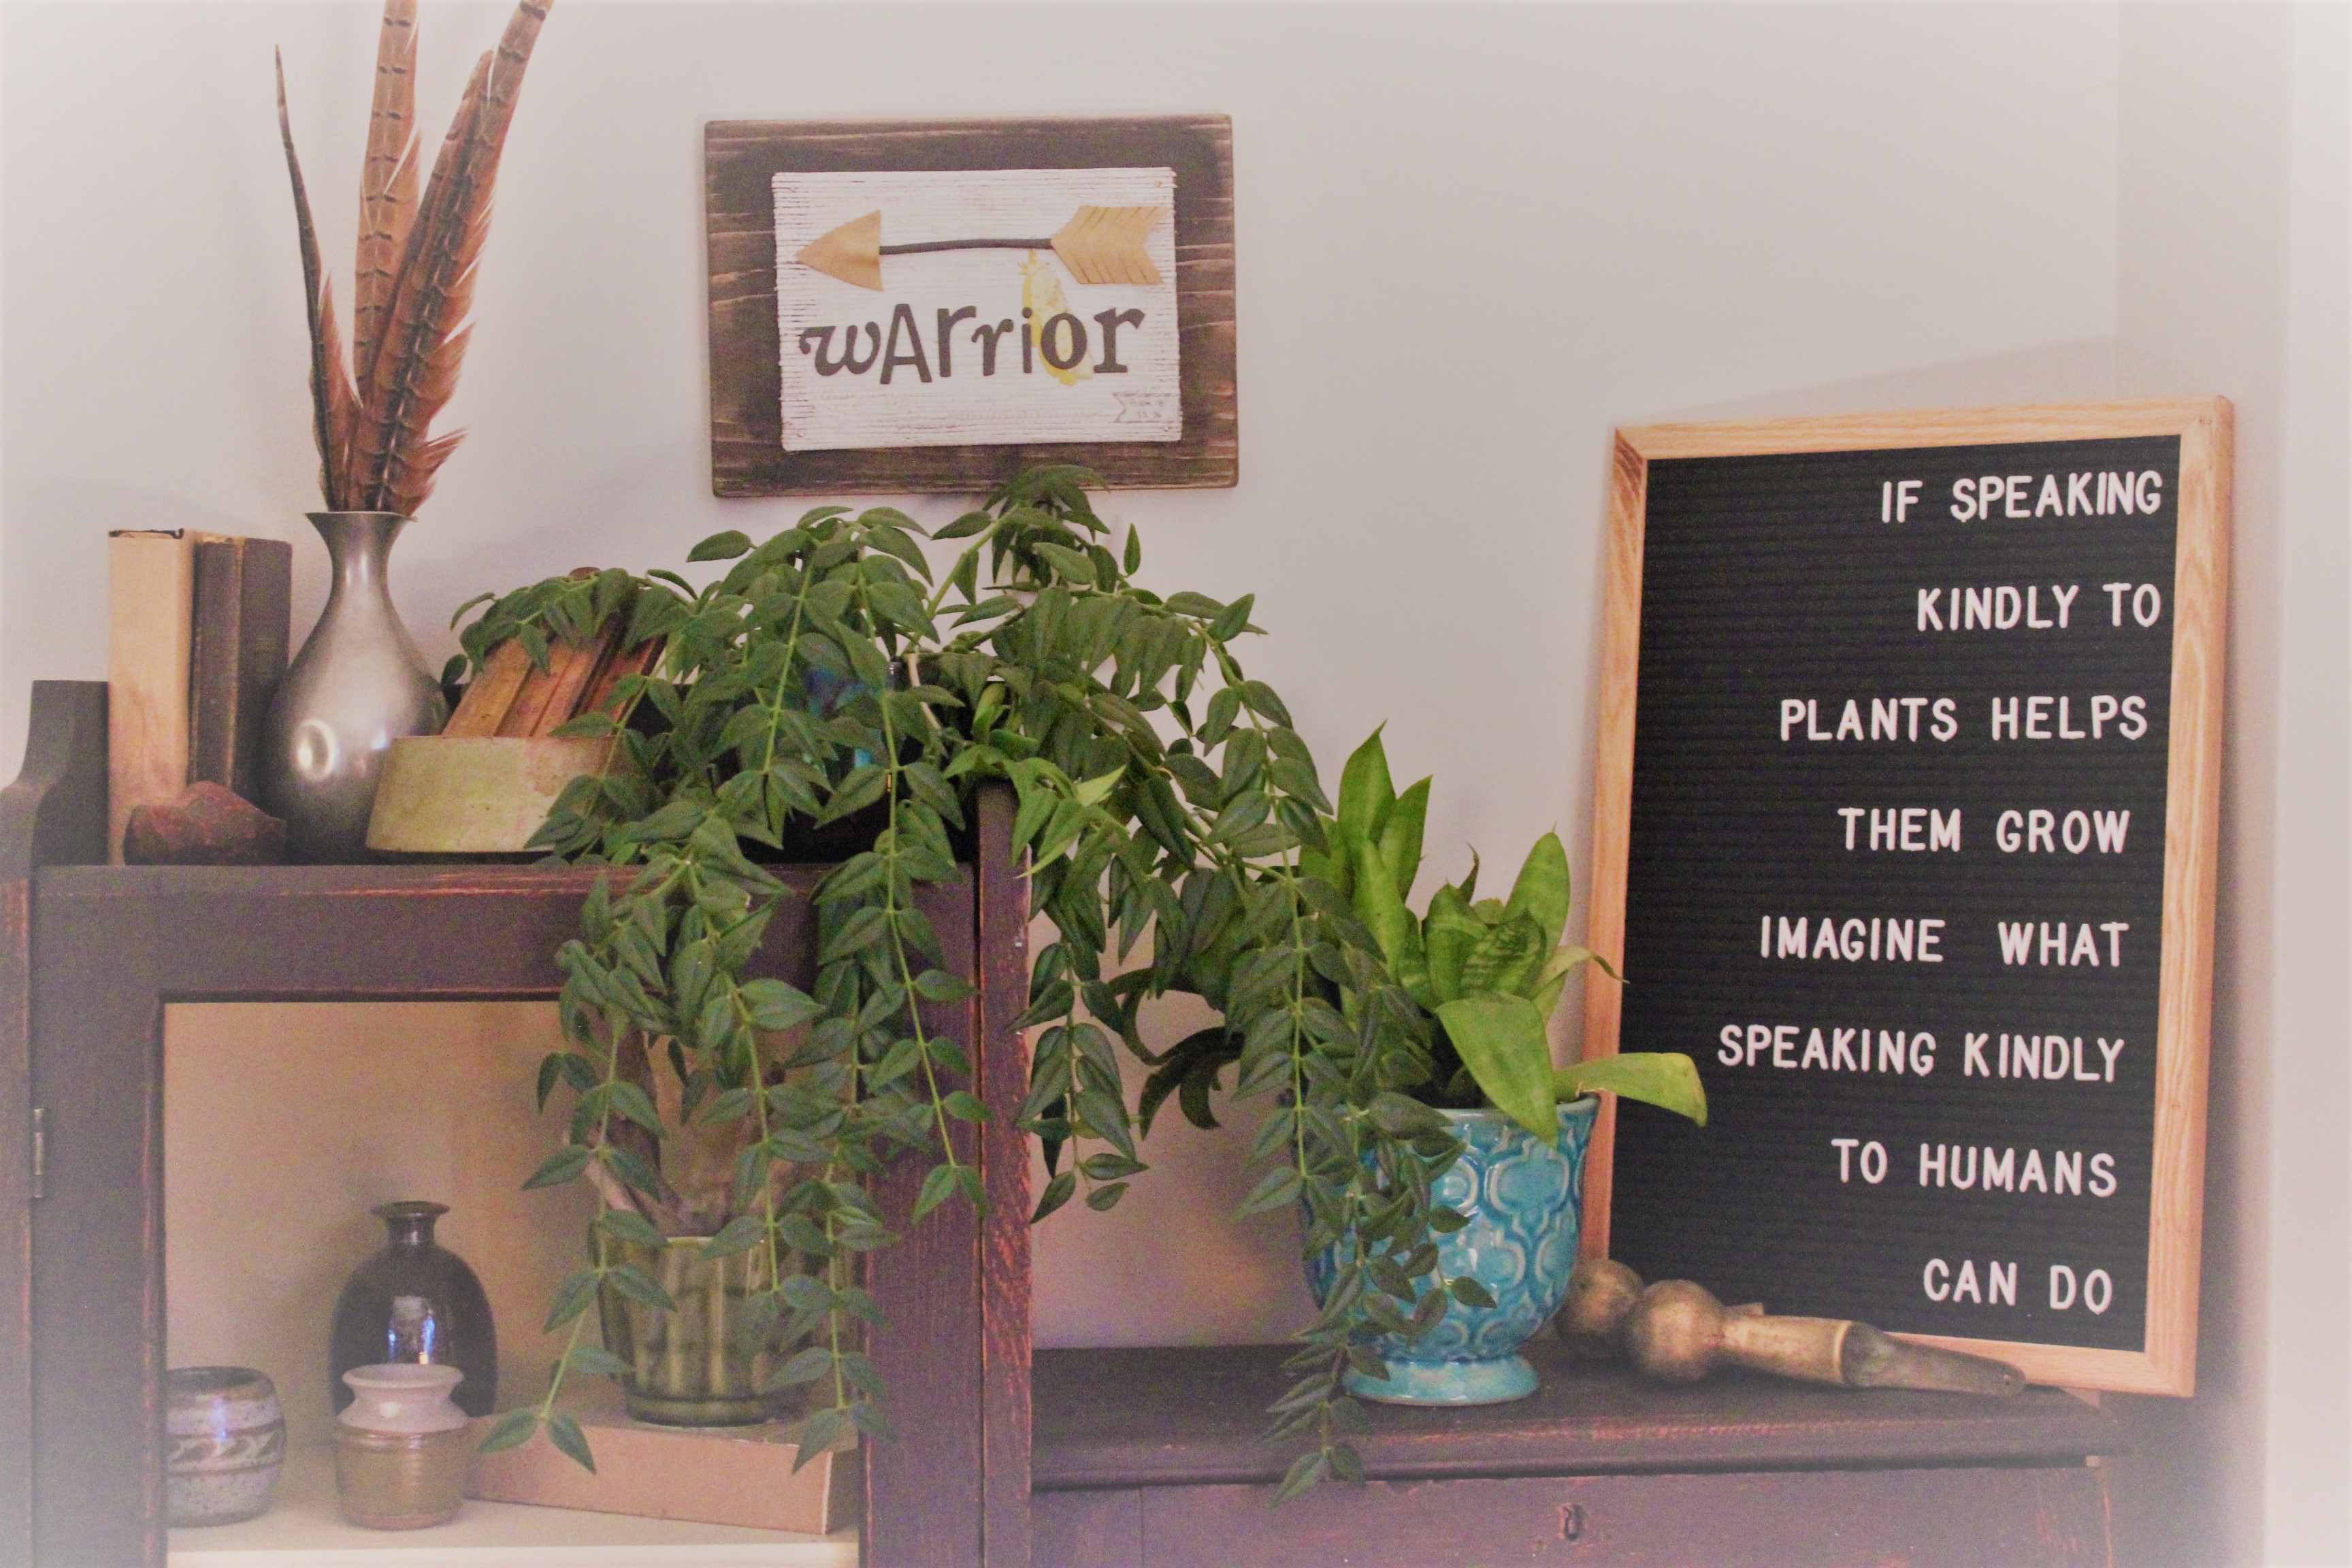
Have you heard I like houseplants?  Have you been hanging around here long enough to have picked up on that?  It’s true, in fact, so true that I’d almost say I have a problem.

So, at last count, I have 32 houseplants.  When I say that out loud, it sounds crazy.  But when I look around my house, I don’t feel like it’s over run with plants.  Now, granted, the other house occupants may have something different to say on that matter!  I even have one in the studio and on my desk at work that aren’t even included in that number!
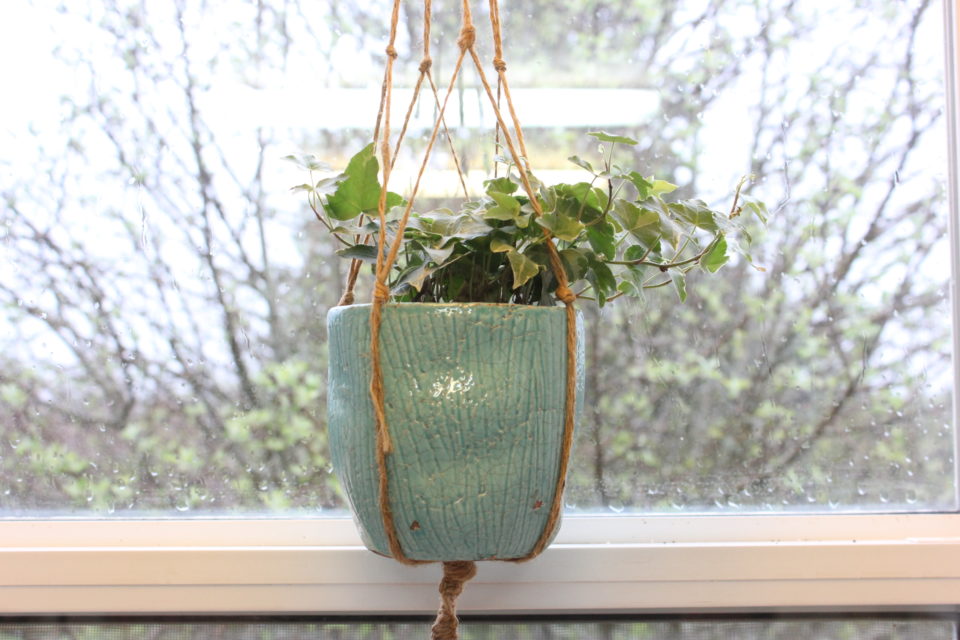
I’ve always had houseplants.  I grew up in a house with houseplants.  My friends’ parents and grandparents had houseplants.  I’m not sure if that is a Dutch culture thing or not, but it was just how it was.  So, having plants was normal and just part of life.

I had a lot of plants when we lived in our first home.  I recall one large tree-type plant in our living room that a certain little girl loved to get into, even though she knew better.  And we moved them to each of our houses with us.  But when the second little girlie arrived on the scene, life got a whole lot more crazy and I had a hard time keeping the plants alive and the children tended to, so I let a lot of the plants go…or they simply died of neglect.  But the kids are healthy 😉
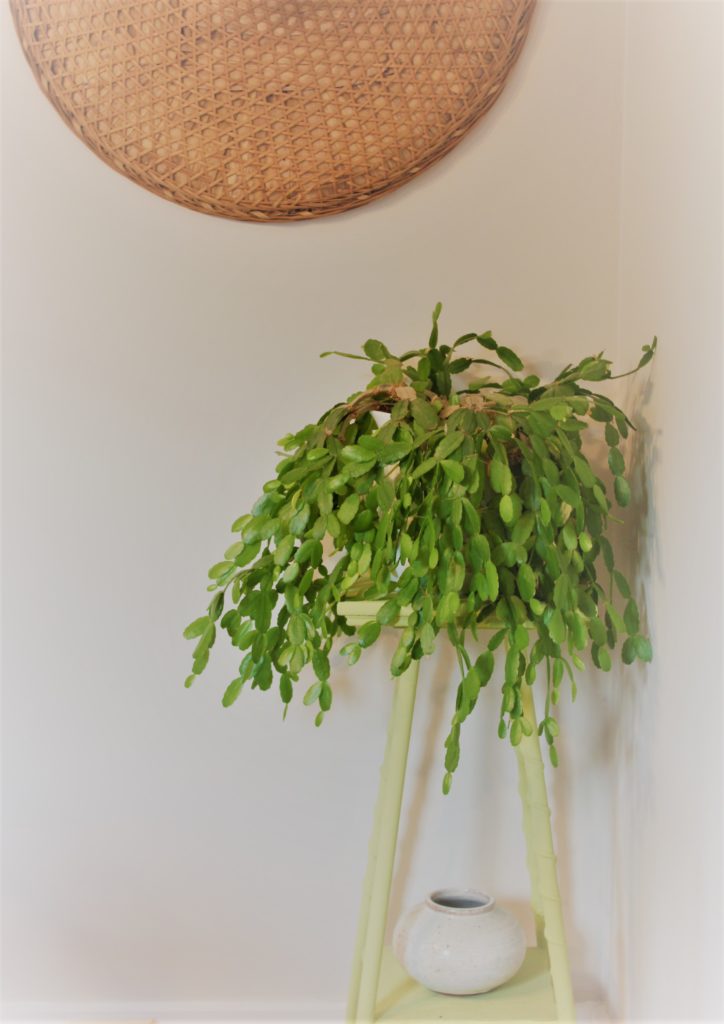
When we moved into our current home, I started to build up my collection again.  I figured I had the girls established enough that they could fend for themselves a bit more 😉  And then, before I knew it, I had 32 plants.  You know how it is, right?  You grab one here at the grocery store, a friend gives you a cutting from that one, your neighbour offers you some and that one needs to be divided and then you have 30 plus plants before you know it.

So, to be clear, plants still die on me.  I can’t do orchids…sorry, Heather, the one you gave me lasted over a year, though… Succulents never survive long…I am trying again and some of them look healthy enough and seem to shoot out little baby succulents like crazy so I divide them up and hope for the best.  And don’t even ask about the plants that I have in planters outside…they have to be ‘survival of the fittest’ all summer so by fall they are pretty much a dried up skeleton in a pot.
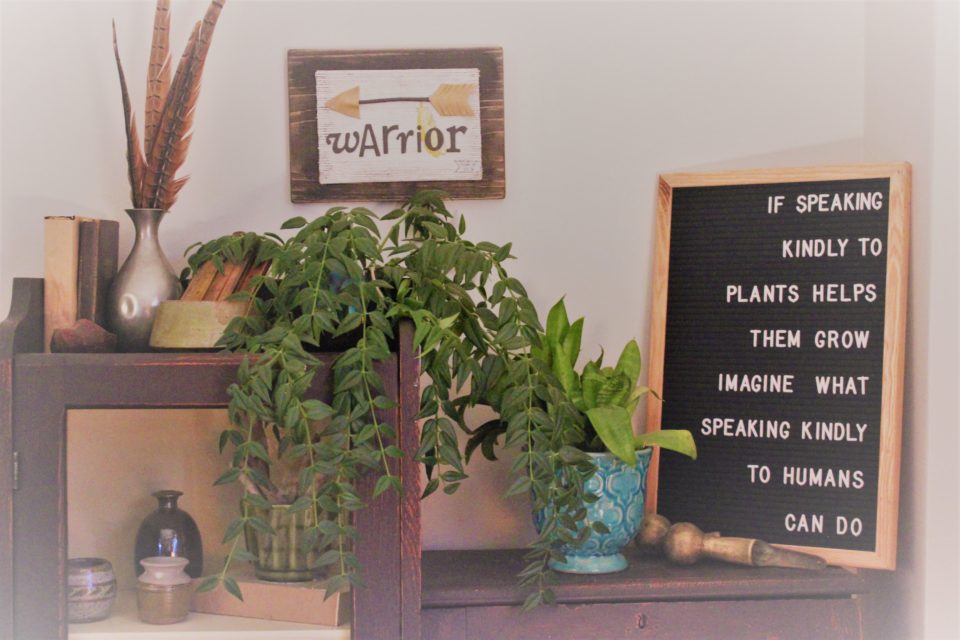
But how do I keep them alive?  Mondays I water.  Simple.  Occasionally I will empty a half full glass of water in one so not to waste water.  And sometimes, I fertilize them.  I recently posted on Instagram about my fetish for houseplants and someone { Thanks, Heather!! } let me know that they really only need fertilizer in the Spring and Fall.  So, that makes it even easier!  And I repot them from time to time, too.  But, honestly, there’s no rhyme or reason to how I know when it’s time….usually when the roots are growing out the bottom of the pot…but then again, I know some like to be pot-bound, too….so…really, it’s a gamble.

I’m no plant expert, by any means, but I think part of my apparent success with house plants is that the ones I keep are hardy species.  I don’t have anything that is super demanding or has finicky needs, they’ve all long died off. Basically I water them and they make it look like I have a green thumb!
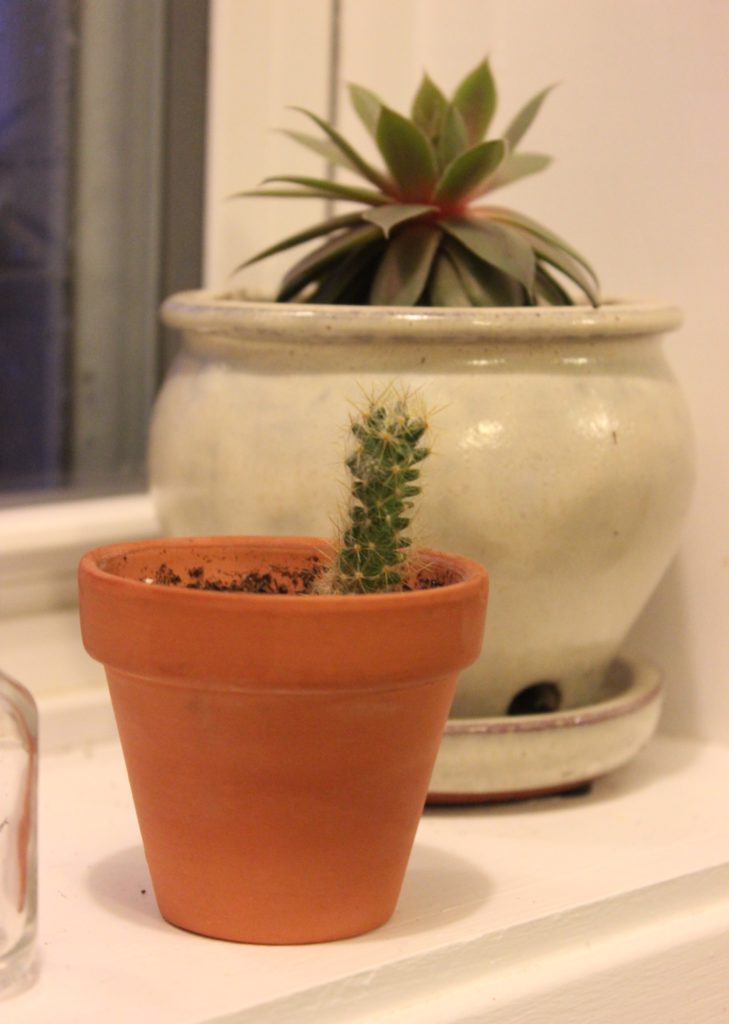
I love what the plants do for the feeling of our home.  It’s cozier and has a real lived-in feel and it reminds me of my childhood.  And the best part is that I’m passing this onto my girls!  We hit up an awesome new store in New Glasgow called Forge { if you are in the area, I highly recommend that you check them out!!  And tell them Lori sent you! 😉 } and the girls each picked out a plant to take home!  Lena picked out a Venus Fly Trap and Hannah picked out a cactus – see we’ll see how this goes and how long they survive!

So, tell me, do you have plants?  Are they thriving or merely surviving?  Any favourite kinds?  What great tips can you share on keeping them healthy?

To be continued,

Lori

7 In Clear Day Farm/ Makeover

House Beautiful

Three years ago we moved into our ‘new’ home and talked about getting the outside painted.  Finally, this summer it happened. And we couldn’t be happier with the results!

Our house is an old home that has a history dating back to 1882.  I grew up across the road and spent a lot of time here as a young teenager with the family that called it home during that time period.  It’s been white for as long as I can remember.

We knew when we bought it that it needed some freshening up on the outside.  There was some of the siding, eaves and fascia that needed some TLC, too.  It was all more than we wanted to tackle ourselves. So we hired a neighbour to do the carpentry work for us and a painter friend to tackle the painting.  Over the course of the summer, our house was transformed.

The guys we hired to do the work for us were fabulous and I enjoyed having them around.  Their workmanship was great and they were friendly, informative and did the job in the best amount of time they could, weather depending, of course.  So if you’re local and looking for good guys to get some work done, drop me a line, I’ll happily recommend them. 😉

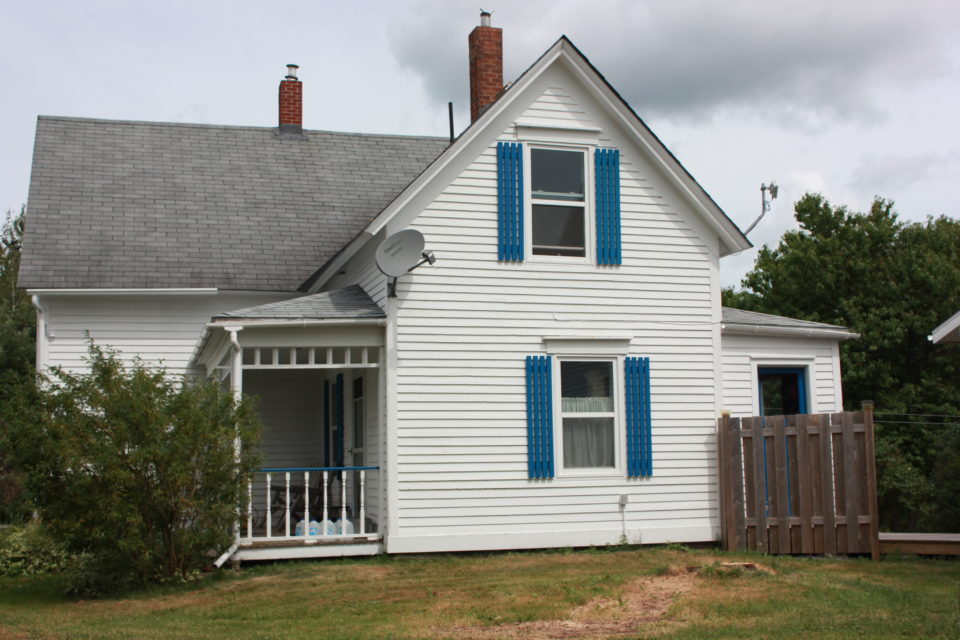
Here is a picture of it when before we even knew for sure it was going to be ours – at this stage it was a dream and a hope!

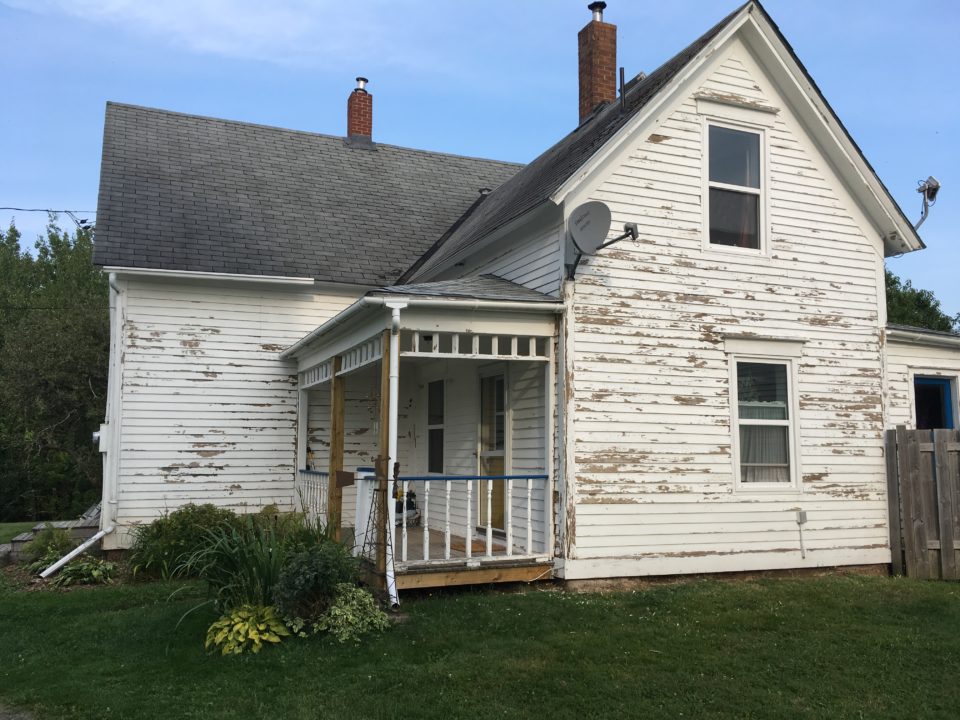
This will give you a better sense of the Before:

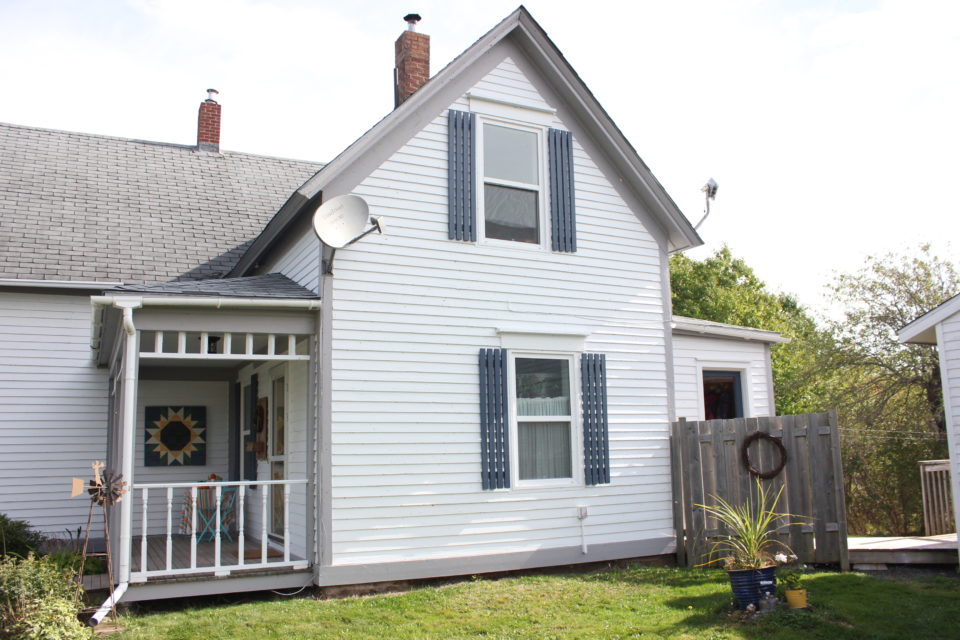
Here is a progress picture. The back is southern exposure and needed the have the old cedar shakes replaced so new clapboard was installed.  There still is a few walls with the shakes that will probably over time get switched out to clapboard, too, but they are still in good shape.

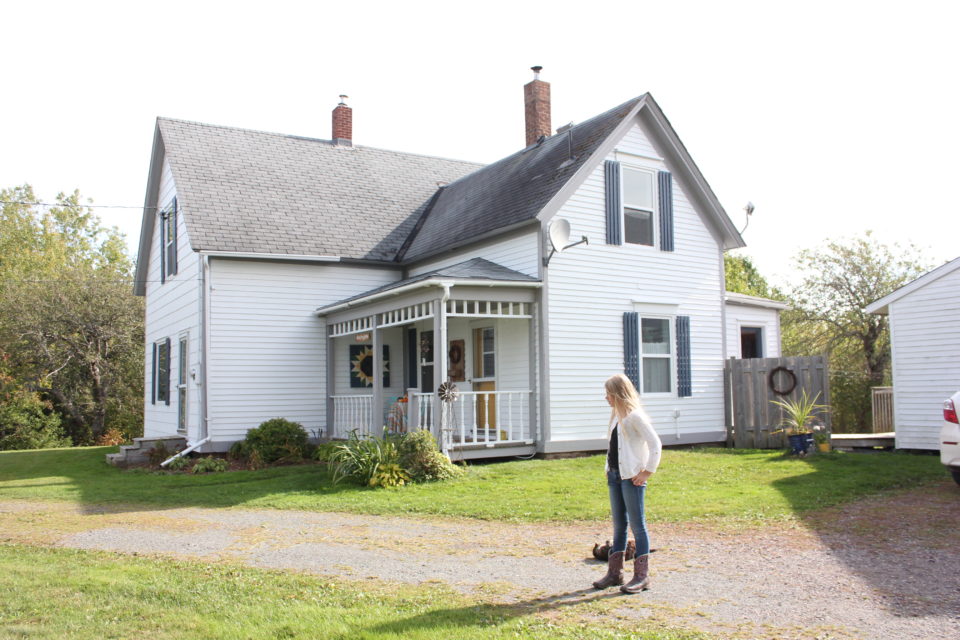
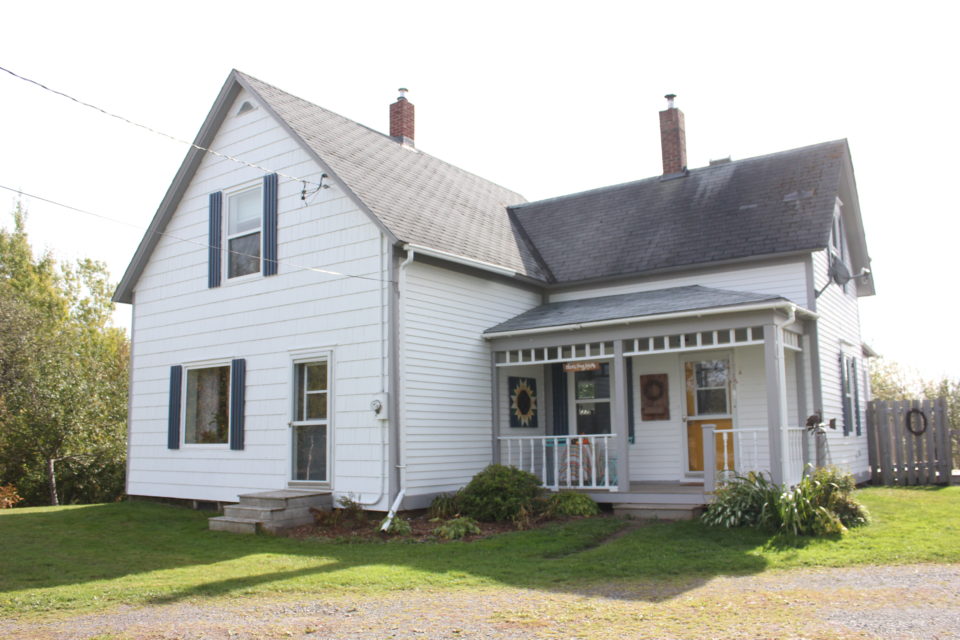
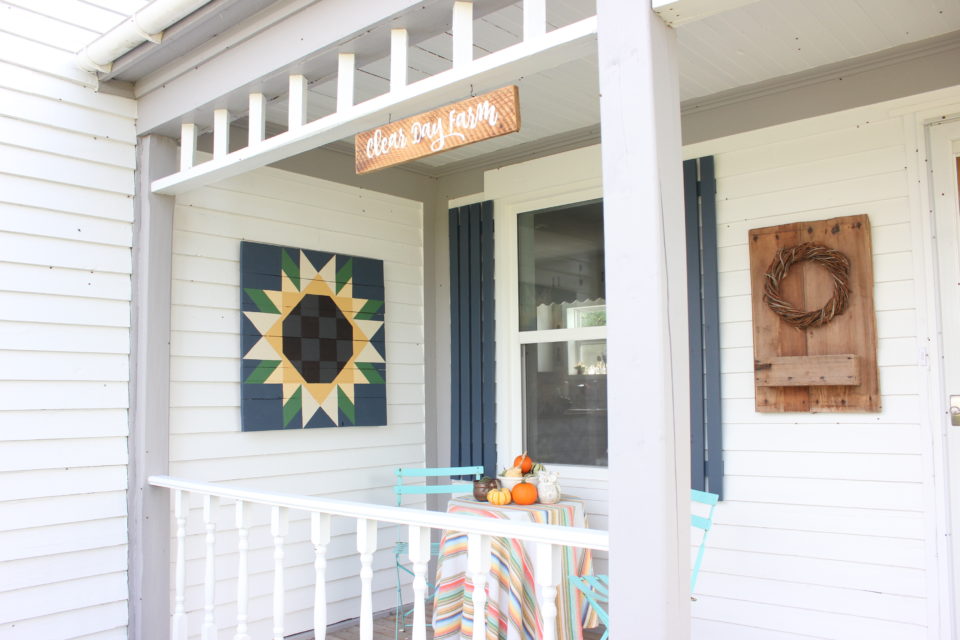
We debated back and forth what to do about the colours of the exterior.  We both loved the idea of adding more colour, the simple blue and white palette we had did nothing for either of us.  But neither of us were sold on the idea of a colour on the wood siding of the house and still having a white vinyl garage.  Finally we settled on grey trim, white body and blue shutters and doors, except the main door, which I wanted bright yellow.  The exact colours we used were Stormy Monday for the trim and Newburyport Blue for the shutters, both from Benjamin Moore.  The main body was painted in their ‘ben’ line in the basic white right out of the can, nothing added.  The door was called Shop Door and it was a FAT Paint Company.  Now, I have to add that as much as I love the colour, the fact that it took 5 coats to cover the previous green was rather frustrating.

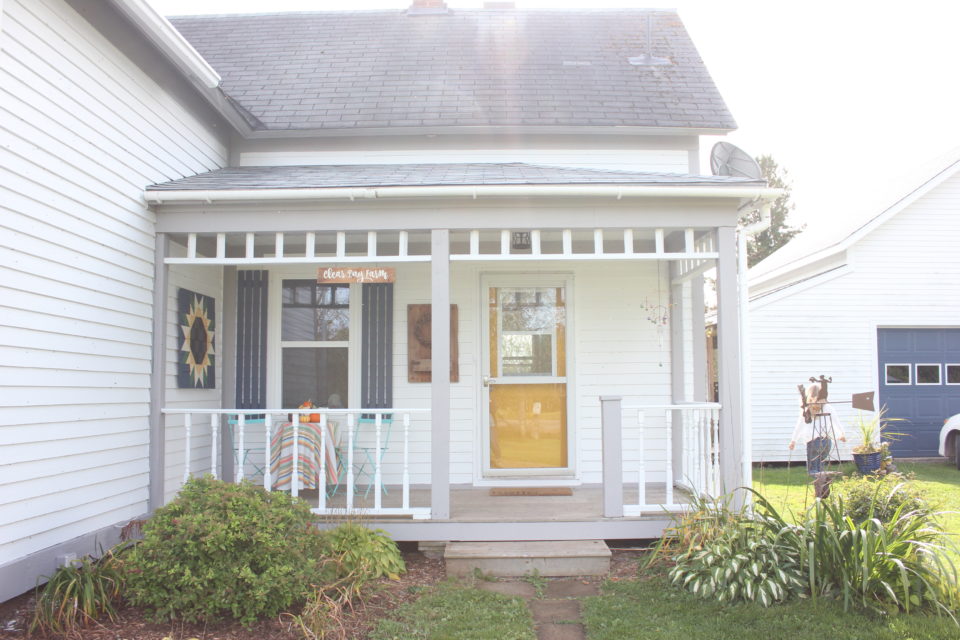
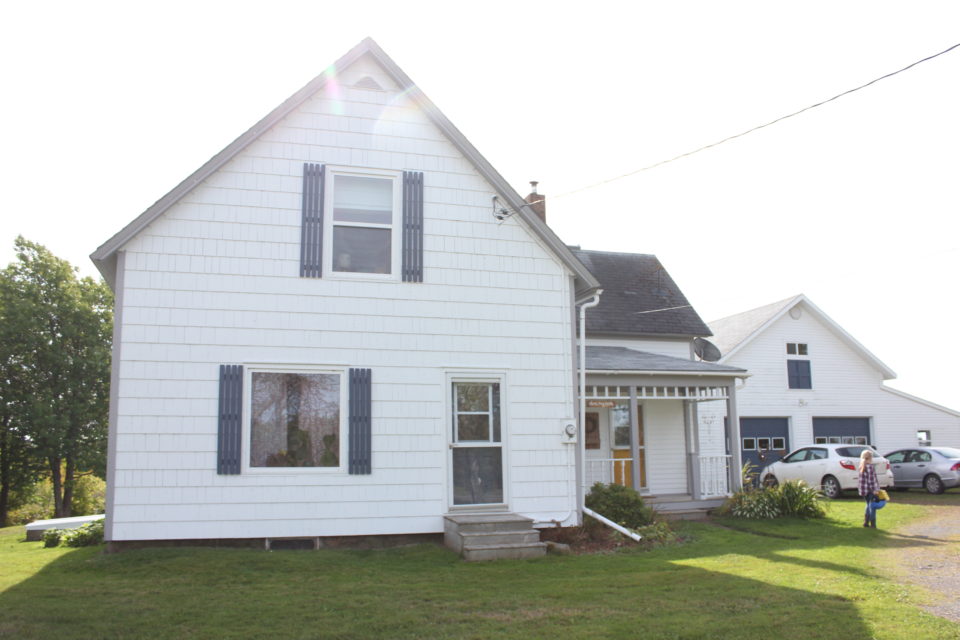
Ta da!!!  Here is the finished product!  I love how much more character the exterior has and how much more personality!  This colour palette is classic and will stand the test of time.

The day I took the after pictures, we were being invaded by Asian Beetles, there were so many, you can actually see them in the following picture – but I want to show you how awesome the porch looks!! The barn quilt, the new Clear Farm Sign, the hop vine wreath…

This house holds so much history for me.  I’m so thankful to call it home.  We are making memories here, putting down roots. And now the exterior seems to suit us a whole lot better, too!

To be continued,

Lori

8 In Clear Day Farm/ Decorating

IKEA & Farmhouse Style, You Say?

Farmhouse and IKEA aren’t two styles that you would think work together.  With our new IKEA that recently opened in Halifax, everyone is pretty excited!  So I thought I’d take you on an IKEA tour of our home to show you ways to combine the clean lined look IKEA is known for with my farmhouse style.

It’s always exciting when a new store opens in your area, especially a store like IKEA which is very well-known across the globe.  I’ve been seeing, hearing and talking so much about it that I thought I need to do a post about it and how I work products from this popular home store into our home.

Now, some of these items are no longer available, but I did link to the ones that still are so you can easily shop these pieces if you want!

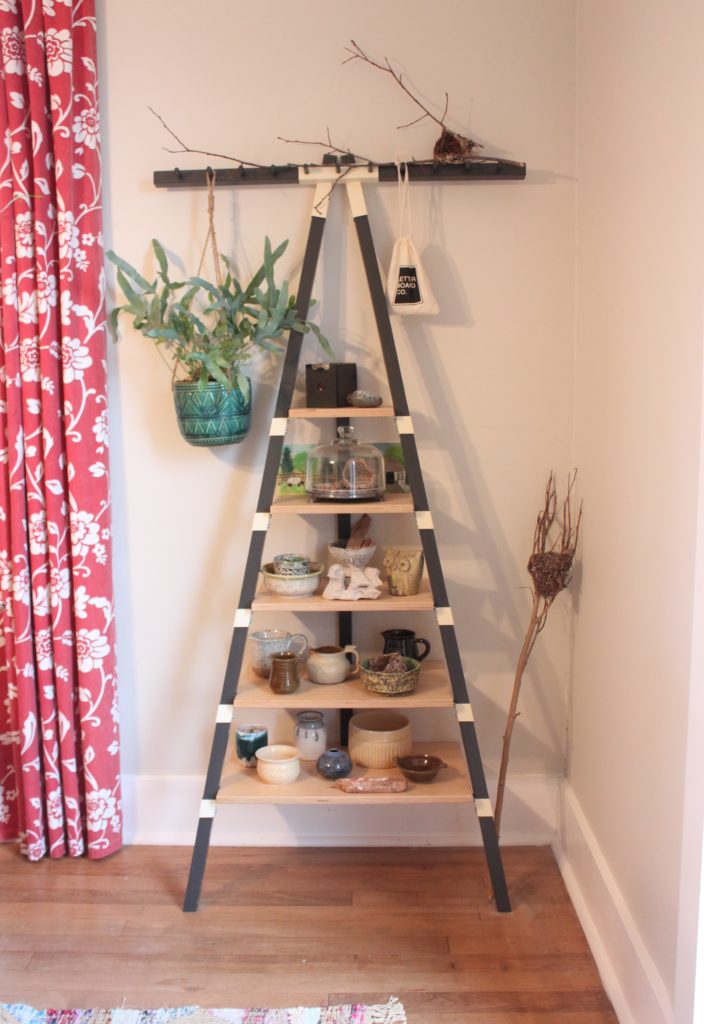
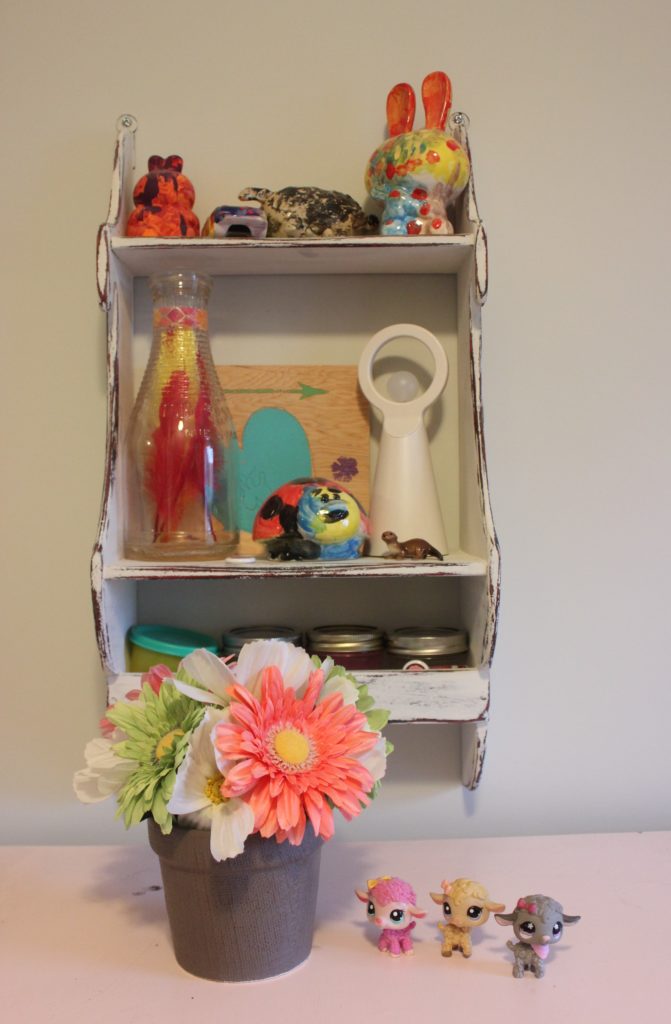
This shelf has a great back story, well, one I love anyway!  My friend was heading back east for a visit from Ontario and asked, like a true friend does, if there was anything I needed/wanted at IKEA since she was coming my way.  I knew I wanted it, I had my eye on it, she thought I was crazy but now when she sees it, she gets it.  It’s the perfect spot for my collection of vintage pottery and a few other little things.

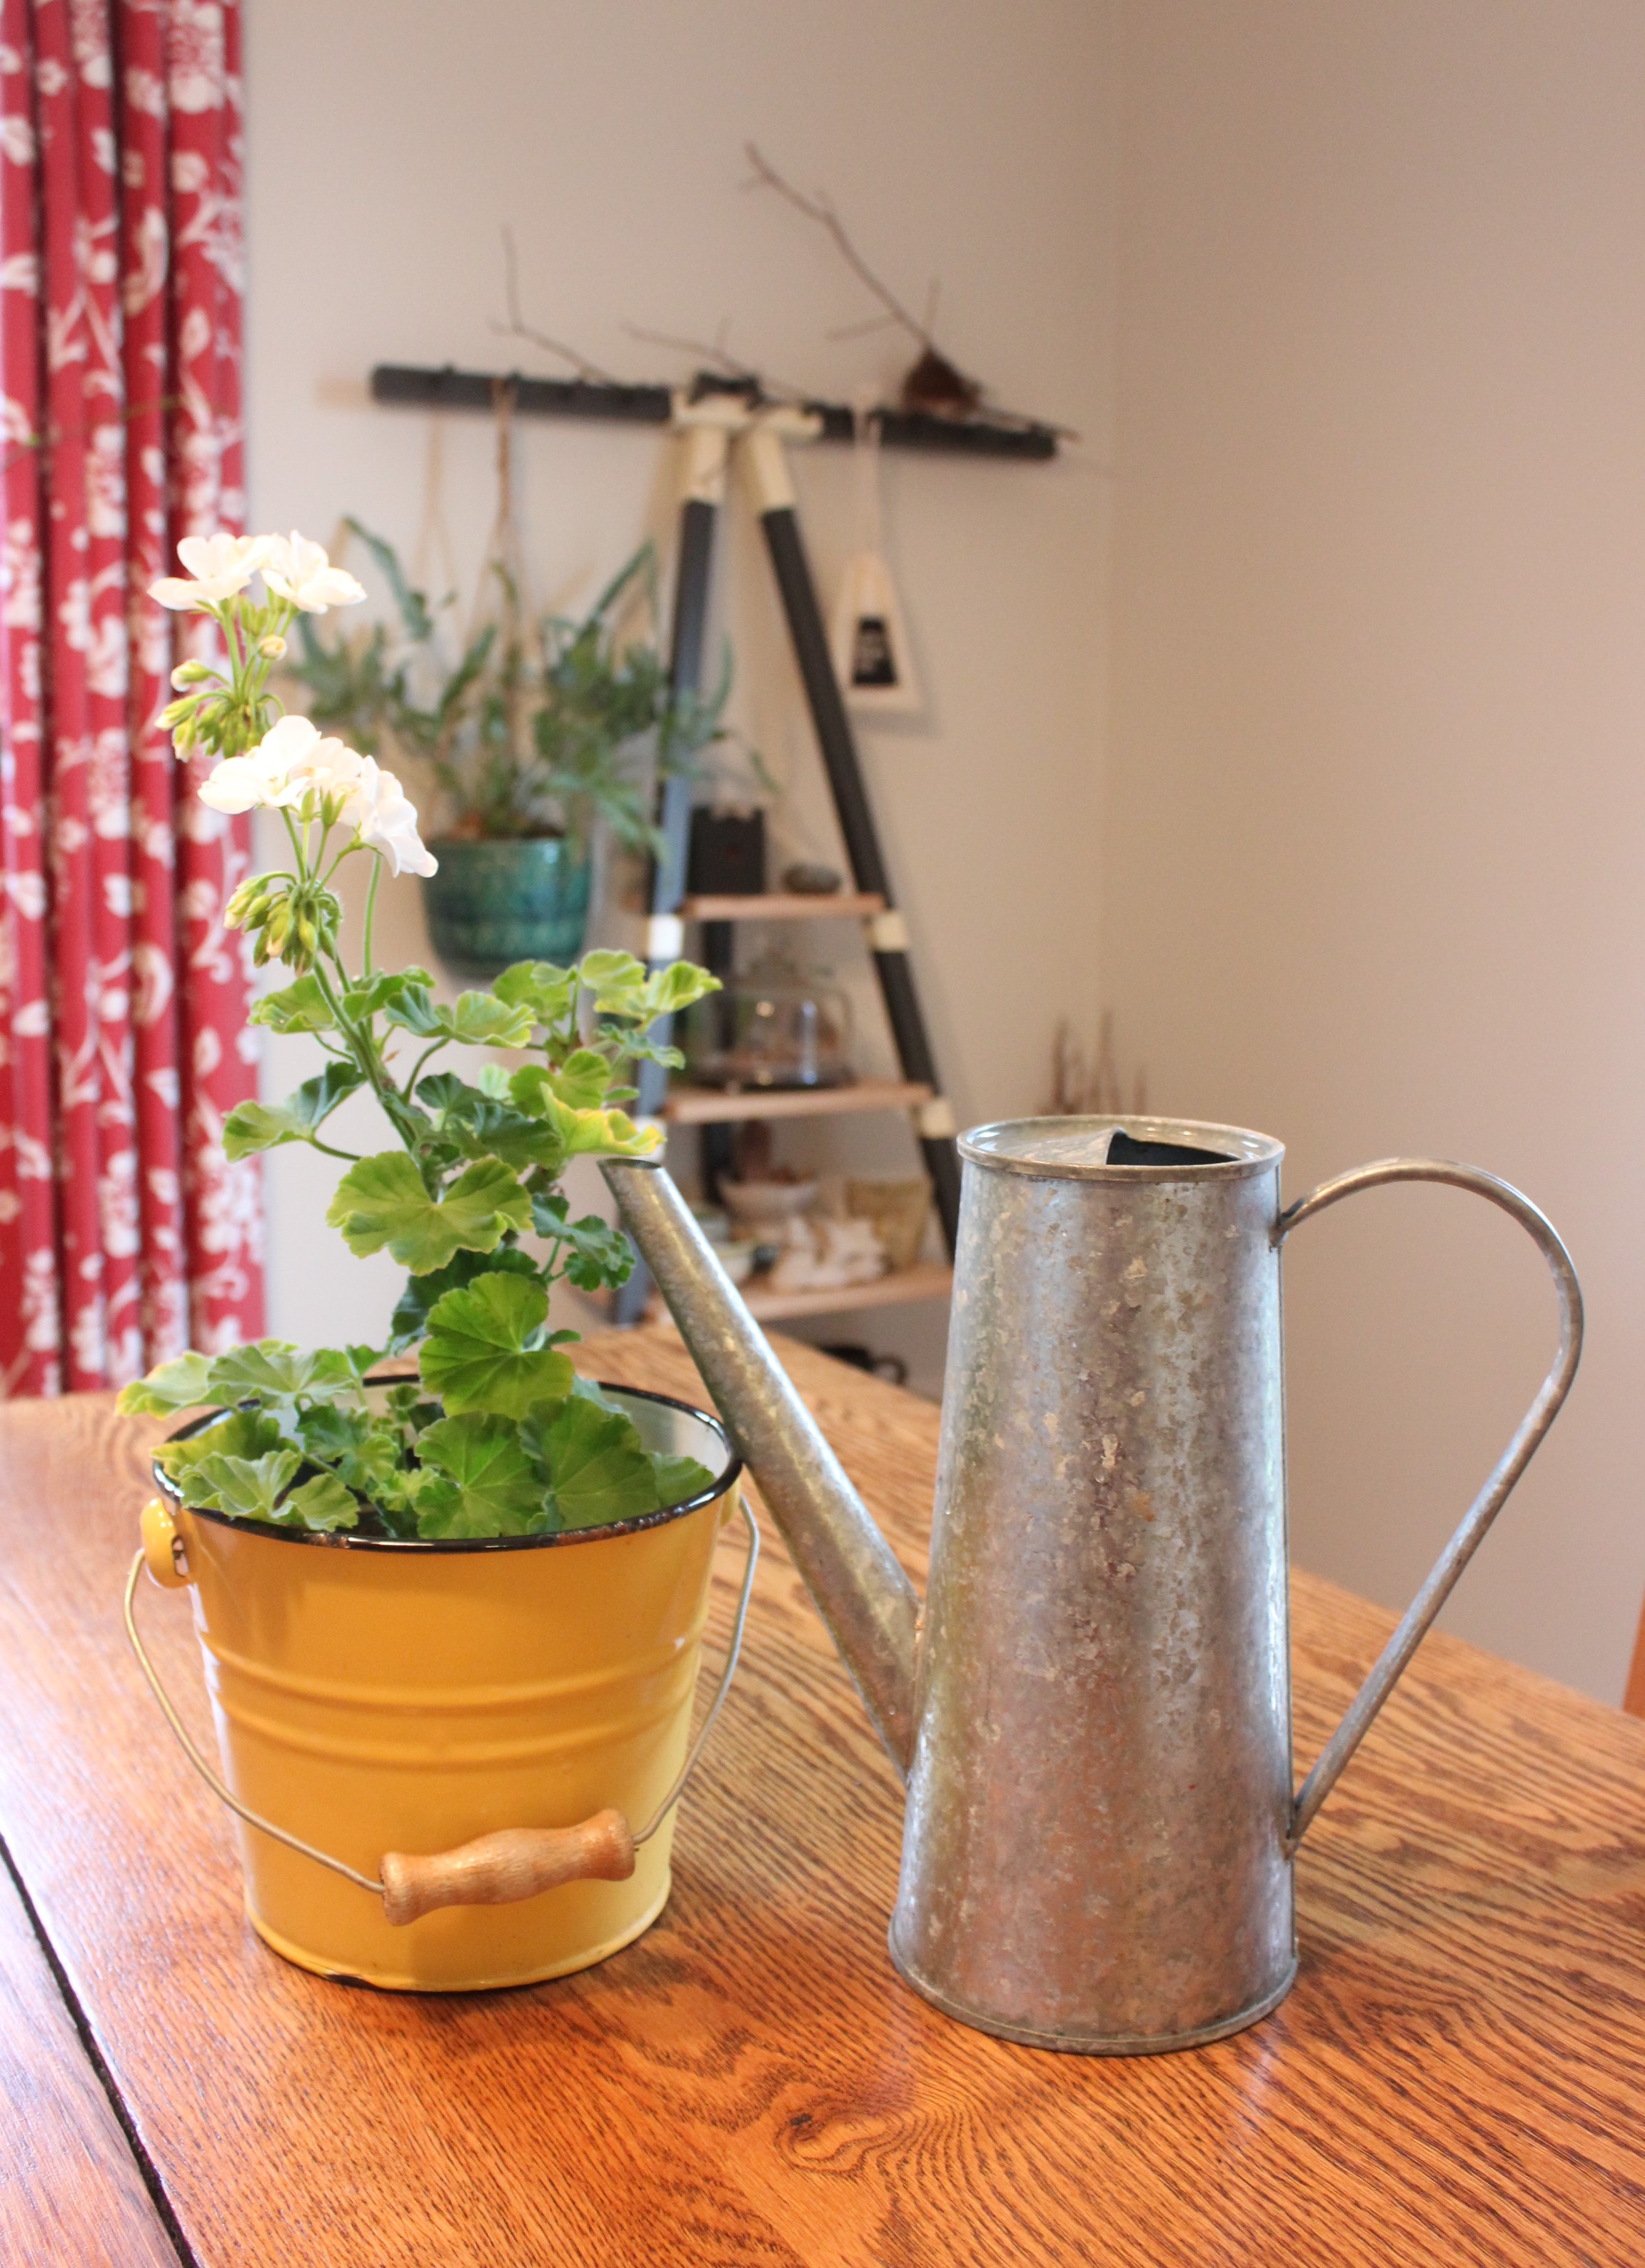
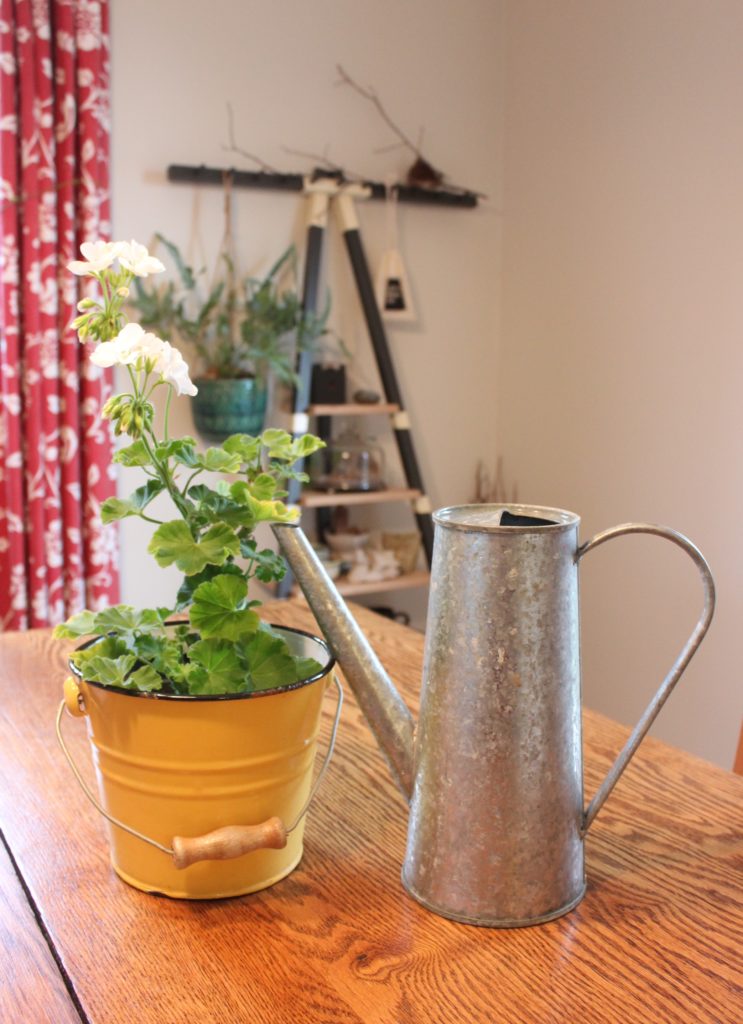
Something else I aquired at IKEA and use weekly is my watering can!  I can’t even remember how long I’ve had it but it’s perfect for watering my almost 30 houseplants.  And when I’m not using it, I can use it as a vase, too.  What’s not to love about a galvinized watering can, right?

These little buckets are so cute and so handy.  I’ve stored all sorts of things in them, inside and out, from bath toys to bracelets to plants.  I think the ones they currently sell are red { I think I need some, because, well, red…} and silver!  They’d be good for decorating for Christmas, too!

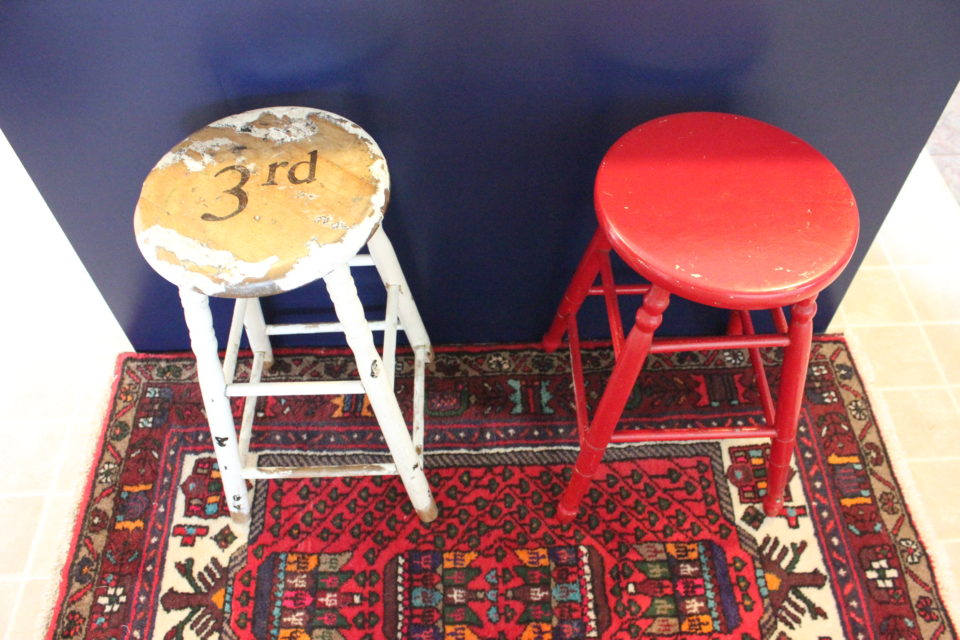
I think everyone and their dog has a Bekvam stool. I know you’ve seen it.  I got mine unfinished and first painted it black and now it’s glossy red.  When the girls were little, they sat at it like a picnic table and watched TV, eating a snack or breakfast.  Now, they are much too big to fit so we use it as a step stool in our kitchen to get to the upper cabinets or as an extra seat at the table.  I love seeing how everyone finishes them so uniquely that I even started a Pinterest board dedicated solely to the Bekvam stool, which you can see HERE.

We were gifted this angel light many years ago and we have used it ever since as a night light.  It’s perfect for taking along for sleepovers, camping trips and overnight stays at hotels.   Somewhere along the way, Hannah claimed it as her own.  I’m not sure if it was meant for Christmas decorations or not, but it’s a great night light for us. { I love how the green arrow is pointing towards the light – I swear I didn’t plan it that way!! }

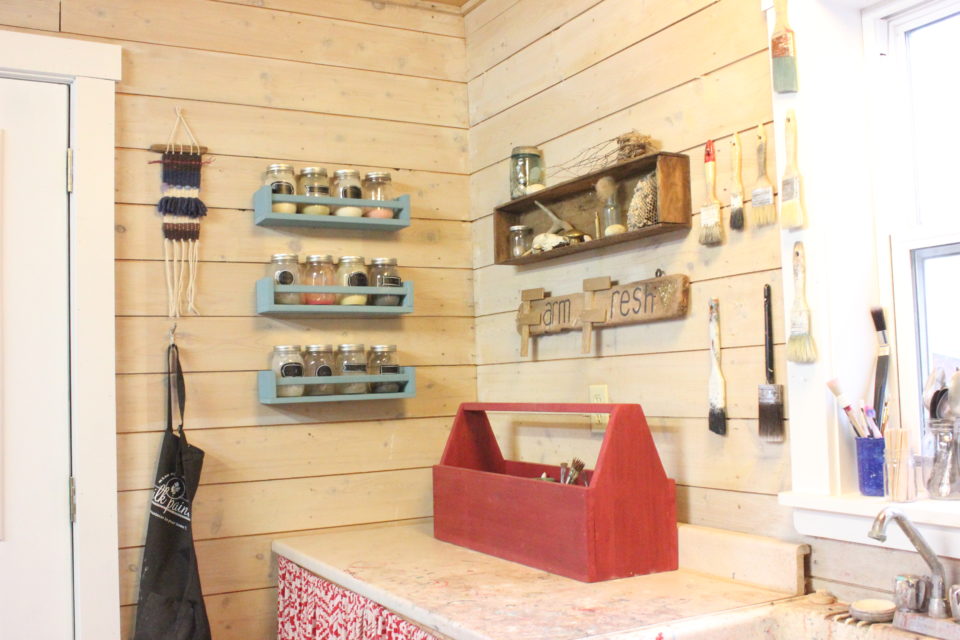
These Bekvam spice racks shelves make the perfect spot to store all my mason jars of Miss Mustard Seed Milk paint.  I’ve seen them used for so many different things but this works for me.  Easy to put together, fun to paint and perfect for storing all sort sof things.

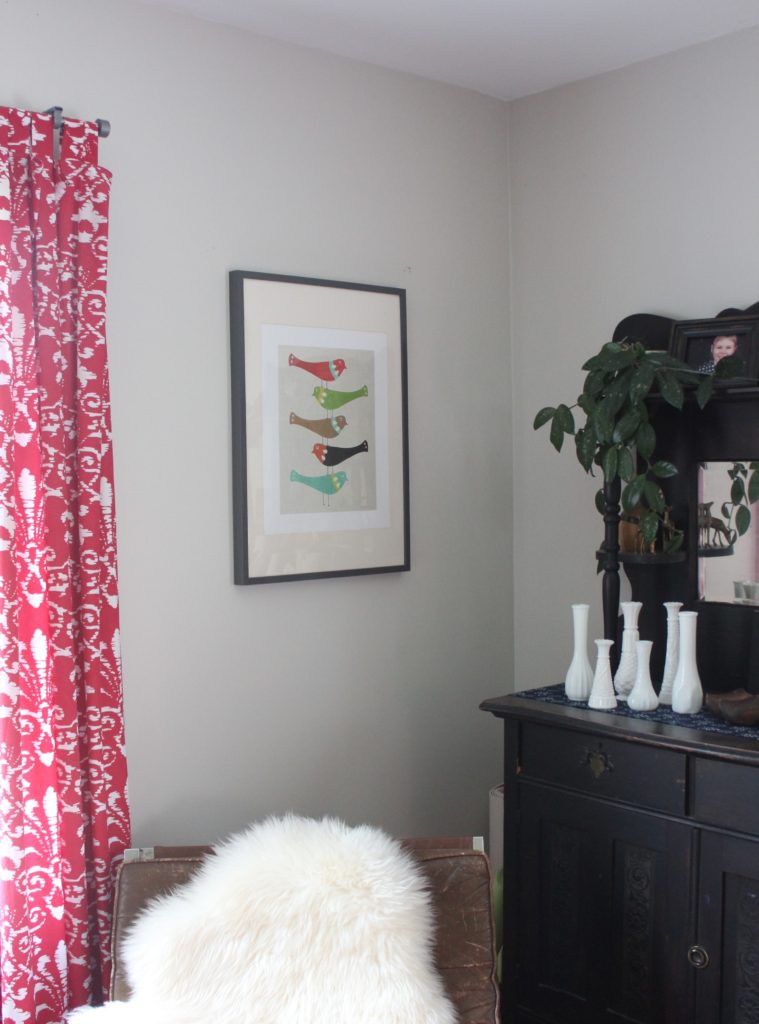
This bird print was an IKEA housewarming gift and so then I got Ribba frame to put it in for the living room.  Already it’s hung in a few different spots in the living room, too….I guess I like to switch things up!  The stack of birds always makes me smile.

Back in the studio, I have these storage bins that hold my scissors, measuring tape and other little tools that I like to have near by when I’m working at my bench.  Pretty sure these were studio-warming gifts from Dave & Christine…

Everytime I thing I’m nearing the end of my list, I realize I have more….Like my curtain rods in the living room, Hannah’s duvet cover, the rug in front of the washer and dryer and the pillow I just bought…and that was before we even had IKEA here in the province!!  I can’t even imagine how much more I’ll be buying now that we have one!

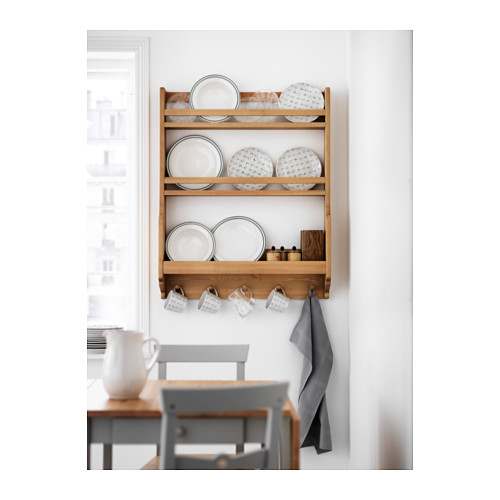
Now, I have a wishlist of IKEA items, too.  Like I said, I like to switch things up and I have my sights set on the plate wall in my kitchen….and the perfect farmhouse shelf from IKEA….I can’t help it!! Isn’t it perfect?  My birthday is coming, after all…hint, hint, Mr. Byrne!  Plus, as you wander through IKEA, there is always something that you see that ends up coming home with you!  Lena has a little list started, too, which, of course, makes me happy that she is putting thought into her room and what she wants to surround herself with!  So, I think there might be a little refresh happening for her, too.

So, tell me, what IKEA products do you have that you love?

To be continued,

Lori
3 In Clear Day Farm/ Makeover

Clear Day Kitchen Refresher

Some people get the seven-year itch, I think I get the three-year itch!  Three years in our ‘new’ house and I want to repaint things I’ve already painted.  The kitchen was on my radar this go-round…

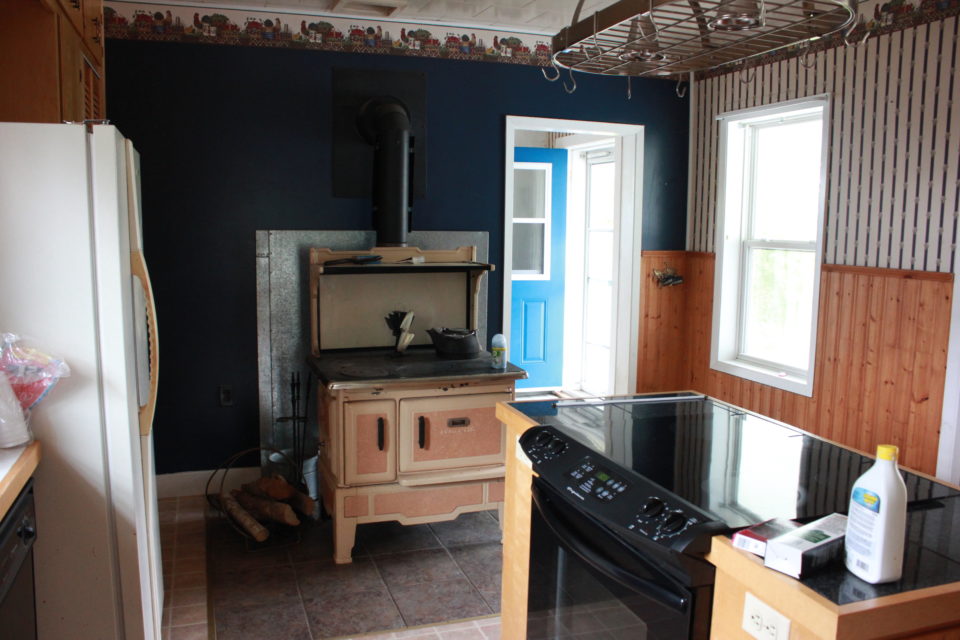
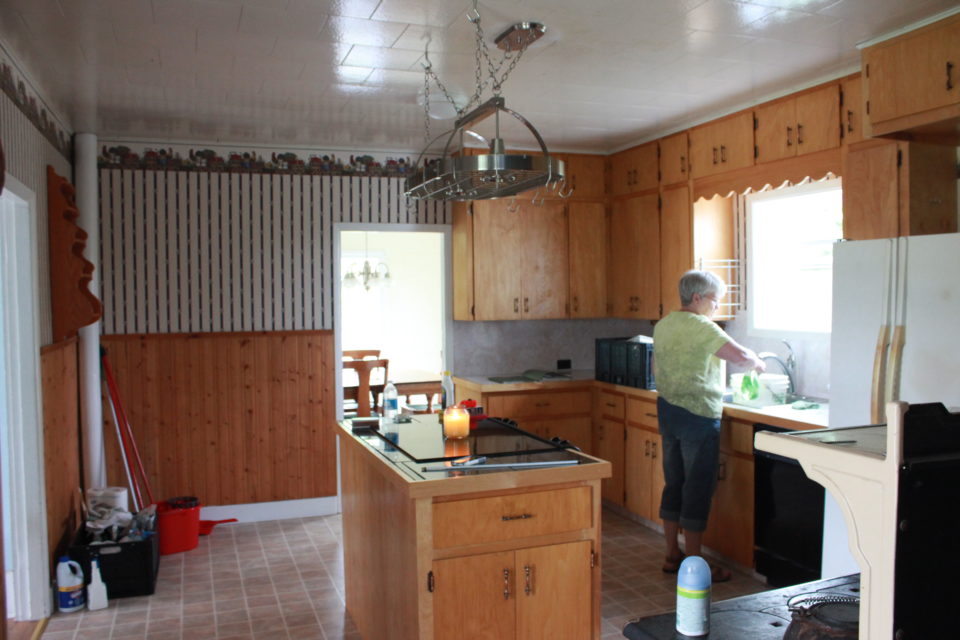
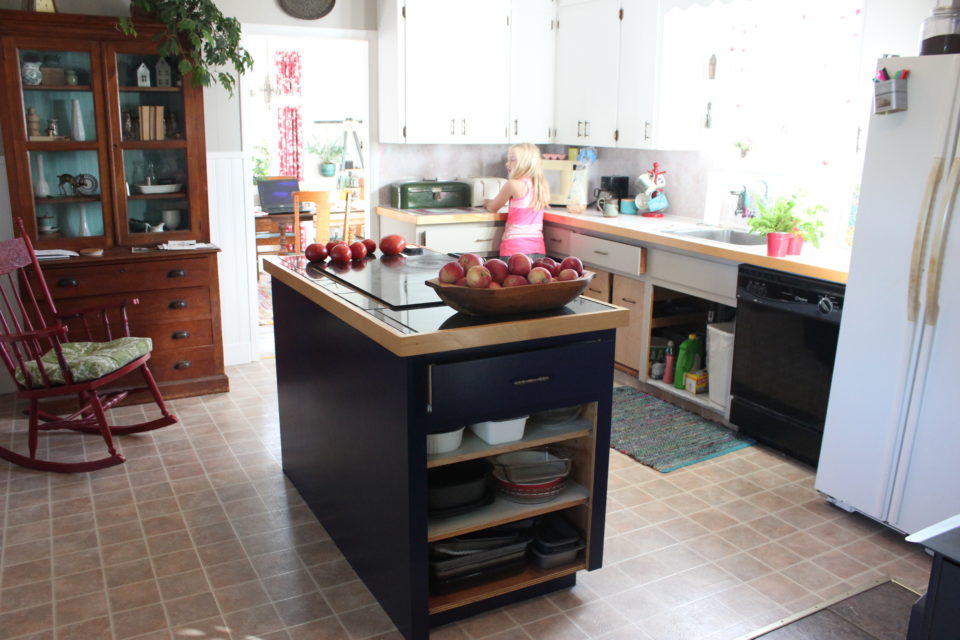
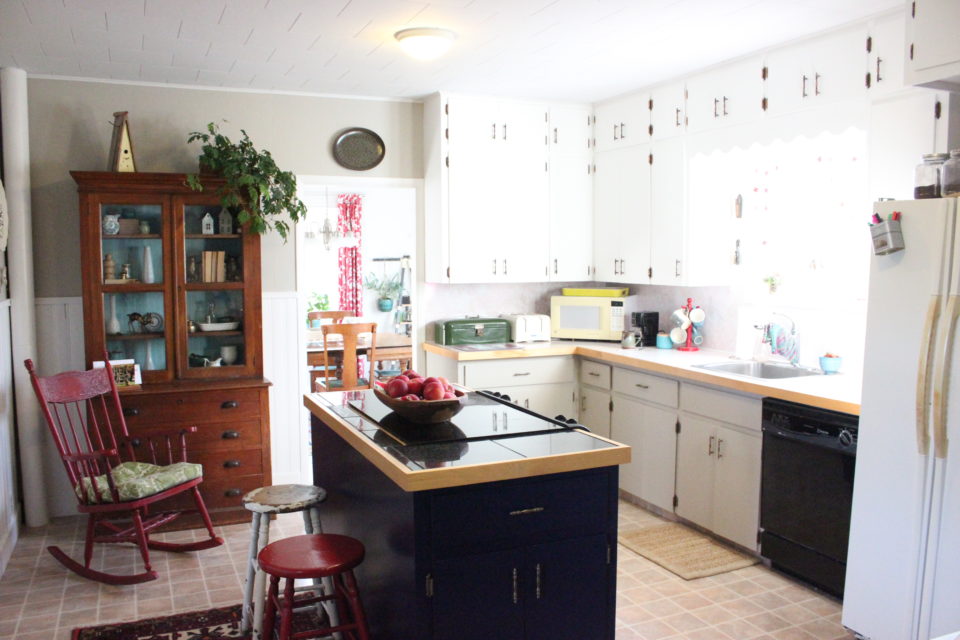
Let’s look back to remember what it looked like when we moved it – because you can’t appreciate how far it’s come without seeing where it was!  Dark walls, loads of wood, glossy yellow ceilings, and dated wallpaper.

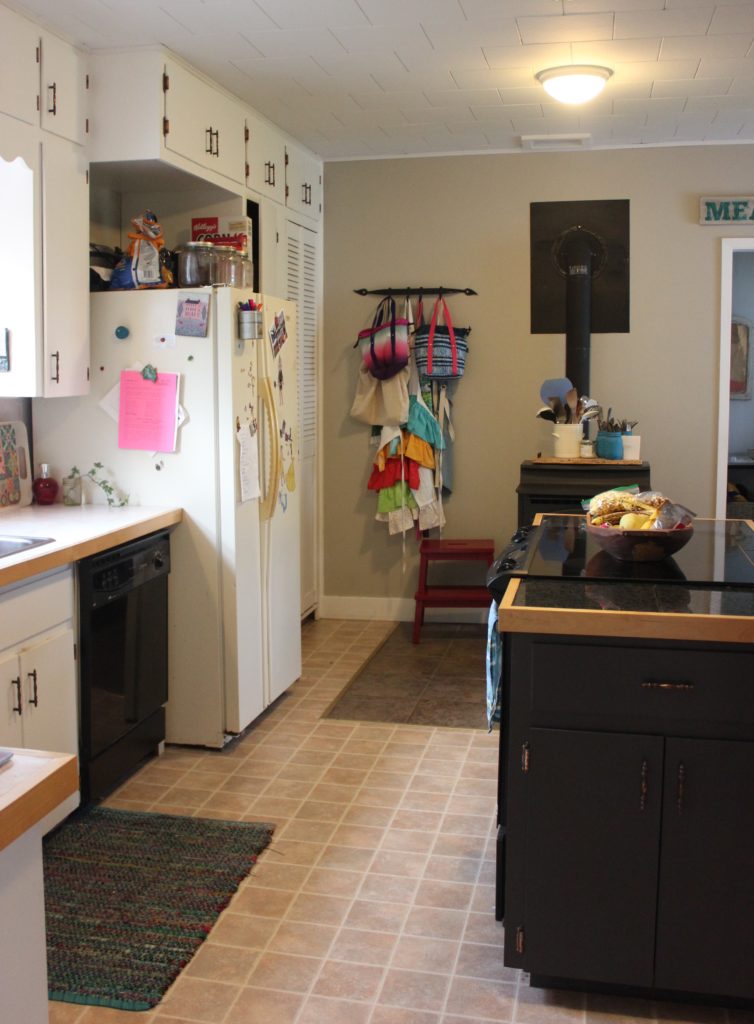
White cabinets and a grey island is where we landed back then and they were fine.  But I was craving something a little more!  When Canadian Tire approached me about their new paint line called Premier, I knew that the kitchen would be what got the make over!

Our kitchen is, like most maritime homes, the hub of it all.  I spend a lot of time in there while I’m home, getting meals made and lunches packed.  So, not only does it get a lot of use, I want it to be inviting and look good, too.  And honestly, it’s the lower cabinets that get all the spills, hard bumps – you know – the messy stuff.  Here’s a few pictures of where we were starting from for this makeover…much brighter even then when we first moved in, but, I still had another vision.

When Canadian Tire sent me my painting kit, they included a fan deck, which if you know me at all, is better than candy!  I love flipping through a fan deck, looking at the different tones and shades and dreaming about all the projects I would want to take on…give me all the colours!!  And, being a Canadian company, the names really struck me.  I could re-do a house purely by selecting the colours based on the names!  I think if they picks names that make you want to get out to explore your country more, they’ve done something right!

The colours I selected for this project were Paper Birch and Huckleberry.  I needed my colours to work with the griege colour on the walls and the tones in the flooring and I knew I wanted a rich, deep colour for the island.  I also knew I wanted to do something about the hardware, but right now it doens’t make sense to replace it until we REALLY do the kitchen over.  So for now, it was time to get painting.

Off came the doors and hardware and everything got scrubbed down and then the magic started.  There is something so satisfying about rolling on a thick, lovely layer of paint and transforming something.  I find that to be so fulfilling.  I admit that I’m a bit of a paint snob and tend to ensure that I use good quality paints for my projects.  I think that stems from using crappy paint as a kid, painting the all the white trim and fence posts around the farm with whatever the local feed and farm supply store sold.  I want paint that covers well in the first coat, I always do the second coat but if it takes more than two coats to cover, I’m not impressed and the Infinity line from Premier did not disappoint.  Here’s a quick during photo…including Hannah making breakfast!

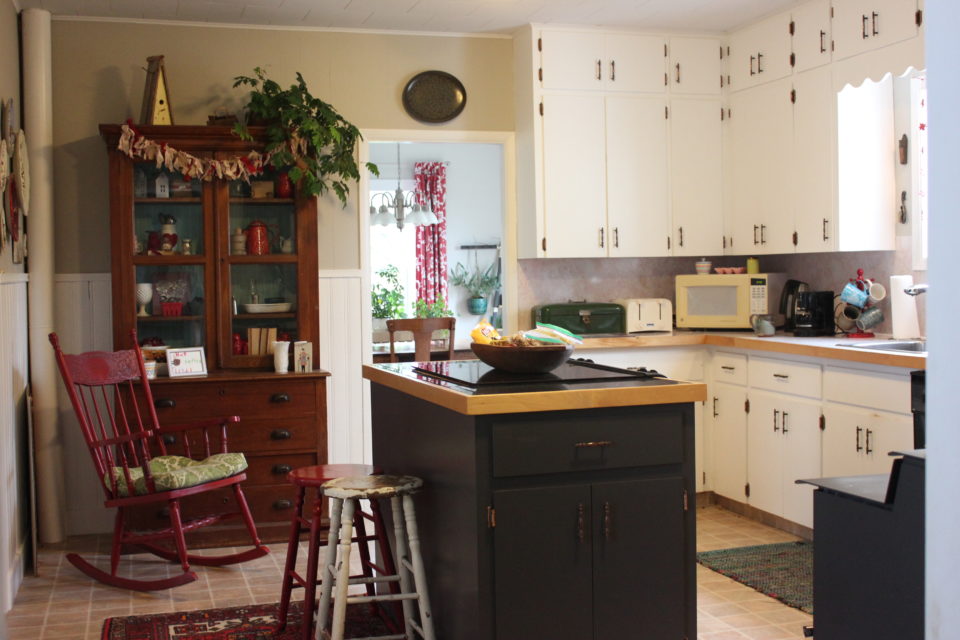
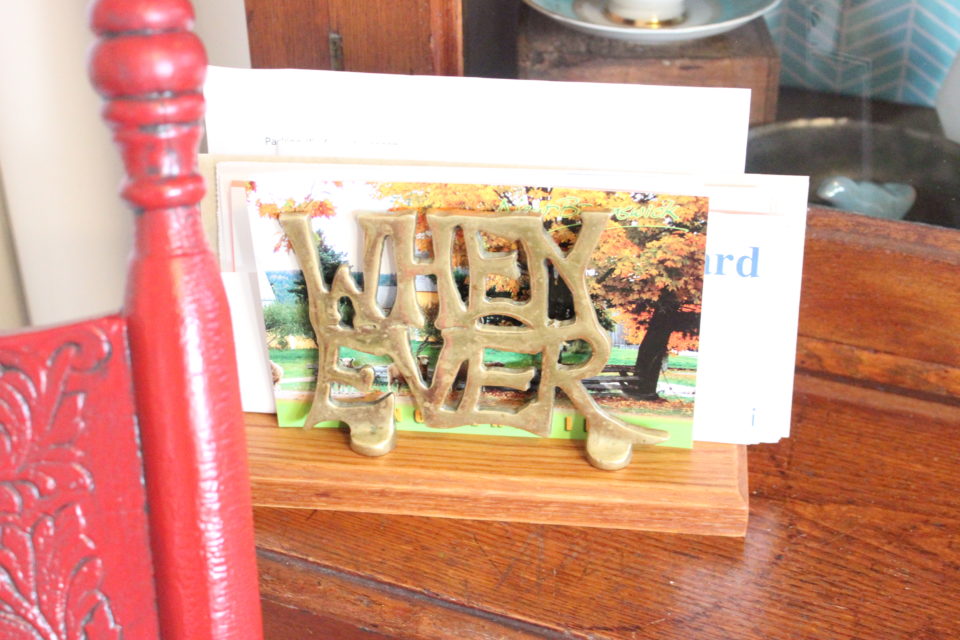
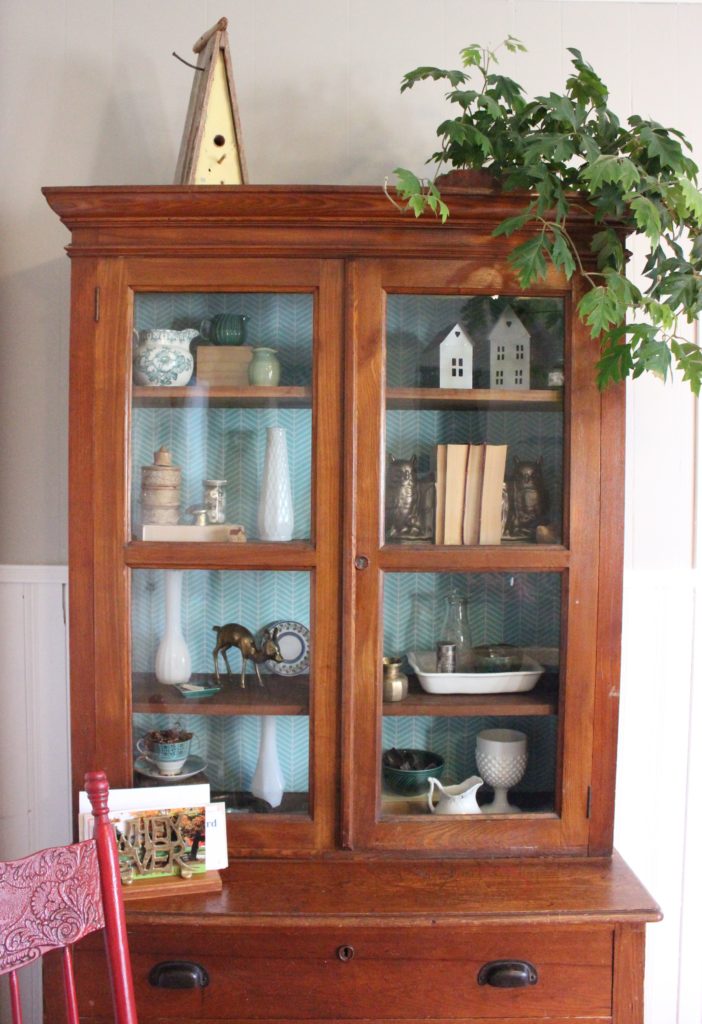
I pulled all the red out of the china cabinet while the paint dried and pulled in more layers of brass and warm gold tones.  We even took a trip to Value Village to see what treasures I could find to add into the mix.  Check out the ‘Whenever’ bill holder!  It cracks me up and it’s perfect to hold the papers that need to be addressed and not filed away quite yet.

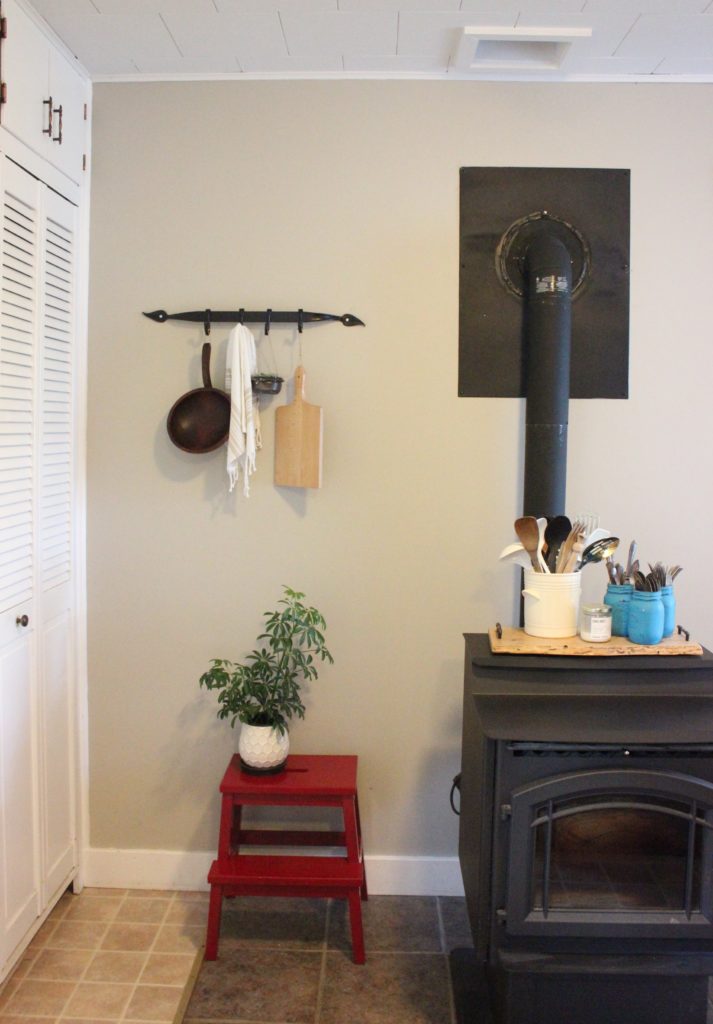
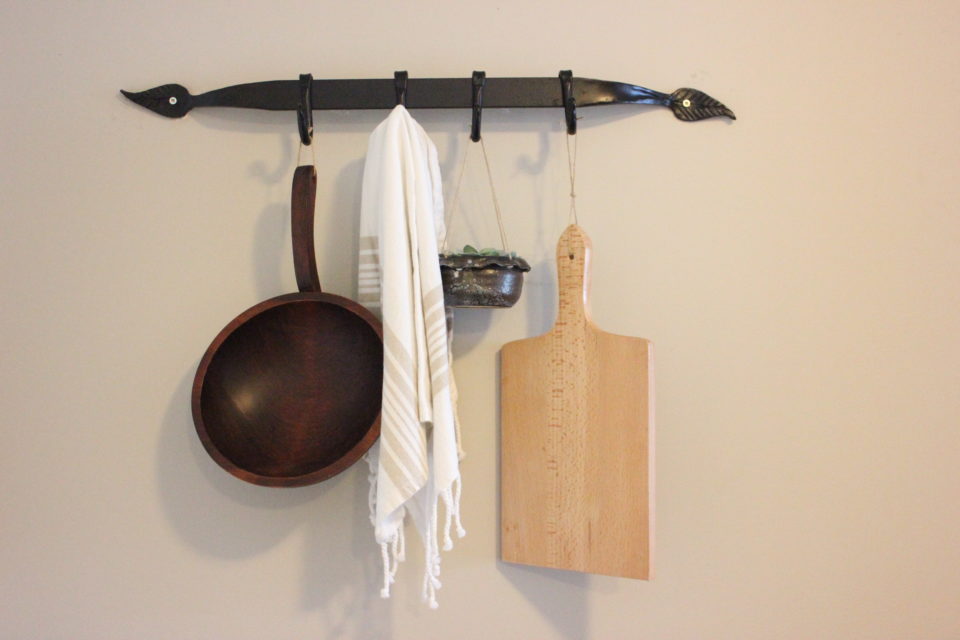
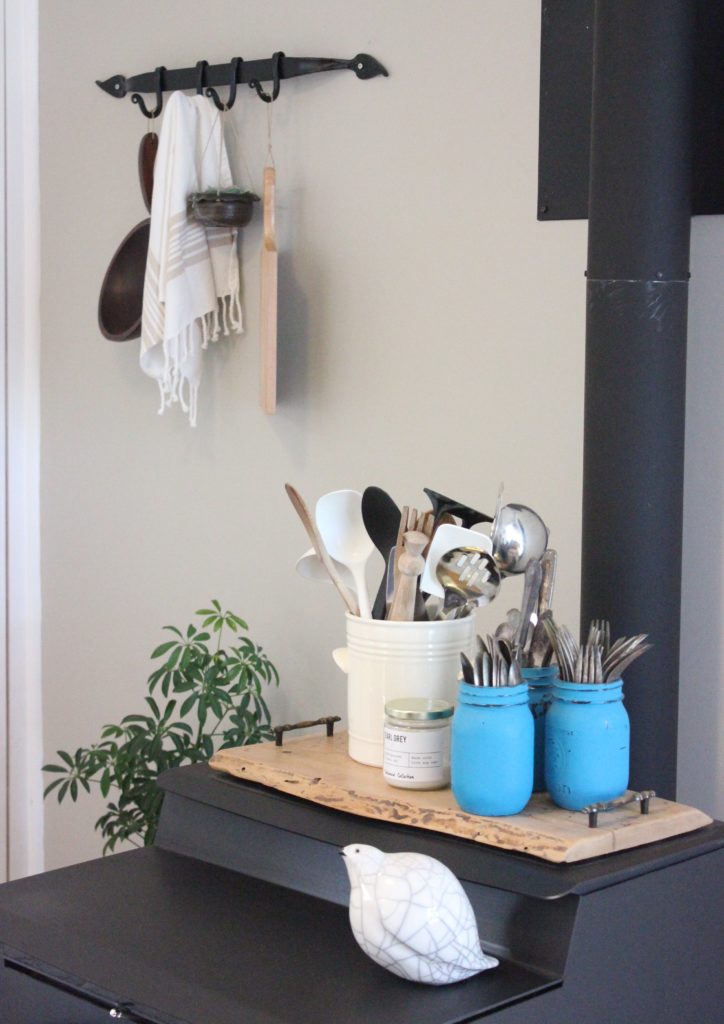
I also scored some cool wooden accents to add to the hooks by the stove.  I had all my aprons hanging there but they looked sloppy and I knew I wanted to freshen that area up, too.  I brought out my little pottery plant pot with my fake succulent { the only kind that I can keep alive } and hung up the wooden cutting board and little wooden pot along with a clean tea towel and I’m loving the look!

Now, I have a confession to make.  I took down the doors and pulled off the hardware and misplaced 4 of the screws for the handles.  I searched high and low for those screws.  I put everything else back together and had to not stress about the two handle-less doors.  I knew the screws would show up at some point….I put them somewhere safe after all, I’m sure you can relate!  So, here is my kitchen…short a handle or two…

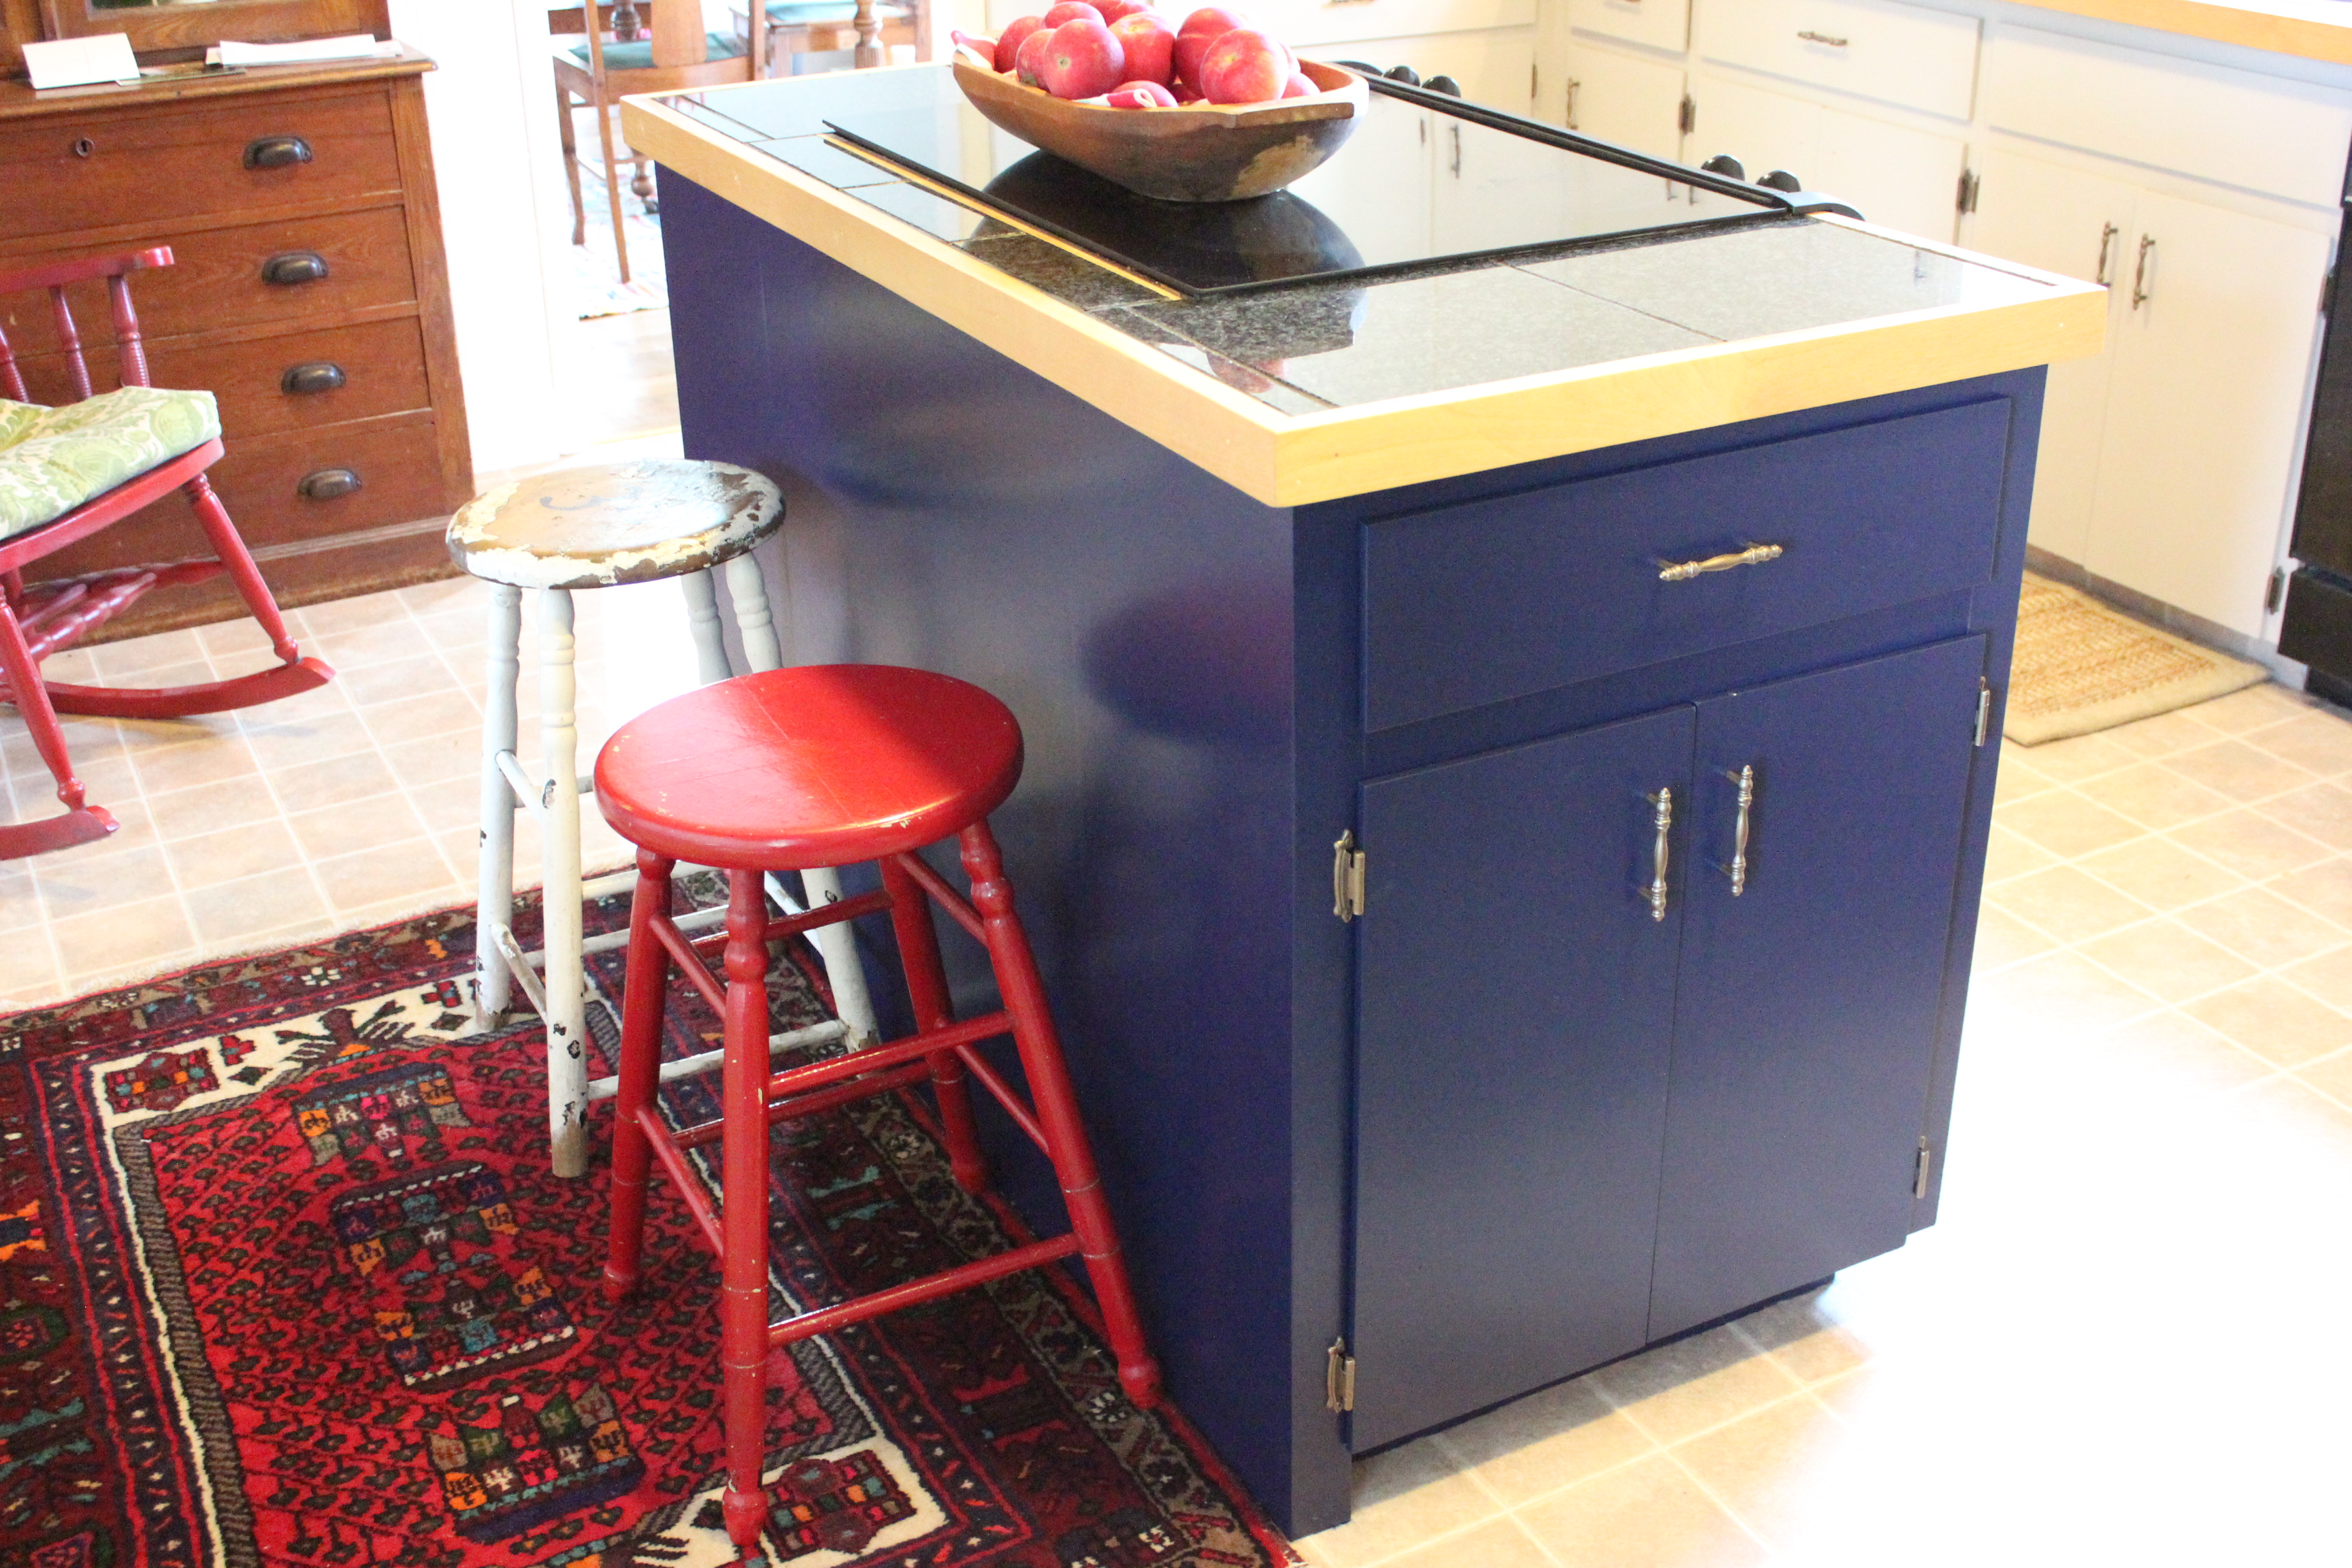
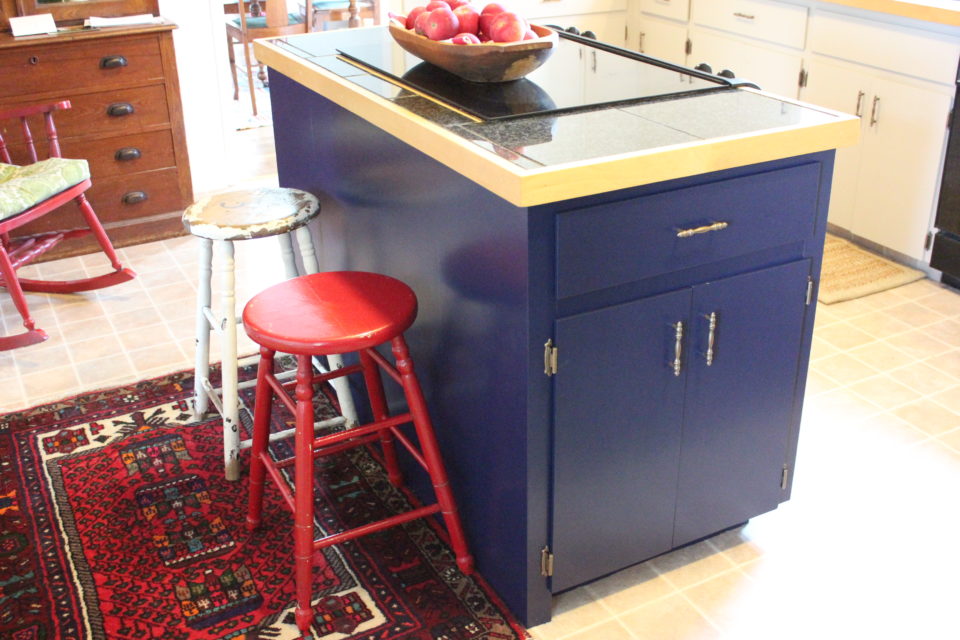
I love how much richer the cupboards feel!  And spray painting the hardware was so easy and lightened it up so it isn’t as busy and so much richer!! I mean, come on – check out this gorgeous island!!!

And one final glimpse – the china cabinet and it’s current look!  I can easily add some fall colours to it when I’m ready but until then – I’m loving it!

I’m really pleased with how far the kitchen has come.  Now, I have a long list of other things I would love to change and will get around to doing but for now, this was the refresh that I was craving for the kitchen!  Do you find that when fall hits you are craving to make some changes around your house??

To be continued,

Lori
This post and makeover was sponsored by Canadian Tire but my take on their products is just that!


18 In Clear Day Farm/ Makeover

One Room Challenge – The Studio – Week 6

Here we are – at the end a 6 week journey in the One Room Challenge.  I know you’re anxious to see what the studio looks like now.  And I’m so excited to show you!  It’s so fabulous!  I can’t wait to create in here! But, first, let’s have a quick glimpse of where we started, shall we?

Here’s the past posts, if you are just popping by for your first visit or you really want to see how bad it was!  I cringed looking back at some of these!  How did I even function in there?!?!

Week One / Week Two / Week Three / Week Four / Week Five

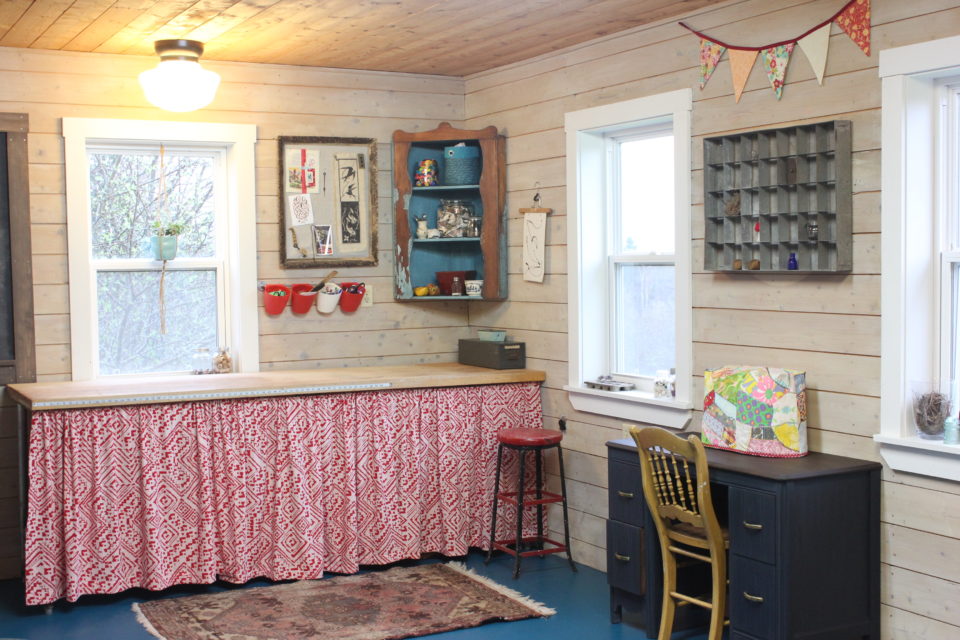
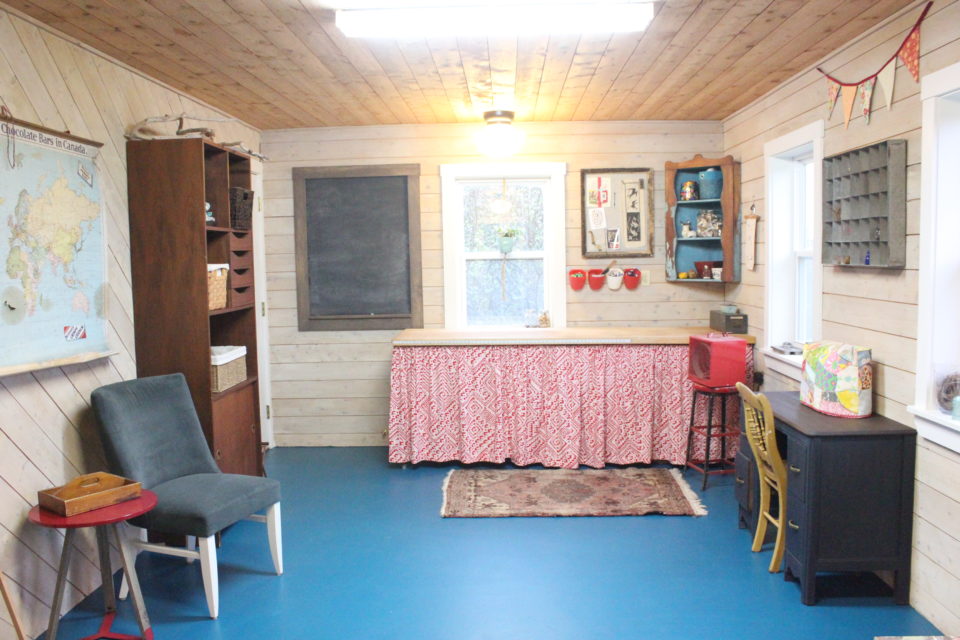
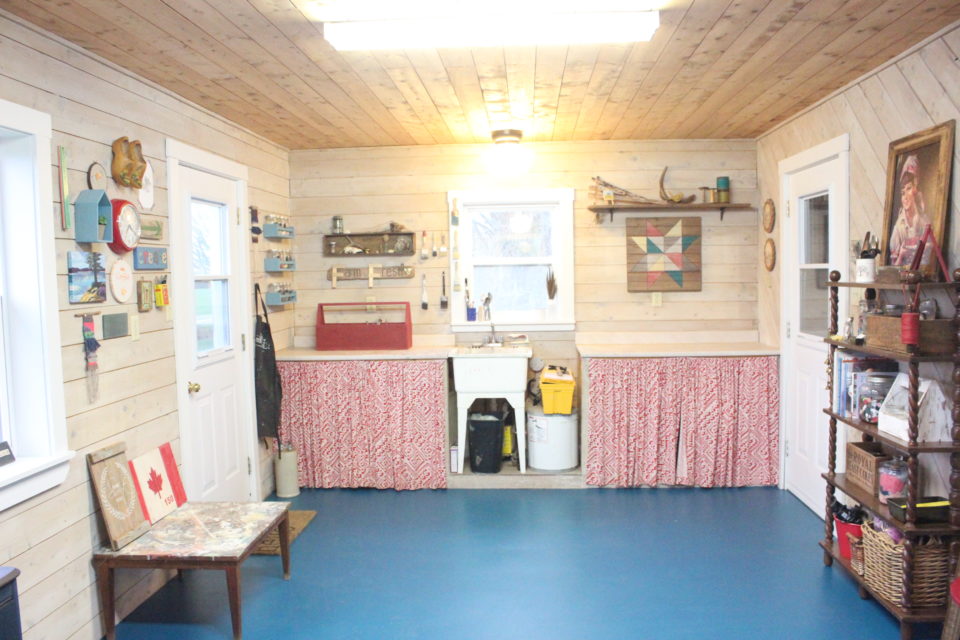
Emptying out the space made the biggest difference, I forgot what I had there in terms of space and resources.  It was like a refresh course of all things Farm Fresh Studio.  Then when things got serious and the hardcore painting started, my vision really started coming to life.  White washing the walls, painting out the trim and doors really lightened the space up and made it brighter and softer.  Then the floor, well, that just changed it all again.  I didn’t realize how much of a downer the concrete floor was.  But, paint me a Pacific Ocean Blue floor with some lovely Benjamin Moore Porch & Floor paint, well, I was doing the happy dance after that.  It really made the space feel more deliberate, more intentional and like a real studio space, instead of a room attached to a garage.  Even Michael is really pleased with the painted floor, and he thinks I paint EVERYTHING!! 😉  { He isn’t wrong on that… }

In the above picture, you can see that the new lights made it up before the reveal, too!  I spray painted them and my father-in-law installed them for me while I was at work one day. 🙂 Pretty good for some spray paint and a new socket, eh?

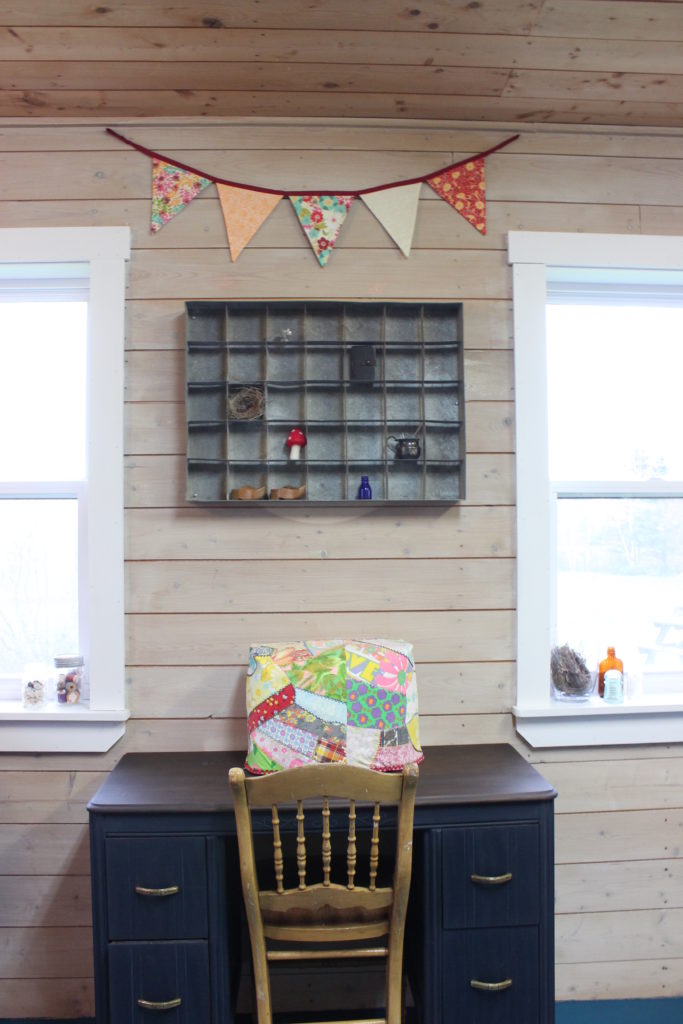
I’m loving the new look the desk is sporting!!  And, I tried lots of chairs here and finally settled on this one.  A few options just wouldn’t slide in and that’s just a royal pain.  Some felt too causal, like the one I had originally planned on using, for this lovely, rich-looking desk.  So I dipped into my stash and tried a few out and settled on this chippy yellow chair.  And I still love my sewing machine cover made from Michael’s grandmother’s quilt-top we found! 🙂

The farm auction chair looks great in here with its white legs and freshly scrubbed fabric – because one never knows, especially if you bought it in a lot with a random shop vac…at a farm auction!  I like that it works colour-wise in here without needing a re-do! Also, it’s light and easy to move if I need to stage a picture in front of the wall.

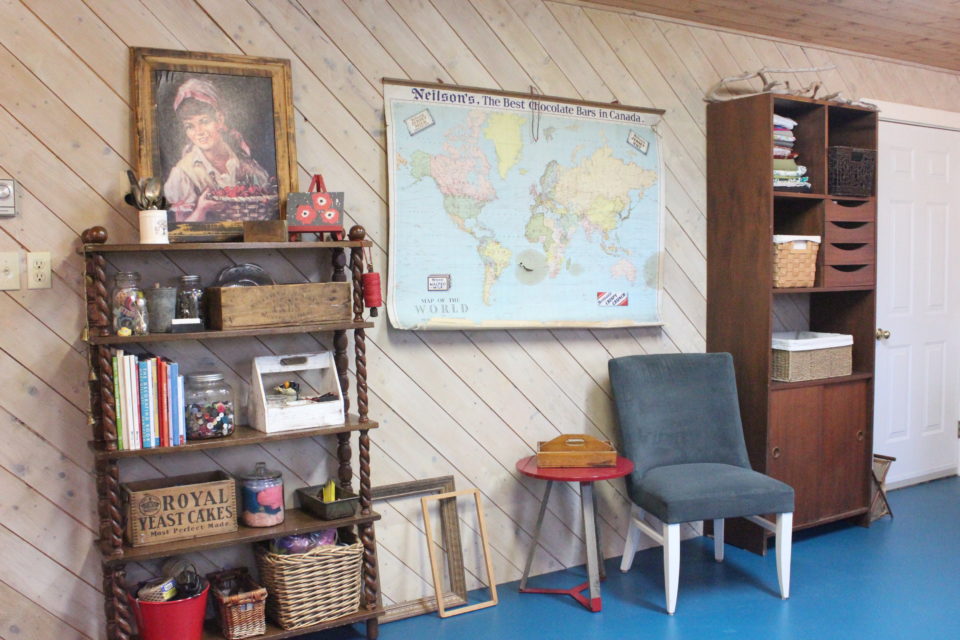
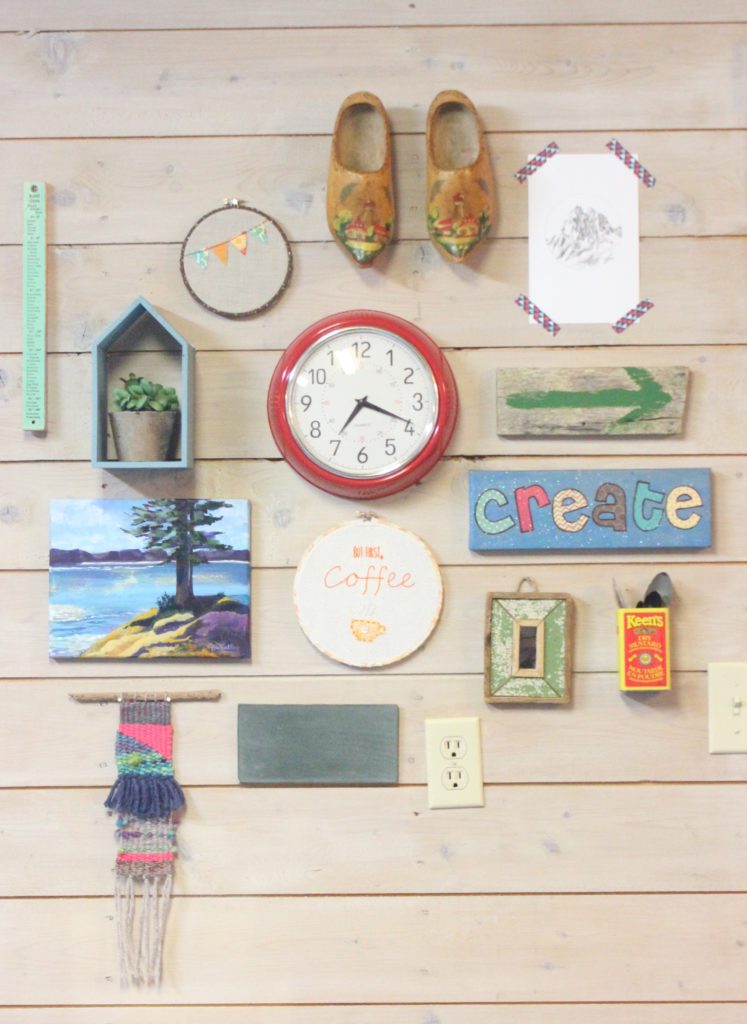
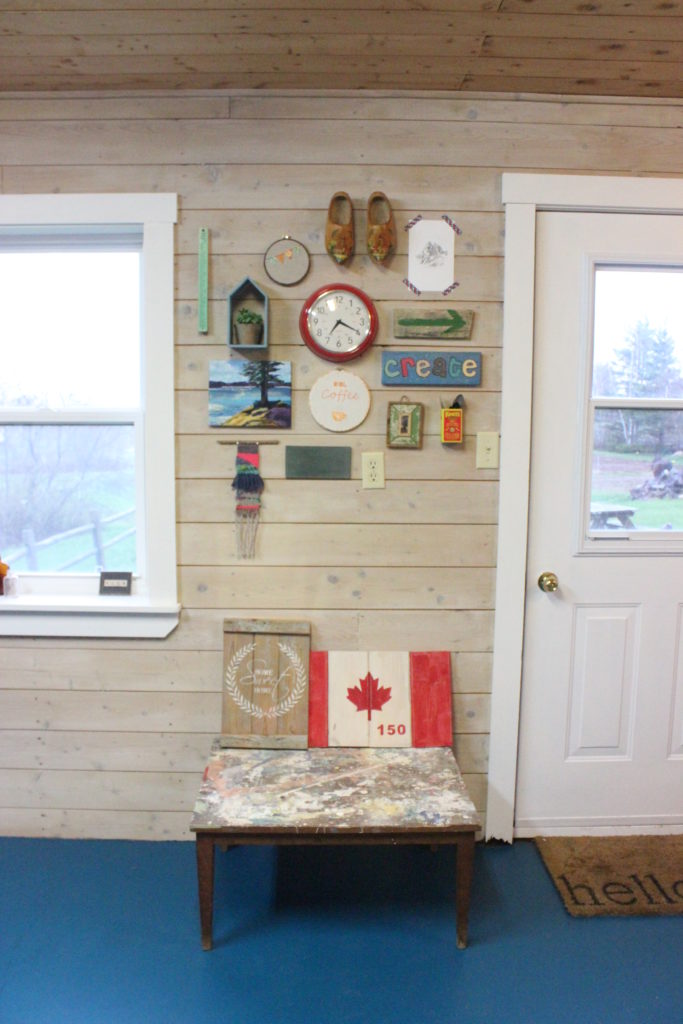
When it come to putting things back into the space and making it look good, plus function better, that’s when it was really fun!  I have so much neat stuff that was just buried under all the crap I had collected and stashed!!  But now it’ll get to shine on again.   I was excited to get to do a gallery wall in here, I love gallery walls, especially ones filled with treasures and creations that mean something to mean.  But I guess that’s whole point, right?

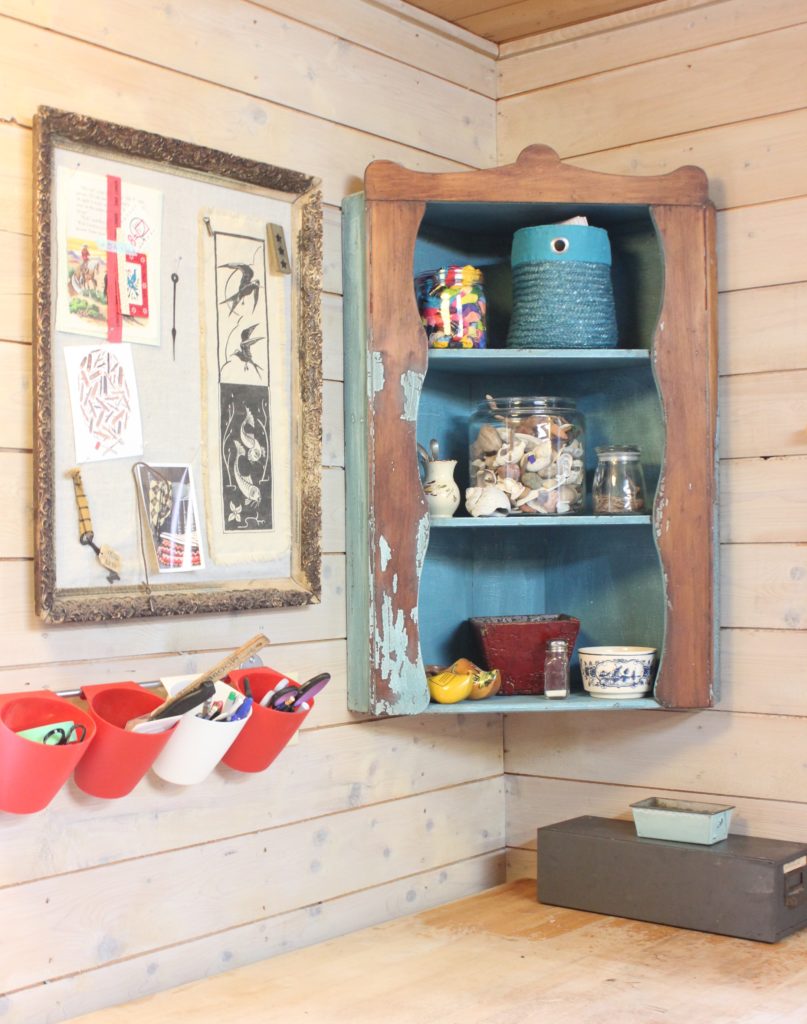
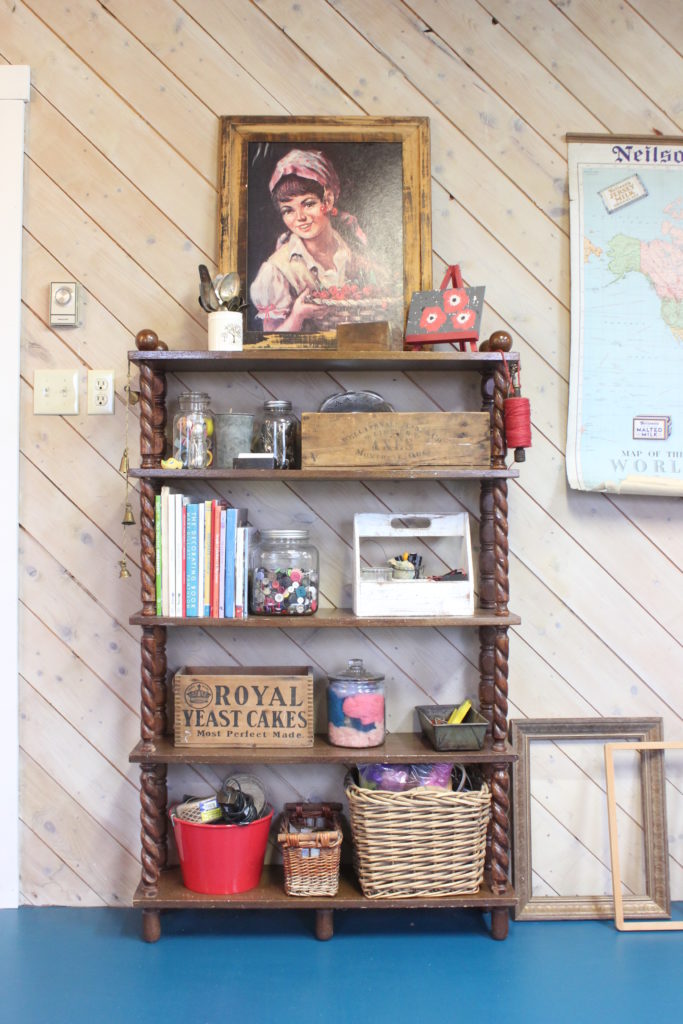
The corner cabinet got a coat of a special mix of Miss Mustard Seed Milk Paint and then a quick sand followed by a coat of hemp oil.  Then I screwed it to the wall and ta-da!!  New display and storage handy my work table which is strangely empty.  I quite like my shelf, I’m glad I bought it for $5 all those years ago!!

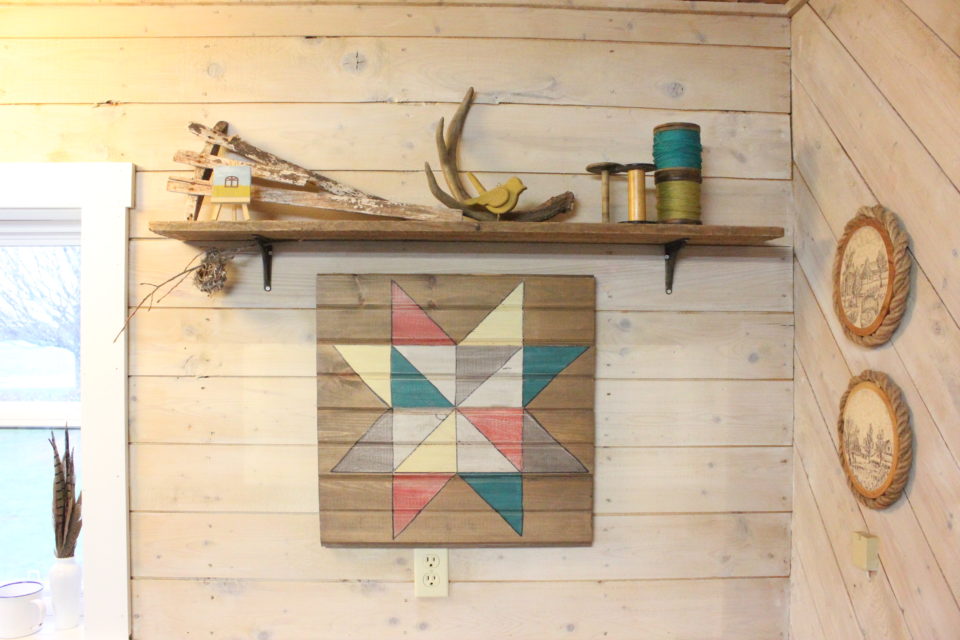
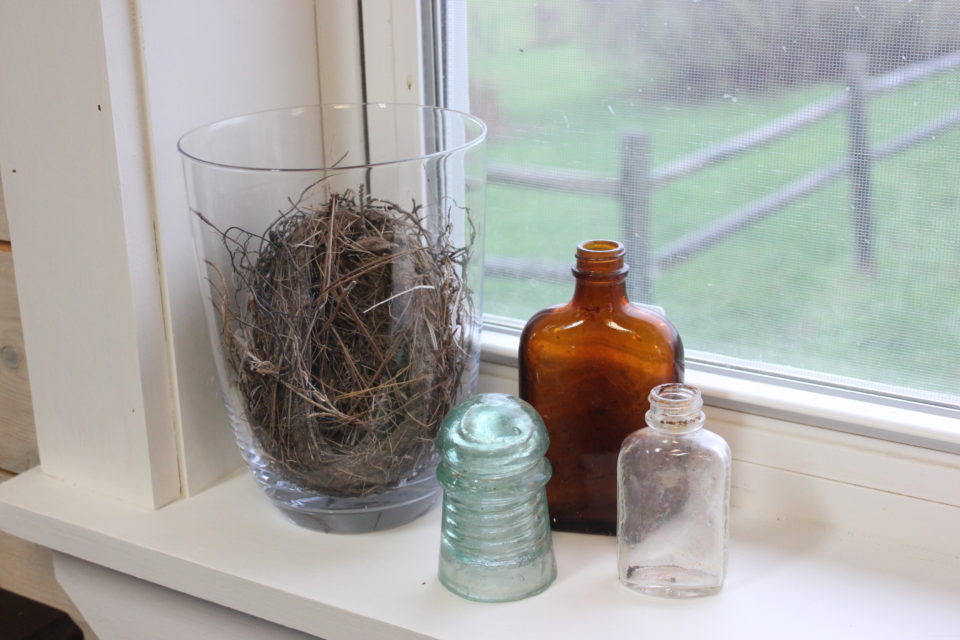
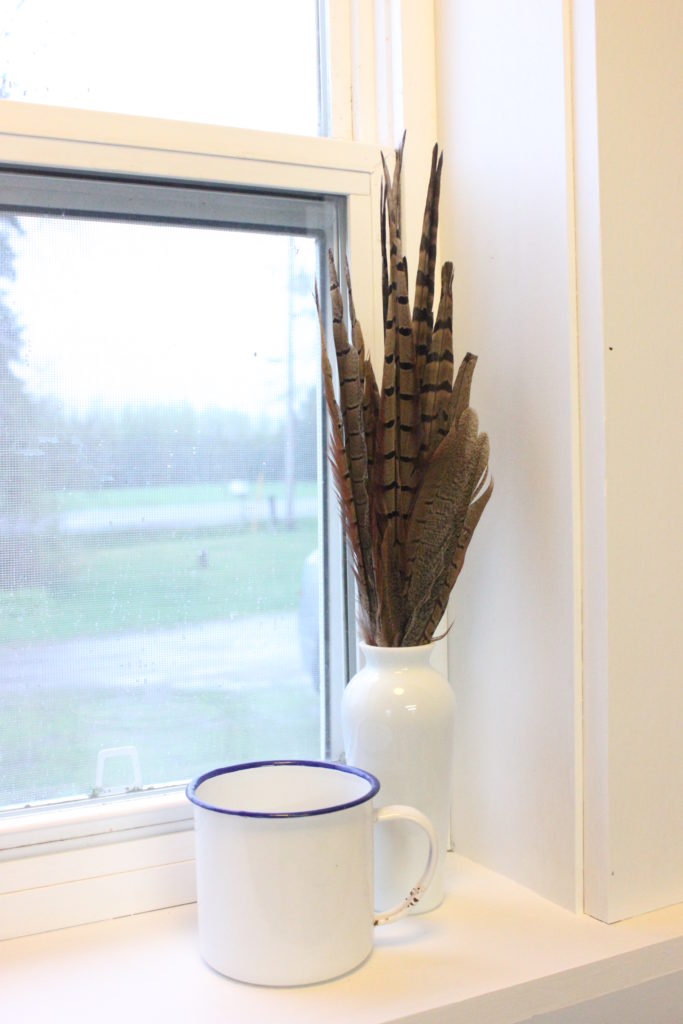
Here’s a few little close-ups of some treasures that have found their way back into the studio.  I love a few special vingettes throughout the studio – great for inspiration!!

I’m not sure how long this poor little ivy will last, maybe the summer but it’ll probably have to move into the house come winter. The plant pot is one of the treasures I scored earlier this week at our new Value Village which you can read about HERE.

We aren’t even going to look at my To-do list because I crossed every single thing off – even the ones I added on along the way!  Feels pretty good to have accomplished all that hard work over the course of 6 weeks.

Well, thanks for tagging along as I gave my studio a make-over.  I hope you enjoyed the transformation!!  It’s been fun being able to really focus on my own space and make it work better for me and look better, too.  It feels so amazingly different!!

To be continued,

Lori
If you’d like to see some other great reveals, click the logo below!

Special thanks to Benjamin Moore for supplying me with the paint for the floor!  The opinions expressed in this post are solely mine.